Building a CyberSecurity Home Lab with Proxmox: Part 1 - Network and pfSense Setup
A Guide on Building a Cybersecurity Home Lab using Proxmox
Banner Background by AndreaCharlesta
Changelog
- January 12, 2025
- Updated Network Diagram with changes to the AD Lab. Splunk has been switched out for Windows 10 Machine.
- Changes to Security lab. I have switched out Limacharlie for Security Onion and moved Splunk over.
Welcome! In this project, we will be setting a Cybersecurity Home Lab using the Open Source Hypervisor Proxmox. I was originally going to do ESXI and Virtualbox but after what Broadcom did to their customers and the community, I decided to go another route. That’s where I found proxmox and after hours of frustration and tears I finally grasped it!
I currently have Proxmox running natively on a separate system (specifications below) that I have built for a homelab. I strongly recommend you do the same as Proxmox is a Type 1 Hypervisor and works optimally when its installed natively.
Throughout the entire project, I will be posting modules instead of one giant post to make it easier to follow along. Each module will encompass one part of the home lab.
Shoutouts
Before we dive right in, I want to give a few shoutouts to the people below and their guides. They helped me tremendously when I first created my homelab. You guys are awesome!
Project Overview
- pfSense (Firewall & Gateway)
- Kali Linux (Management VM)
- Active Directory Lab (Domain controller and Windows Machine)
- Security VMs (Ubuntu Server and Windows VM (LimaCharlie EDR))
- Sandbox (Capture the Flag Practice)
- Malware Lab (Linux and Windows)

pfSense will act as our router in this lab. Before opening up any other VMs, make sure pfSense is running otherwise you will have no internet access.
My Hardware
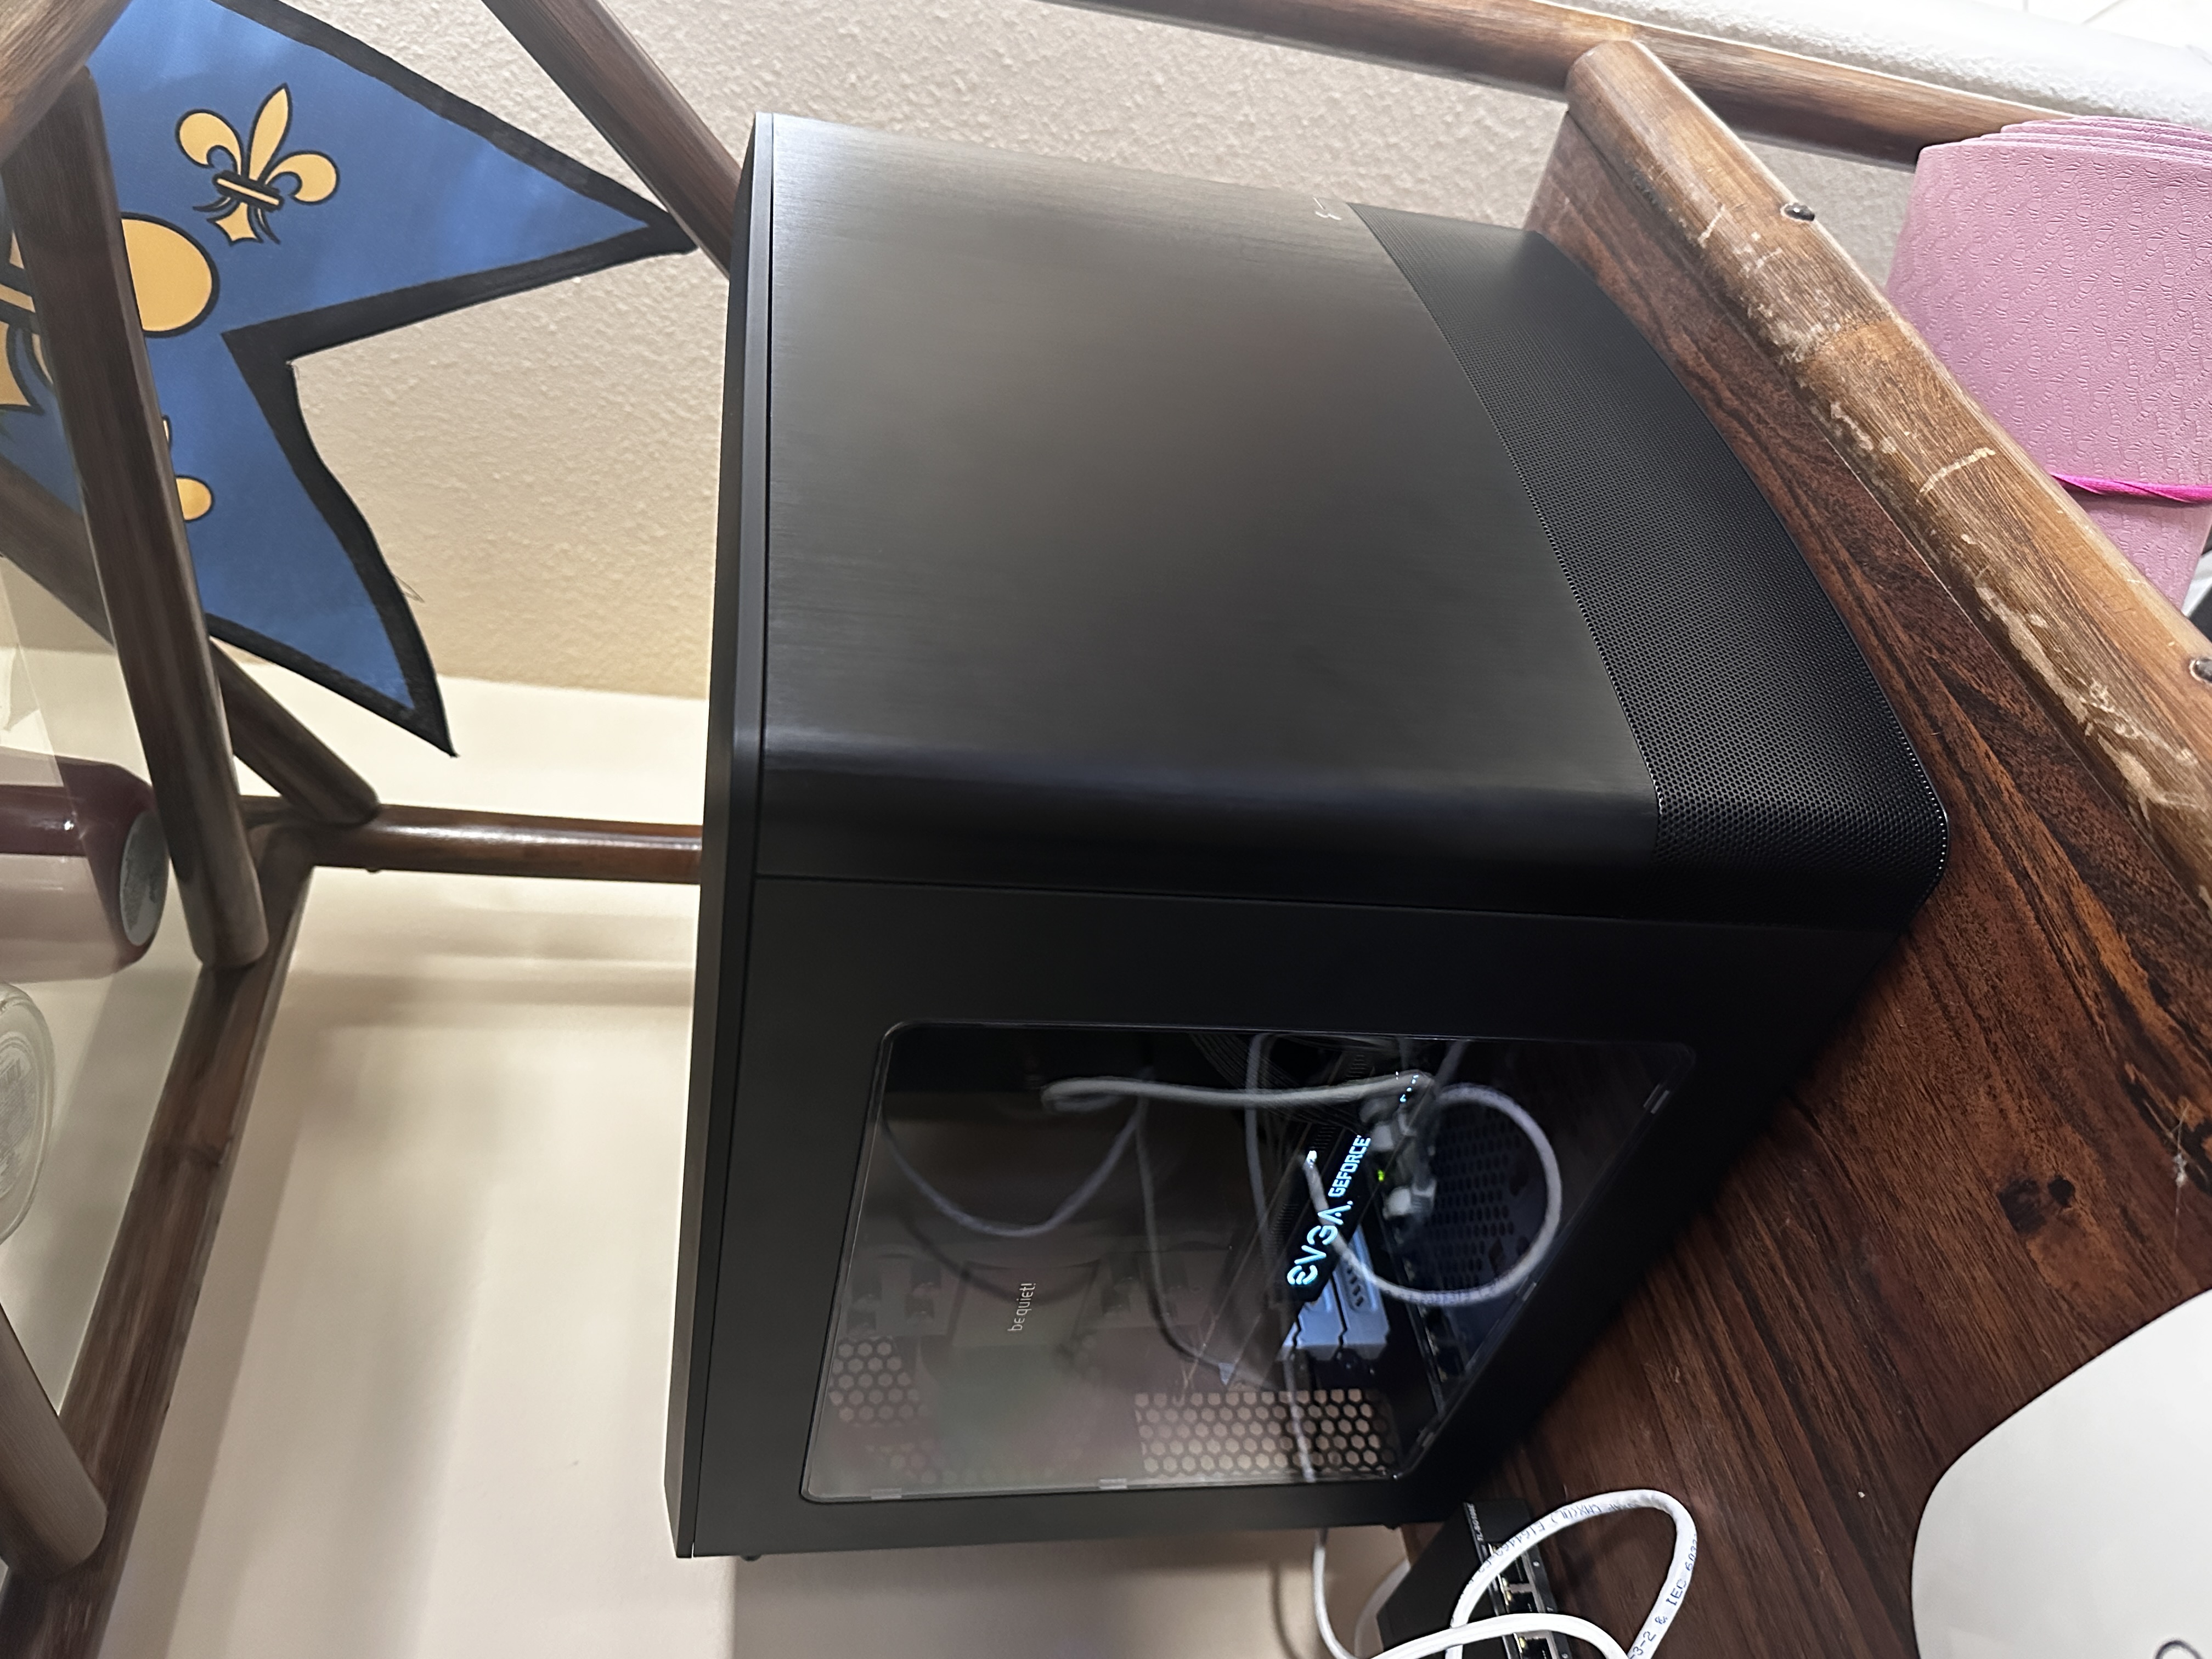
- Case: Fractual Node 804
- Motherboard: Asus Prime B650M-A AX II
- CPU:AMD Ryzen 5 7600x
- RAM: G.SKILL 64GB DDR5 6000
- PSU: BeQuiet 750W ATX 80 Gold
- GPU: Nvidia GTX 1070
- Storage: 1TB SSD, 250GB NVME, 4 1TB Mechanical Hard Drive (RAID 1+0)
Recommended Hardware from Proxmox
- Intel 64 or AMD64 with Intel VT/AMD-V CPU flag.
- Memory, minimum 2 GB for OS and Proxmox VE services. Plus designated memory for guests. For Ceph or ZFS additional memory is required, approximately 1 GB memory for every TB used storage.
- Fast and redundant storage, best results with SSD disks.
- OS storage: Hardware RAID with batteries protected write cache (“BBU”) or non-RAID with ZFS and SSD cache.
- VM storage: For local storage use a hardware RAID with battery backed write cache (BBU) or non-RAID for ZFS. Neither ZFS nor Ceph are compatible with a hardware RAID controller. Shared and distributed storage is also possible.
- Redundant Gbit NICs, additional NICs depending on the preferred storage technology and cluster setup – 10 Gbit and higher is also supported.
- For PCI(e) passthrough a CPU with VT-d/AMD-d CPU flag is needed.
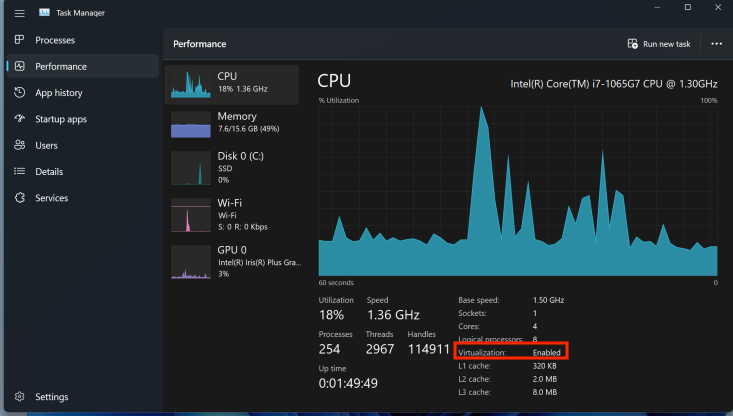
Enabling Virtualization
Before installing Proxmox we need to make sure virtualization is enabled on the system.On Windows this can be checked by opening up Task Manager, clicking the Performance tab and checking if Virtualization is set to Enabled.
 If for whatever reason you do not have virtualization enabled, then you will need to enabled as it is disabled in the BIOS. If you do not see virtualization at all, you are out of luck and your system does not support it. There many flavors of BIOS’s that I cannot cover so instead I will link below some resources on how to enable your Virtualization through your BIOS!
Enabling CPU Virutalization by ninjaOne
Installing Proxmox
Downloading Proxmox
As I am writing this guide the latest version of Proxmox is 8.3. You can download it from this link: Proxmox VE 8.3 ISO Installer
Now that we have the ISO image, you will need a usb thumb drive with at least 5GB of space and make sure to remove any information off of it because we will be making it a bootable drive. I used Rufus to burn the ISO onto the usb drive.
Lastly, I will not go step by step through the proxmox setup because Craft Computing made an amazing video walkthrough that would put mine to shame. Please watch his video!
Setting Up Open Switch and Linux Bridge
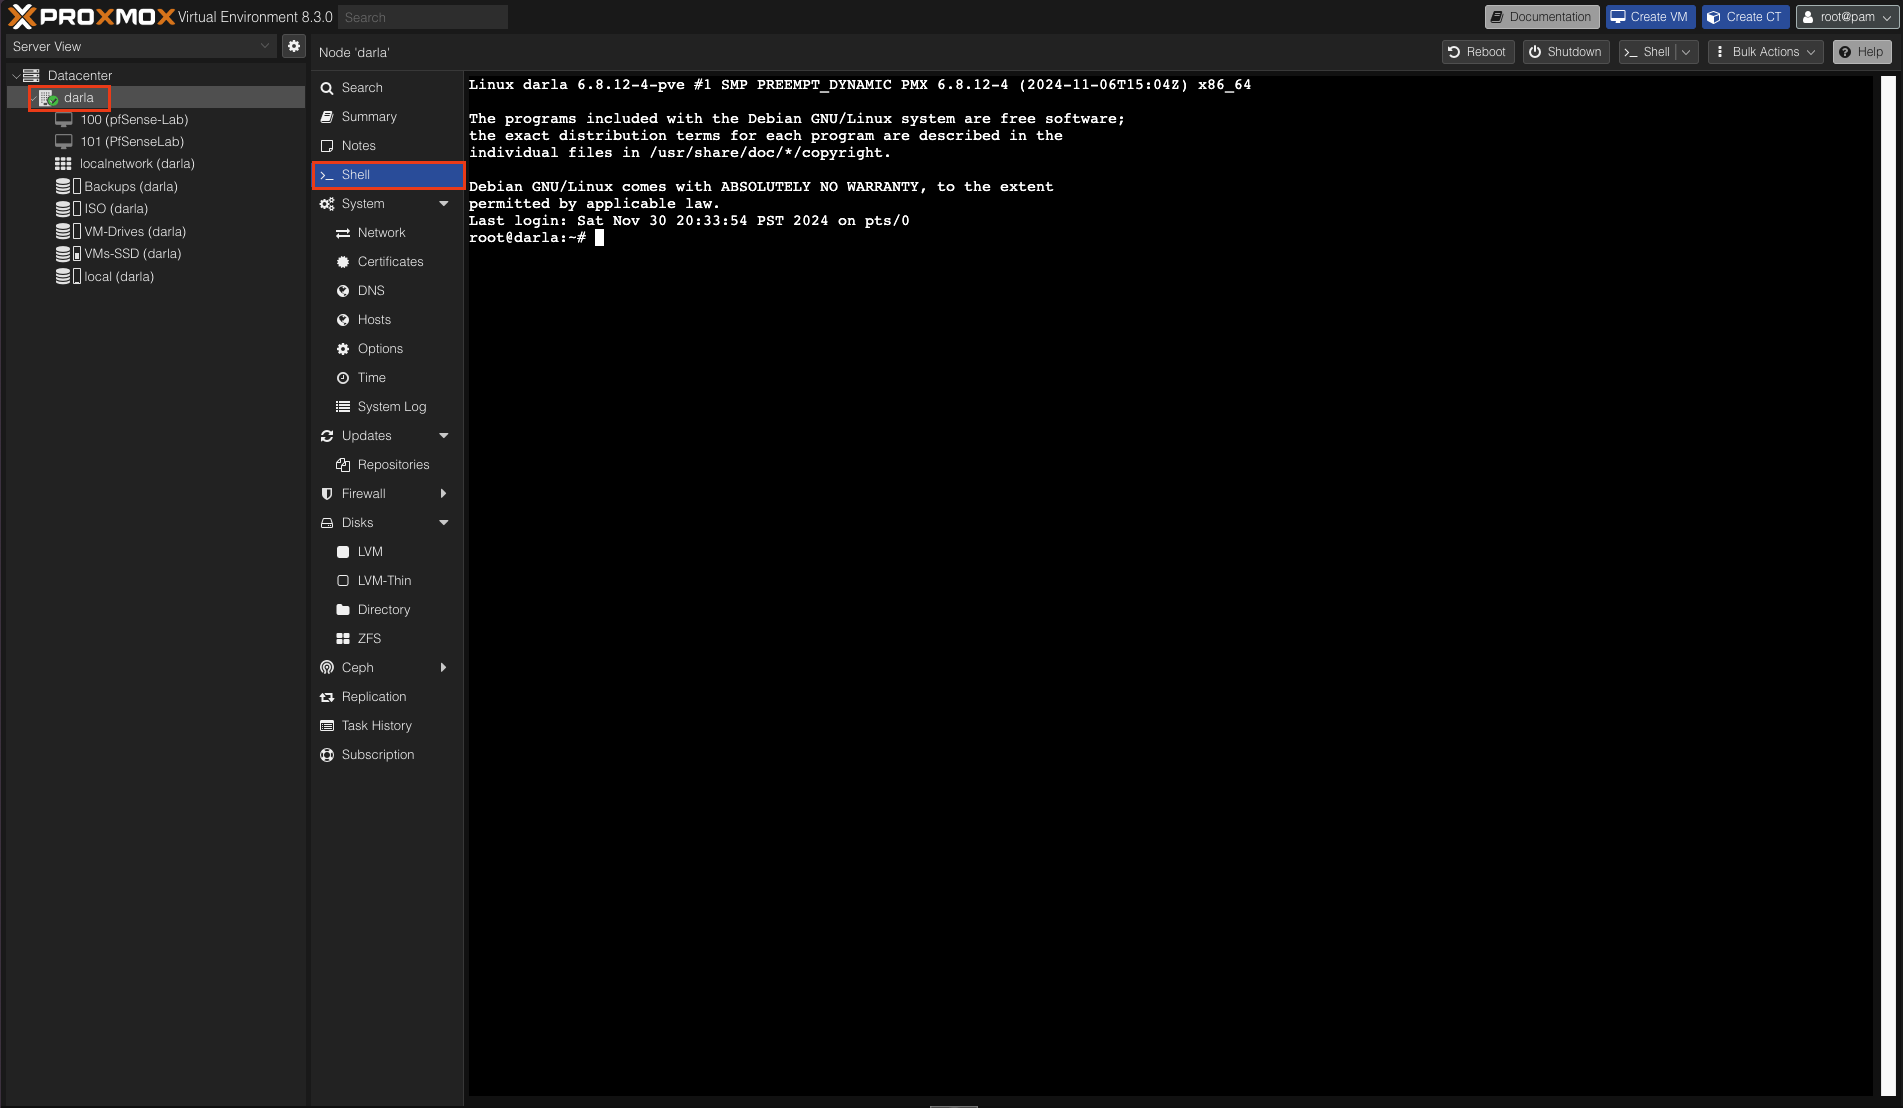
Before we get down and dirty with setting up pfSense we first must configure our virtual switch for our VLANS and our virtual WAN/LAN for pfSense. Lets navigate over to our node’s shell.
Let’s run an update command because why not.
1
apt update
Proxmox No Subscription Repository
If you encounter an error saying along the lines of :updating from repo cannot be done securelyThis is because the default repository is Enterprise. You will need to switch to theNo Subscription Repository.
Link to Video Resource: No Subscription Repository Video
Link to Proxmox Documentation: Package Repositories
1
apt install openvswitch-switch
VLAN Configuration
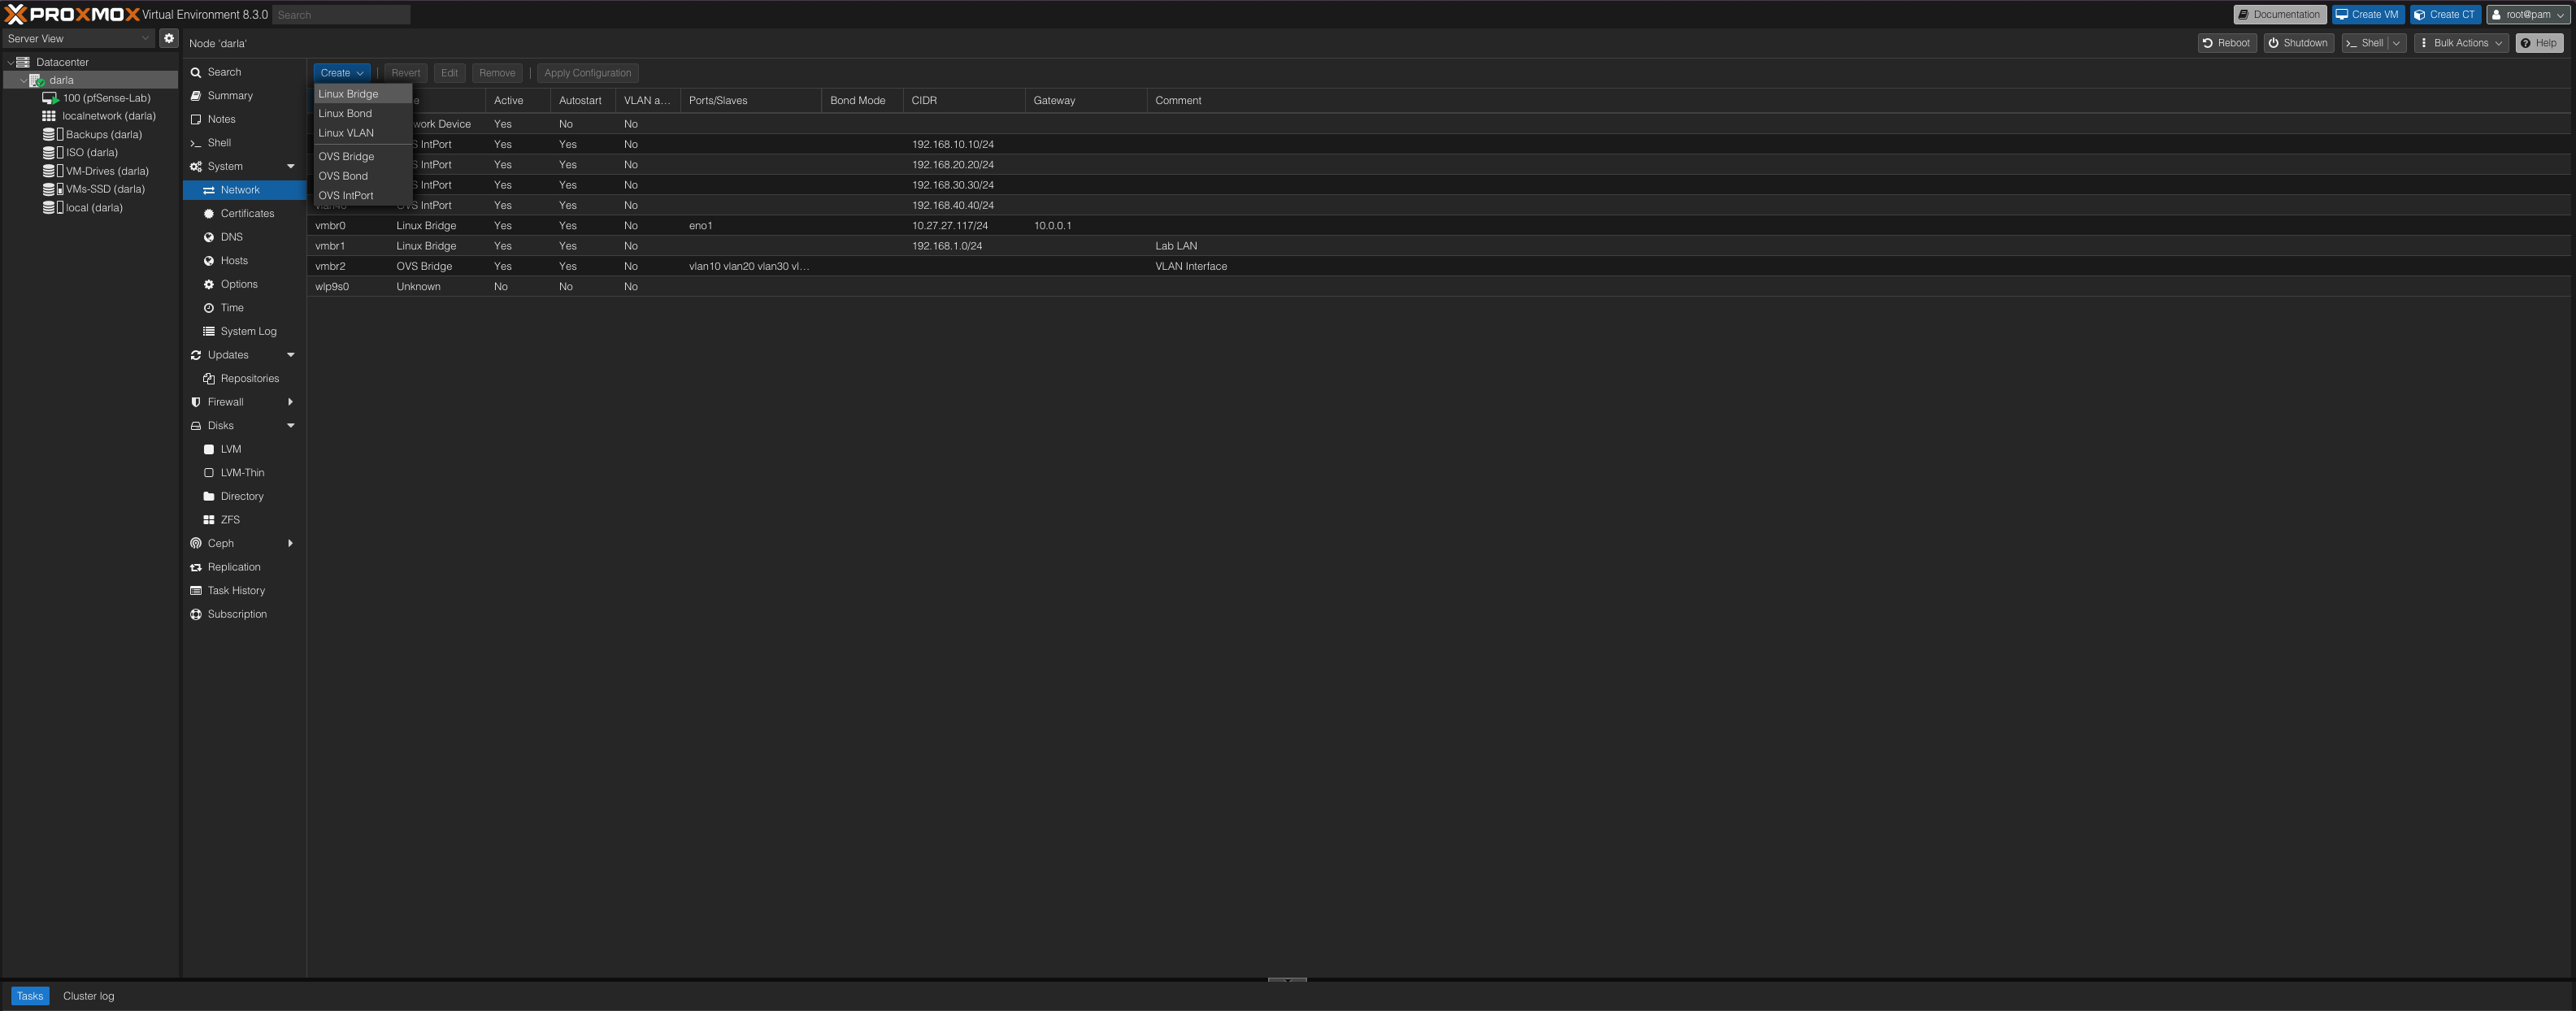 Once it finished installing, we are good to set up our bridges and VLANs! First we will do our linux bridge that will act as the Lan. Once we click linux bridge we will be presented with the window below.
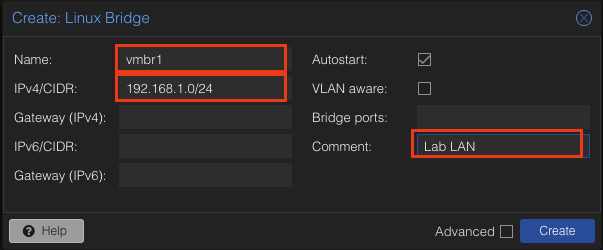
Go ahead and give the bridge a name or leave it the same as me. You can also assign it an IP like 10.10.1.0/24 in my case I have it set to 192.168.1.0 because my home network uses the 10.10.xx.xx scheme and I encountered some issues.
Leaving a comment is useful so you don’t forget what this bridge was made for. Volia! We created our LAN for our lab environment.
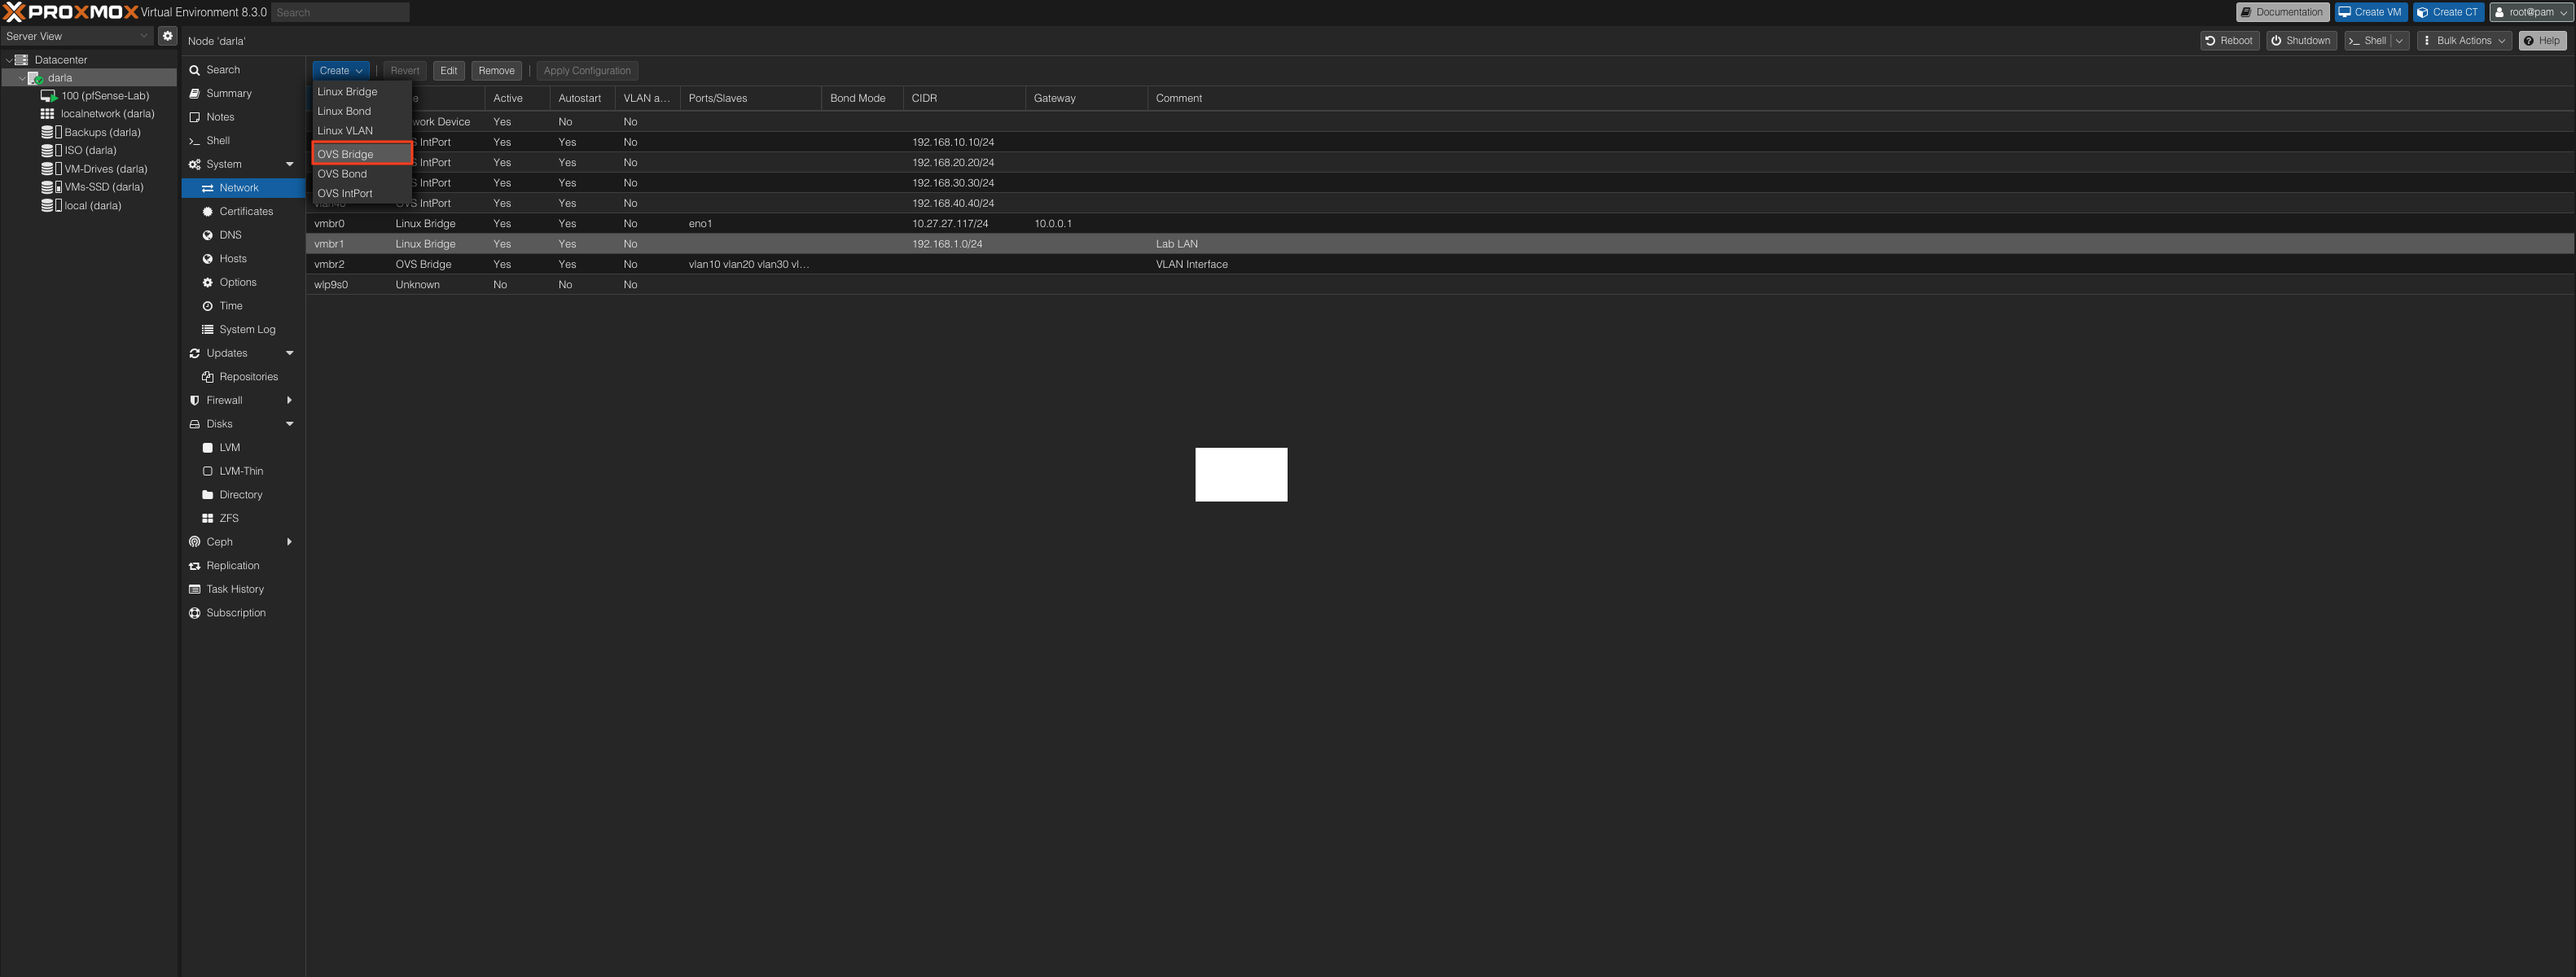
Now, we can create the bridge for our virtual switch. Located in the same place as the Linux Bridge just further down the list.
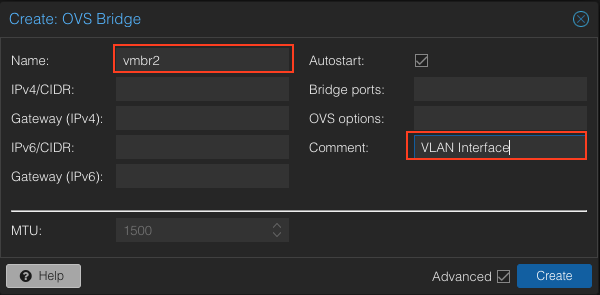
Same thing as the other bridge. We give it a name and a comment to remember what it is. This interface will allow us to select the VLAN we want to assign to each VM.
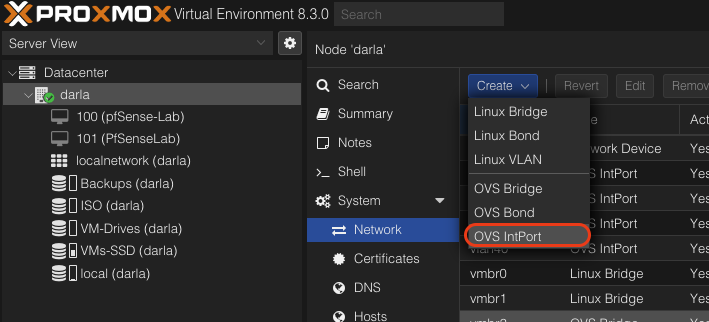 Let’s go ahead and create our VLANs using the OVS IntPort.
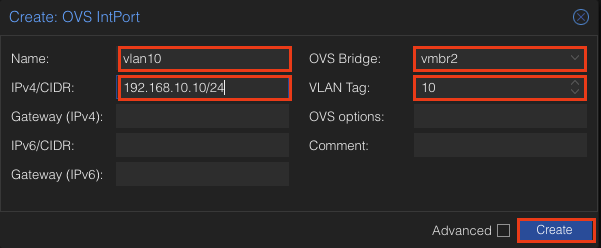
We will be having four total VLANs. You can choose how to name each one but I will keep it simple and do 10,20,30,40. The process is the same for each one.
Give it a name, set the Bridge to be the our VLAN Interface (vmbr2), give it an IP, and give it a tag. You can also add a comment as well. I actually went back later and added this. I referred to the network diagram and left a comment corresponding to what I designated each vlan for.
Example: Comment: Security
After creating the Vlans you should have something like this.
VLAN | IP | Tag
- VLAN 10: 192.168.10.10/24, 10
- VLAN 20: 192.168.20.20/24, 20
- VLAN 30: 192.168.30.30/24, 30
- VLAN 40: 192.168.40.40/24, 40
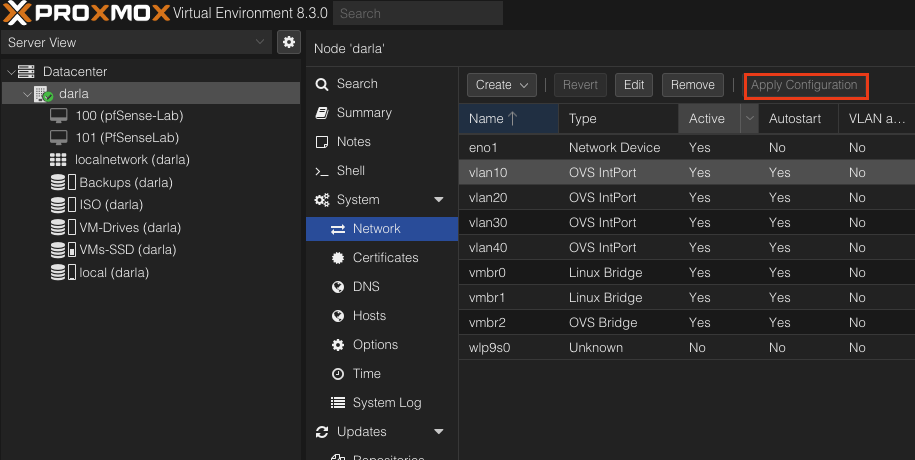
After all is set and done. Click Apply Configuration and we are ready to move onto setting up the pfSense Virtual Machine.
pfSense Setup
Downloading pfSense
Download here: pfSense ISO Download
As of this time, the latest version of pfSense is 2.7.2
For best results, download the file named: pfSense-CE-2.7.2-RELEASE-amd64.iso.gz
pfSense ISO Changes
The offical pfSense is requiring registration before downloading their offical ISO image. The link I have provided above will circumvent the regisitration by downloading directly from the mirror. Mildly annoying but thankfully their are workarounds.

Before we create the VM, we want to either upload or Download the ISO Image to our storage to use. For me, I will be uploading my ISO Image into ISO (Darla) but yours will be different, most likely if you are running default it will be something like storage.
Creating pfSense VM
Let’s create the VM! Click on Create VM in the Top Right.

Set your VM ID to be anything you want. I am doing 101. Other than that click Next.
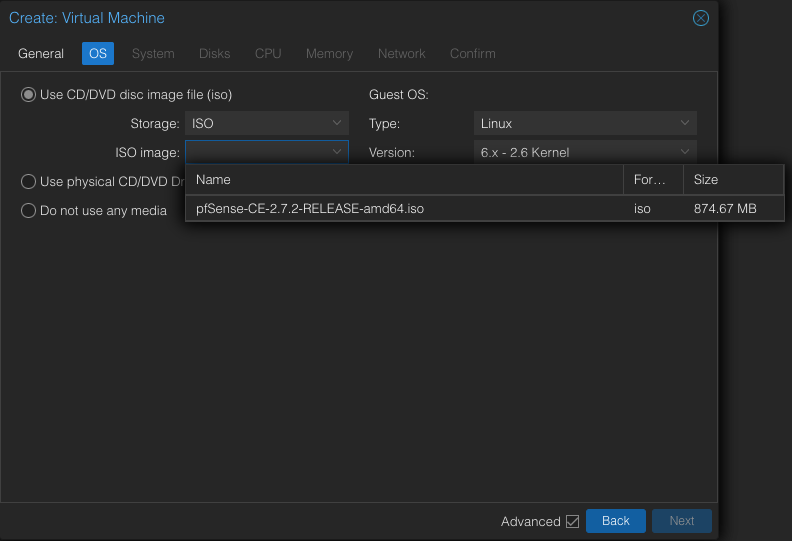
We will select the pfSense ISO from the storage. Click Next.
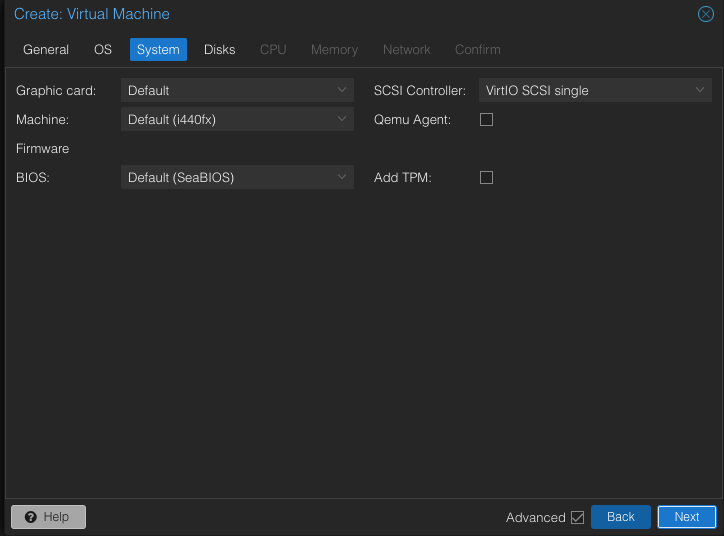
Leave everything default. Next.
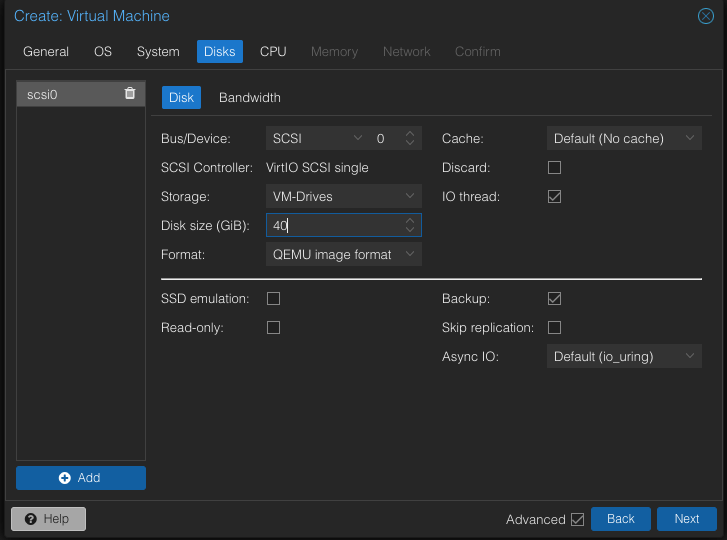
Select your storage and at least 32GB will be enough for pfSense but I will use 40GB. Click Next.
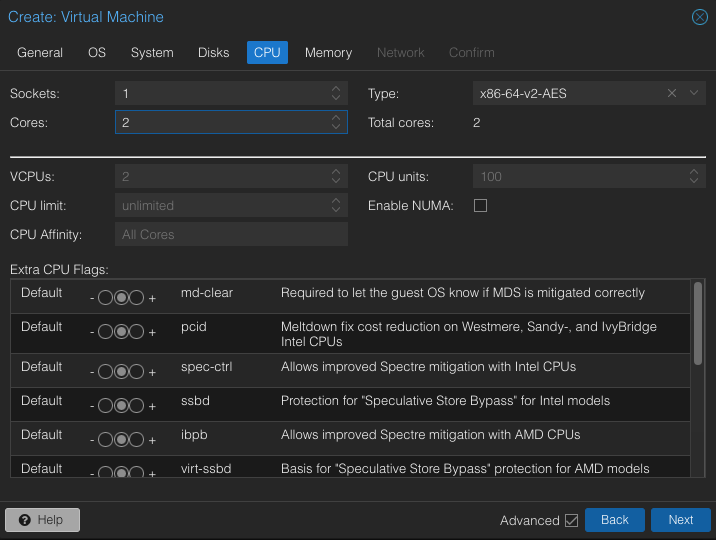
Default is fine but I have core to spare so I will do 2.
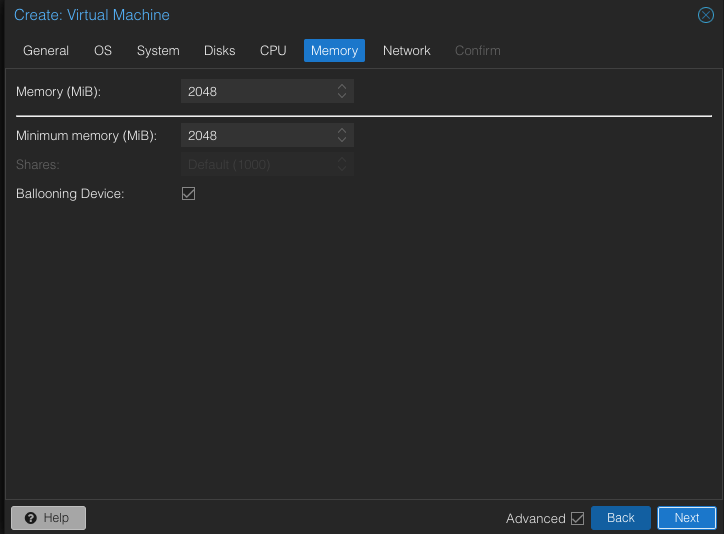
Default memory of 2GB works fine for pfSense. Next!
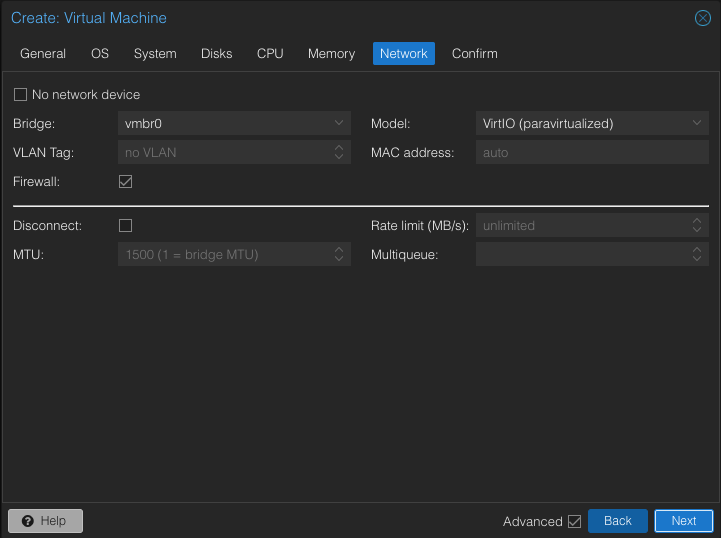
Leave the Bridge as default. After the creation of the vm we will feed it the second bridge.
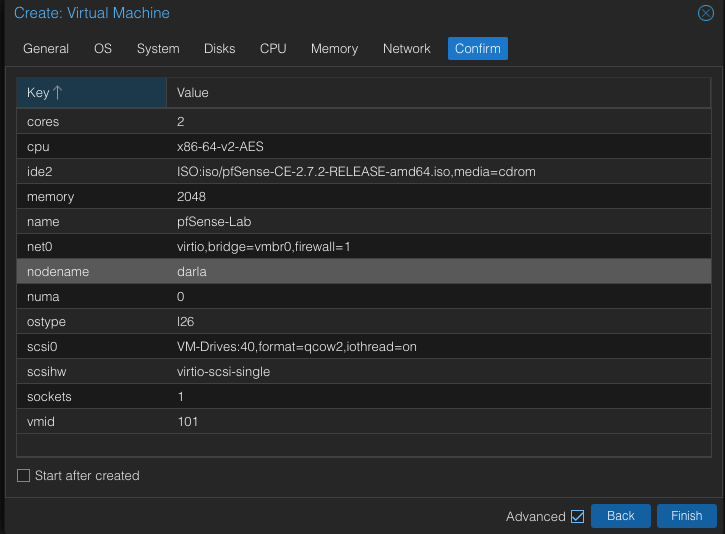
Verify everything looks good and click finish.
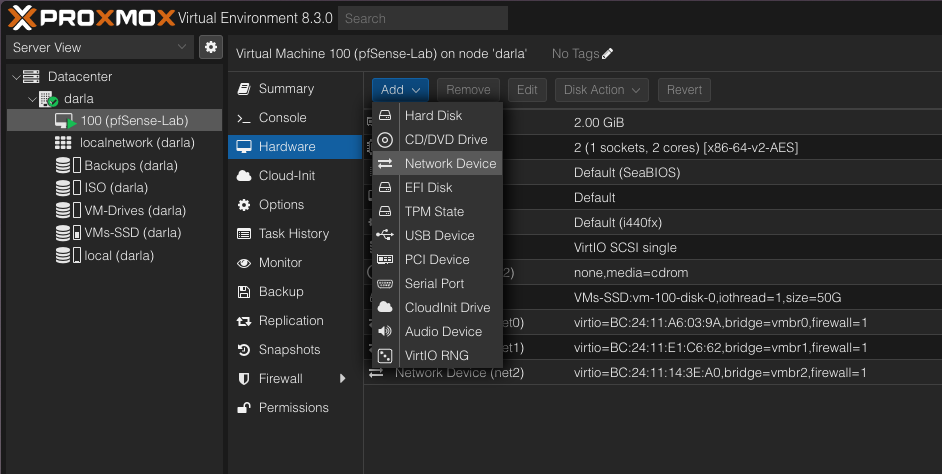
Go ahead and navigate back to the newly created VM. Go to hardware -> Add -> Network Device
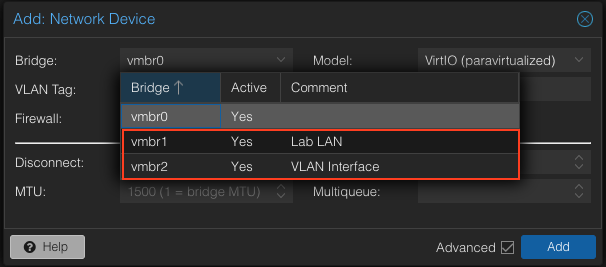
Go ahead and add vmbr 1 (lab lan) and vmbr2 (vlan interface) to the VM.
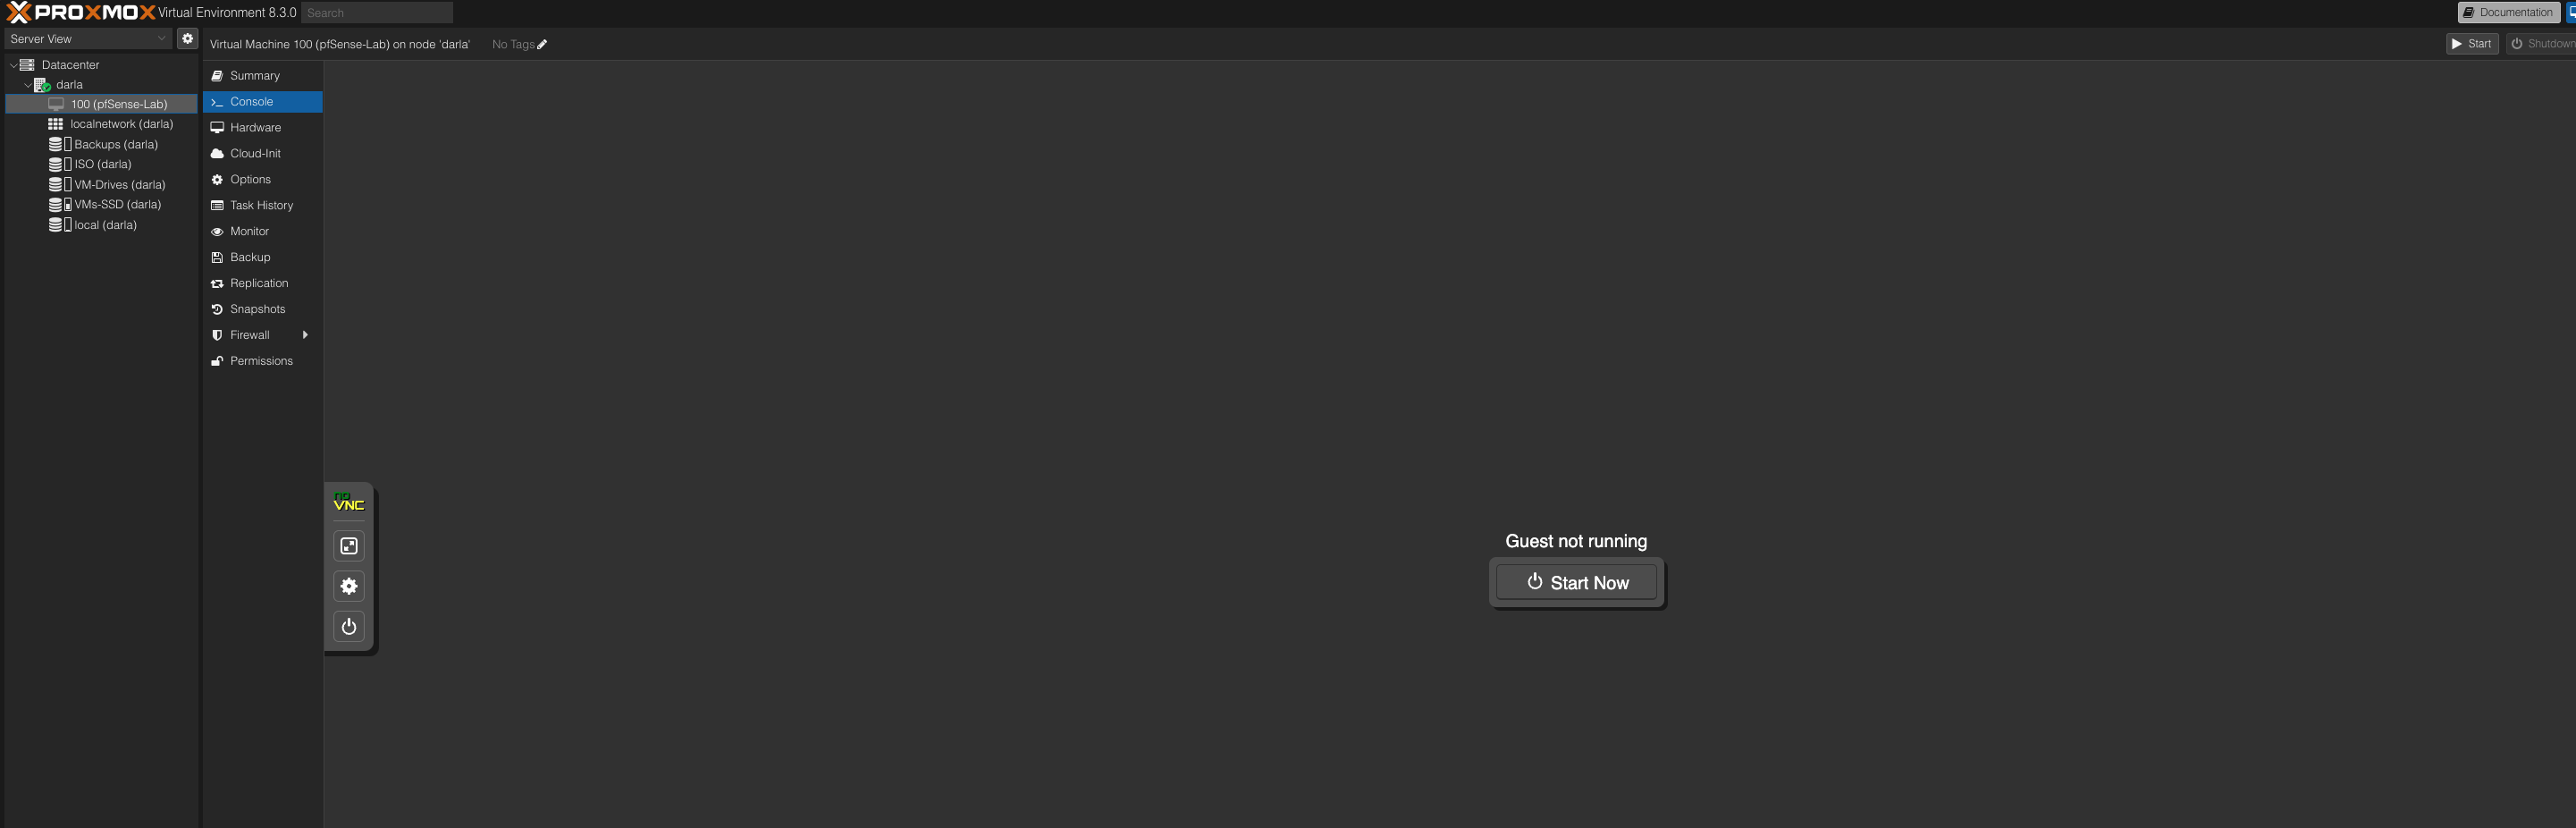
We are now finished with setting it up and we can finally start it up!
pfSense Installation
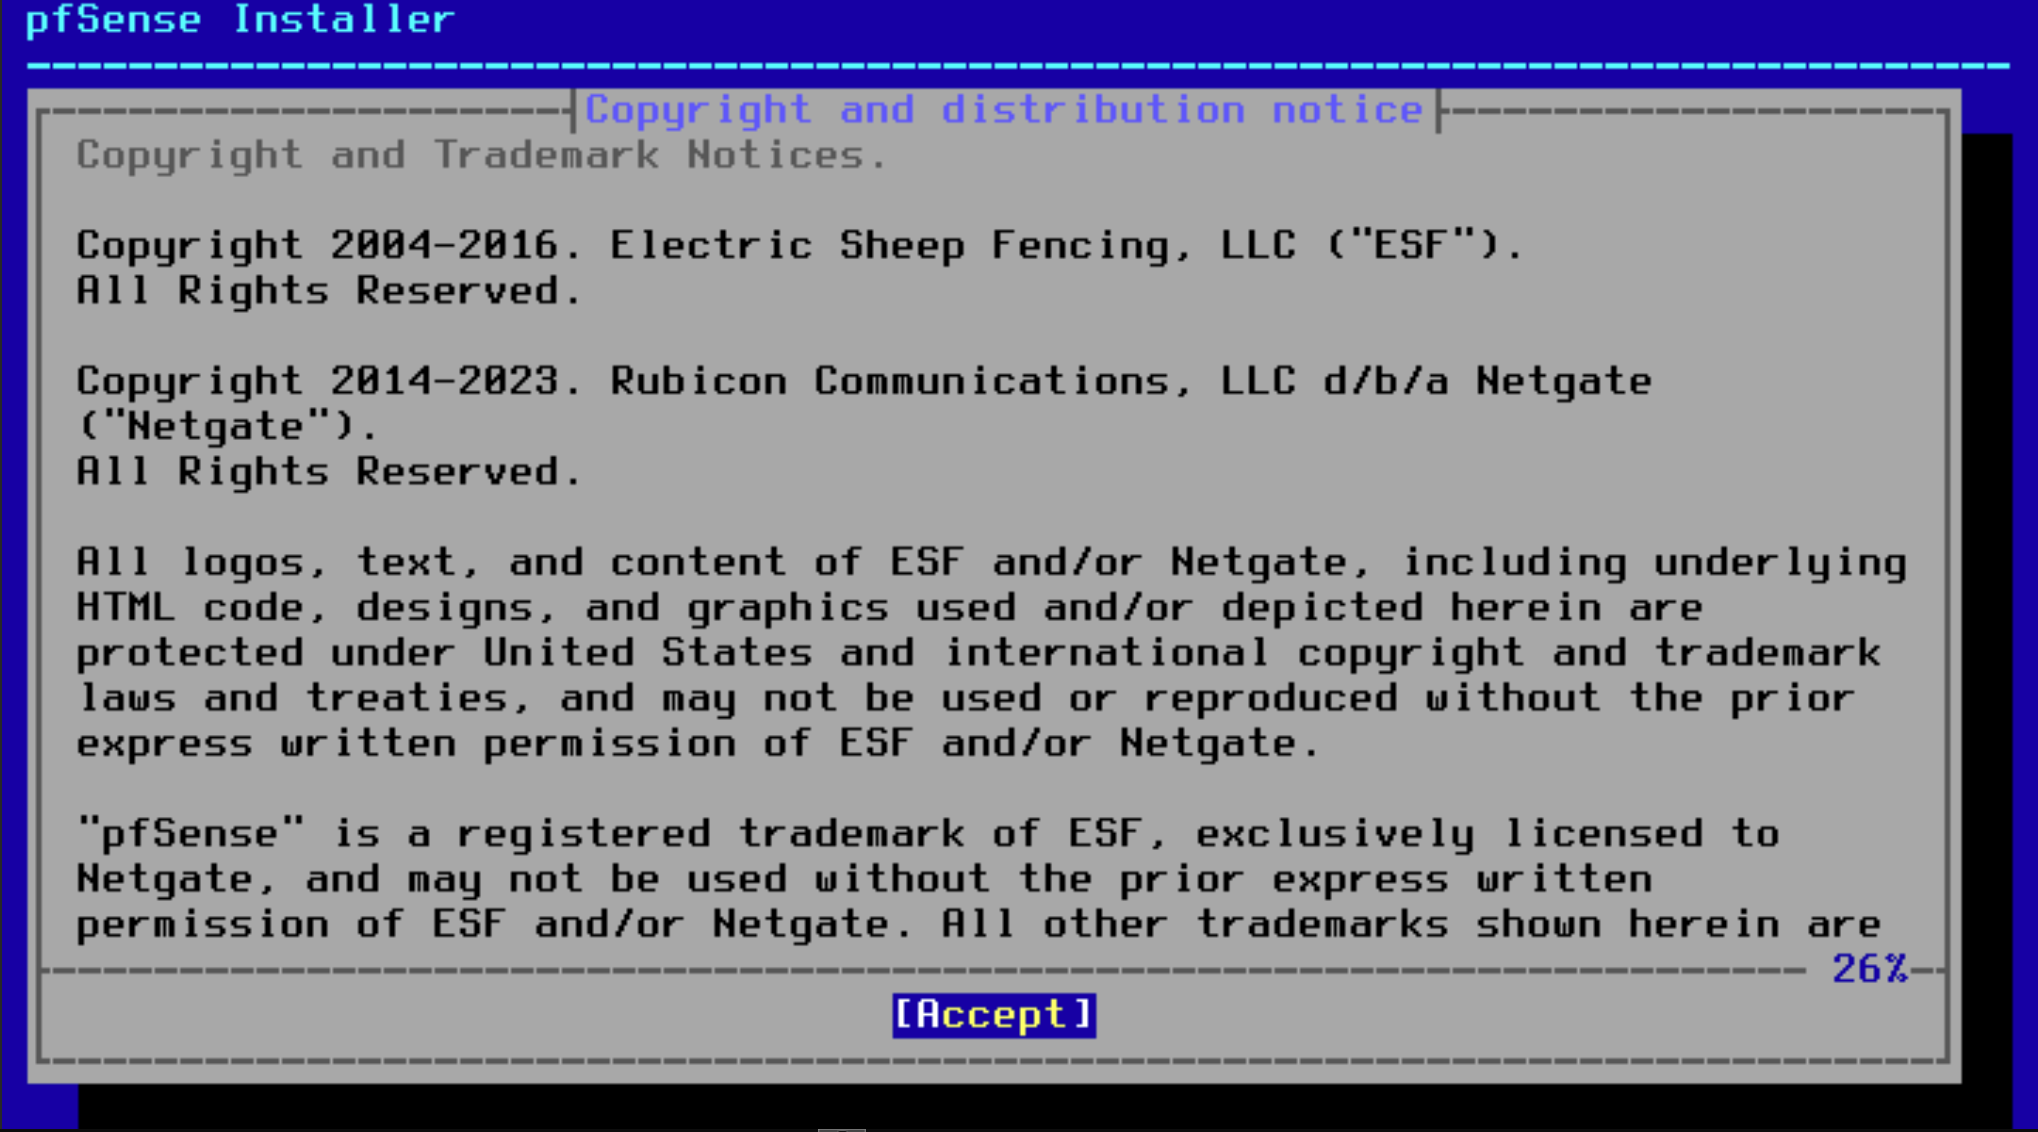
It’ll take a few minutes but eventually it’ll boot to this screen. Hit Accept
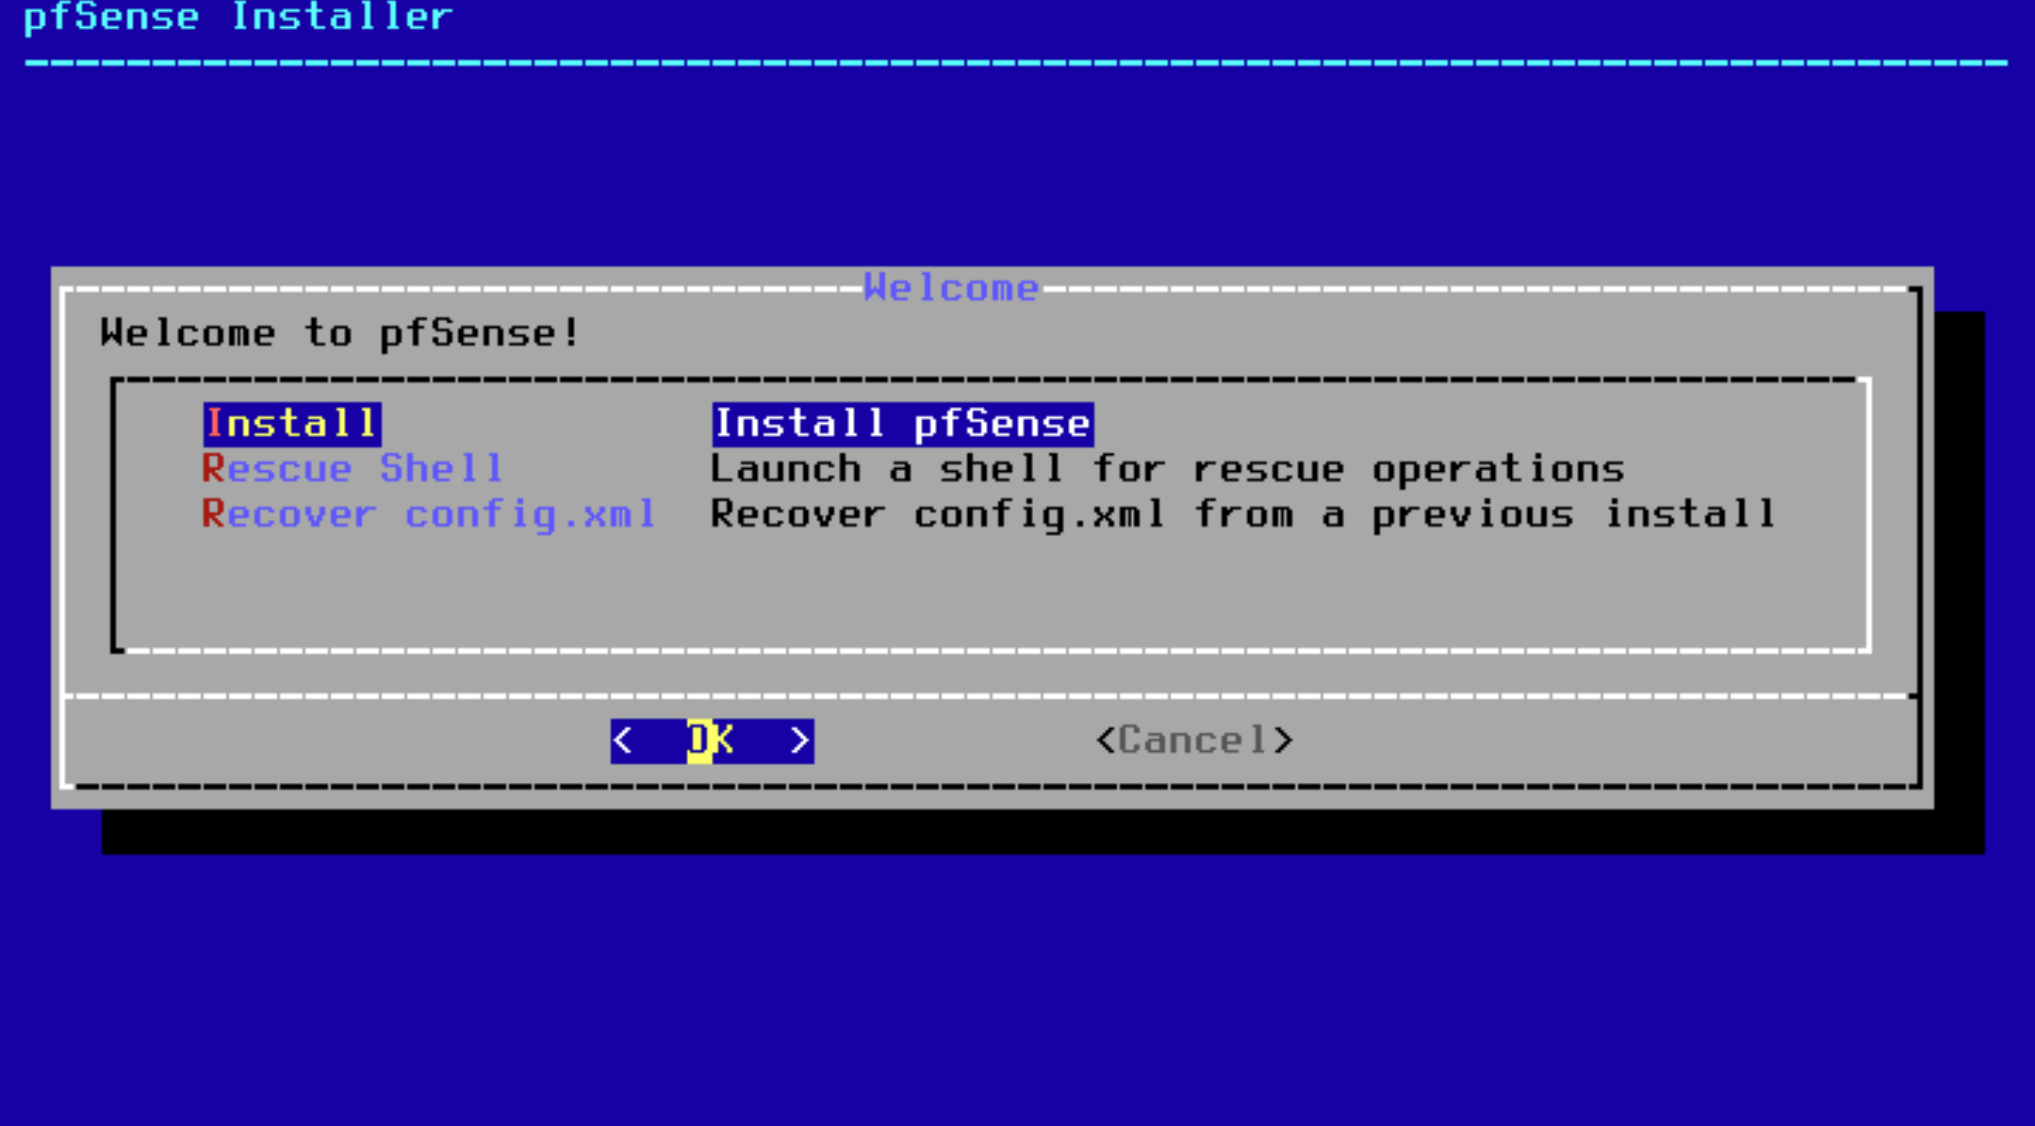
Leave it all default. Hit Install
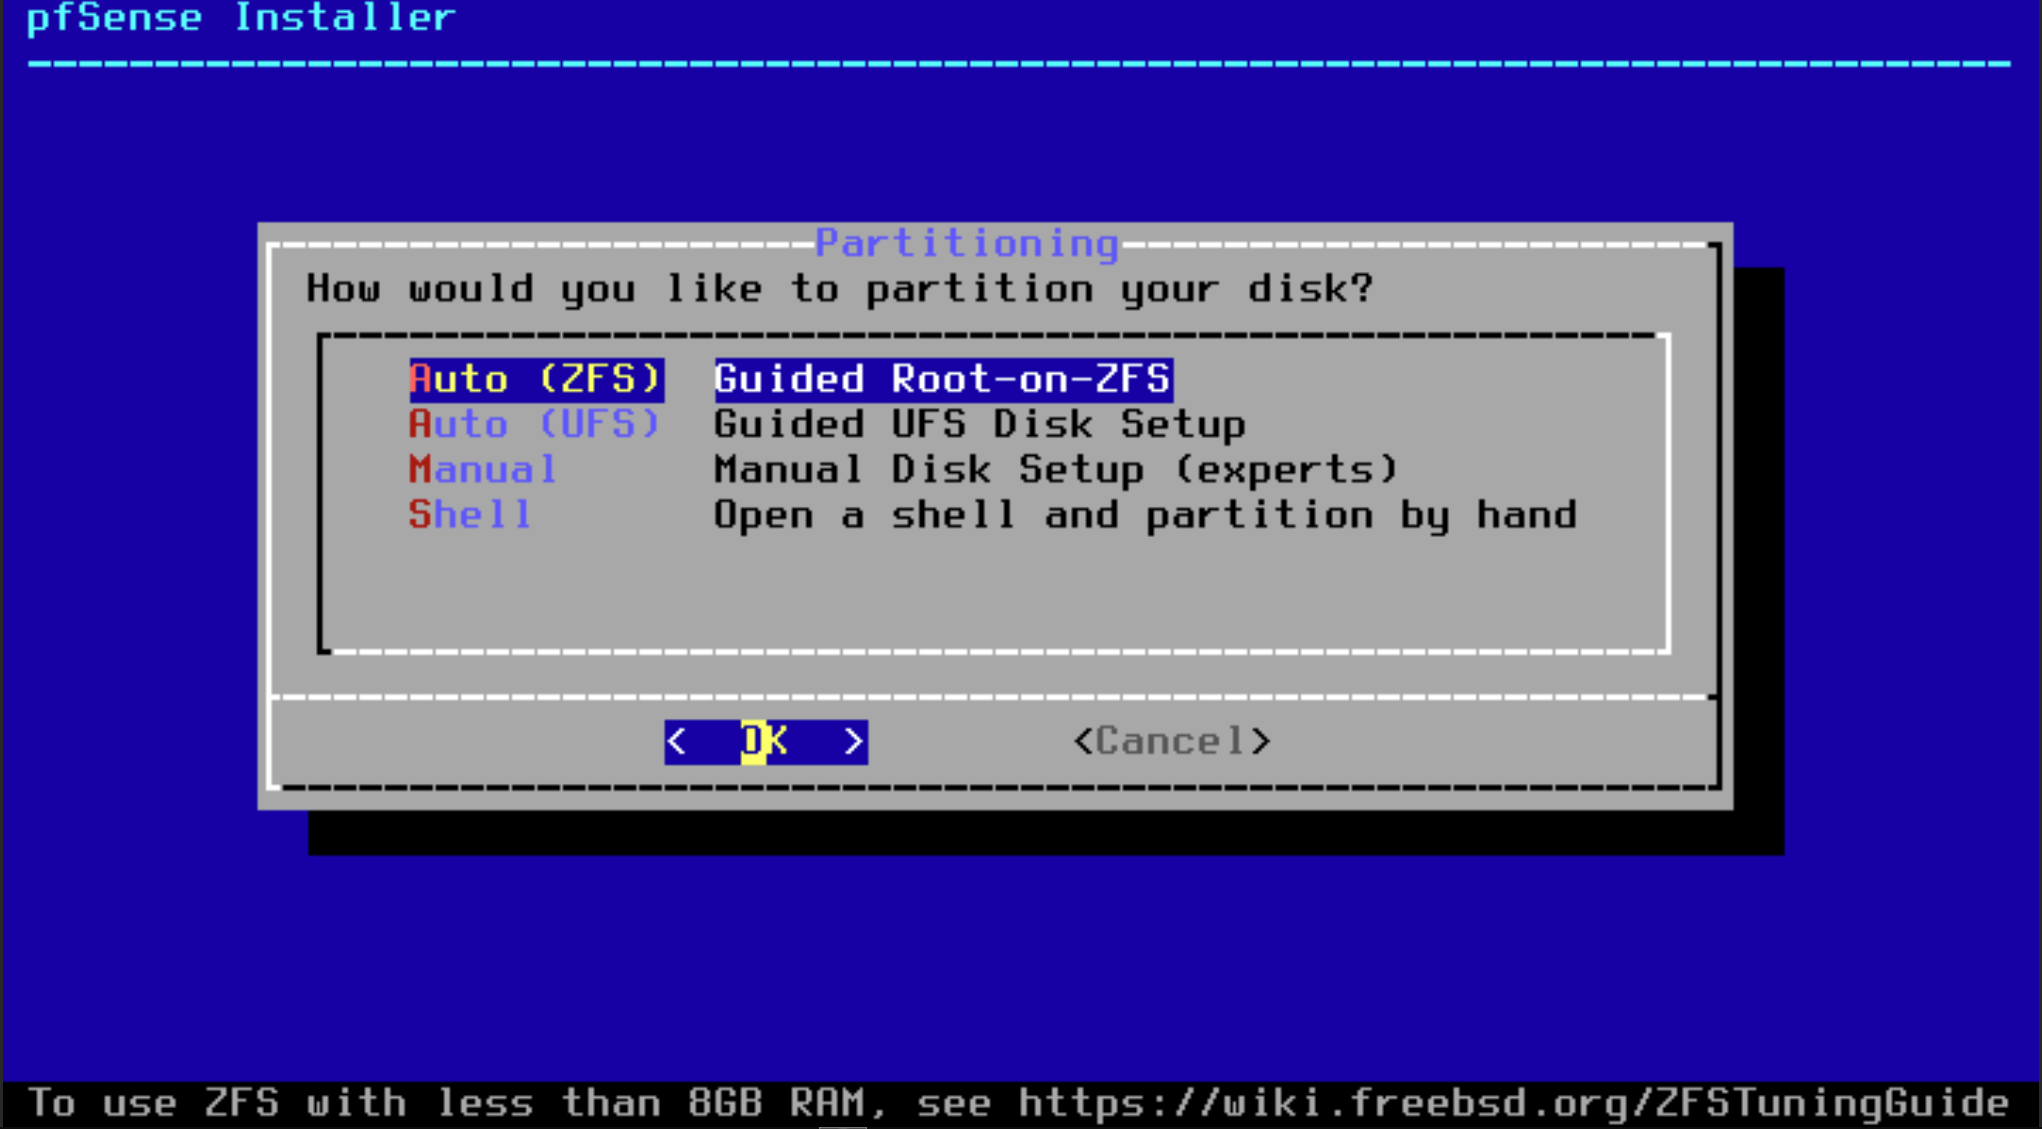
Leave it at default again. Hit ok
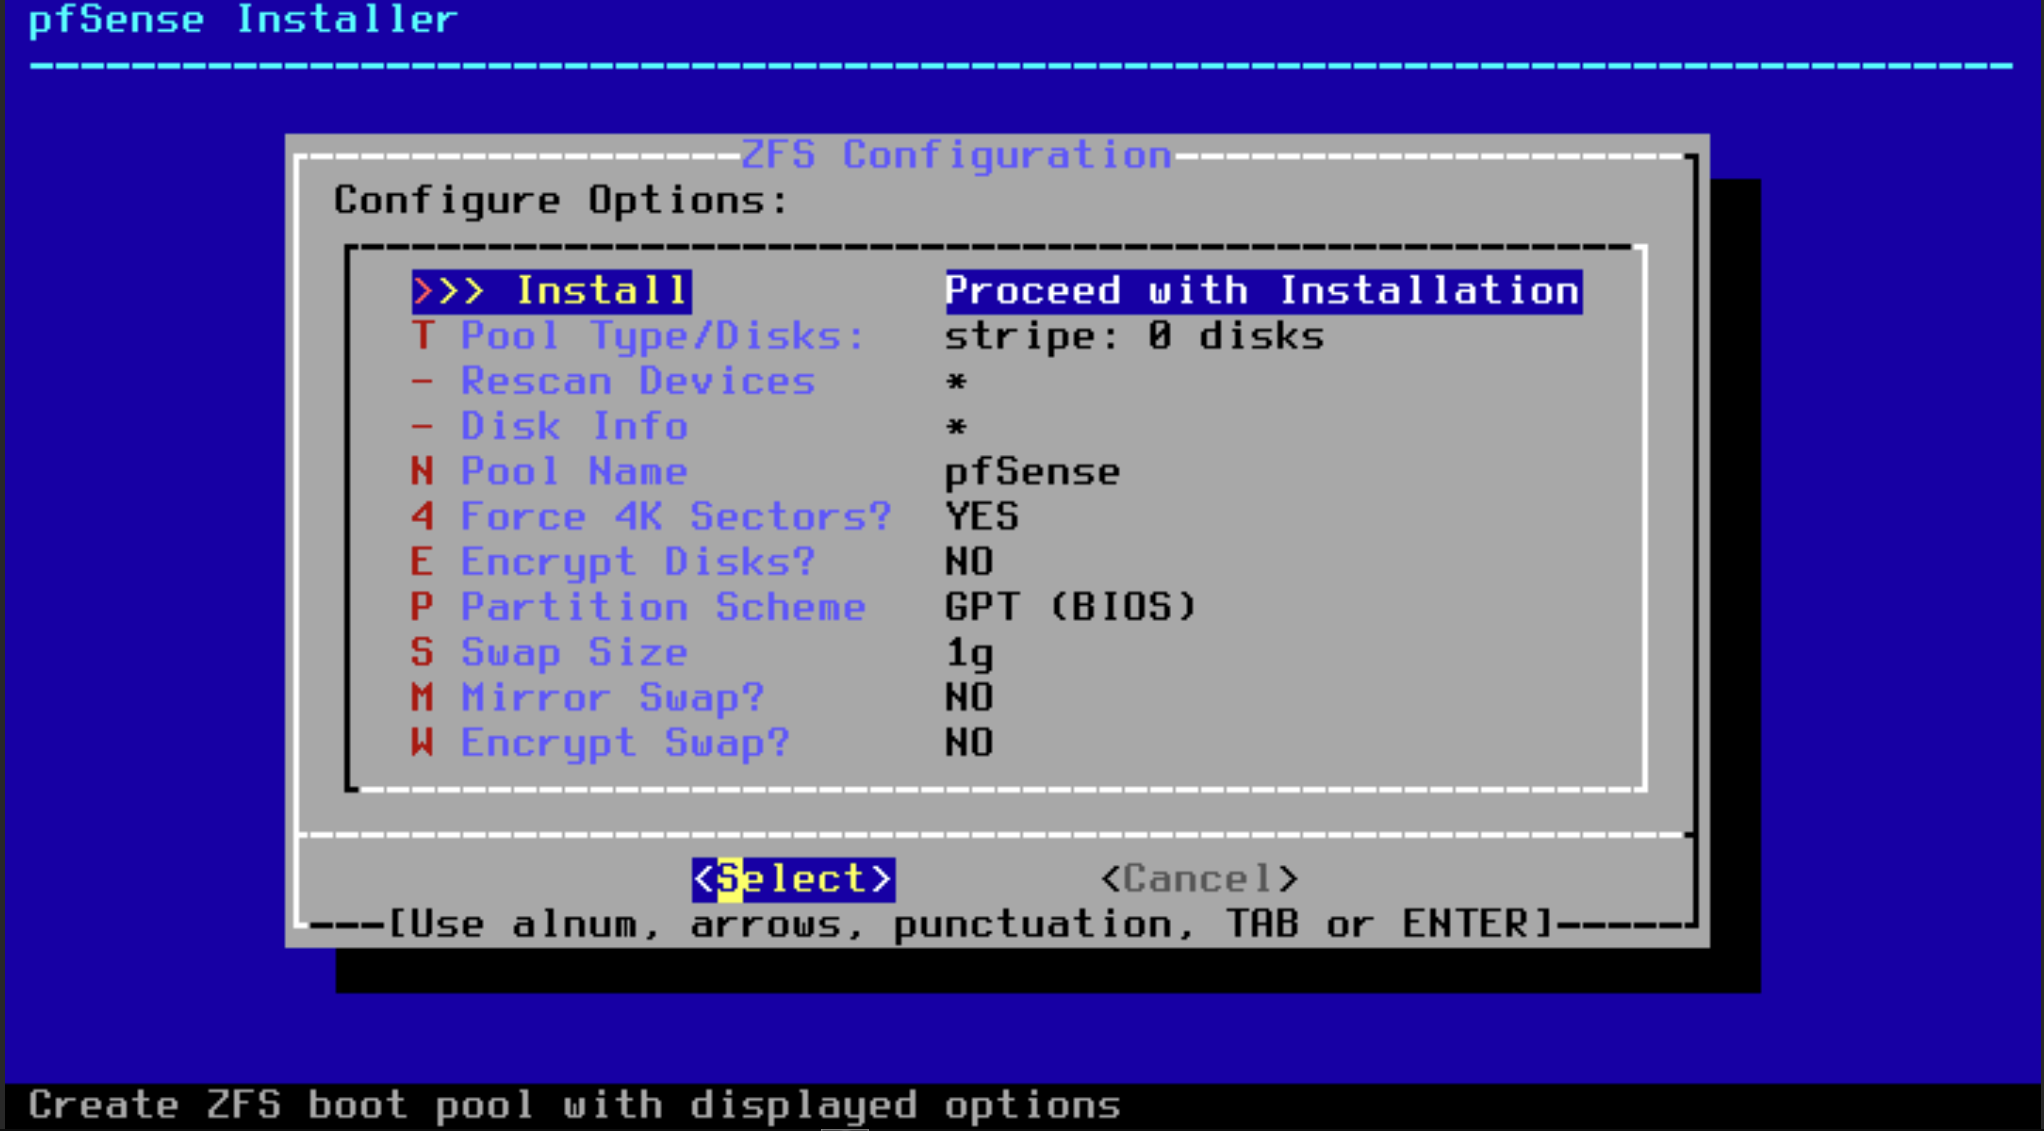
Nothing to change here.. Hit Select and install
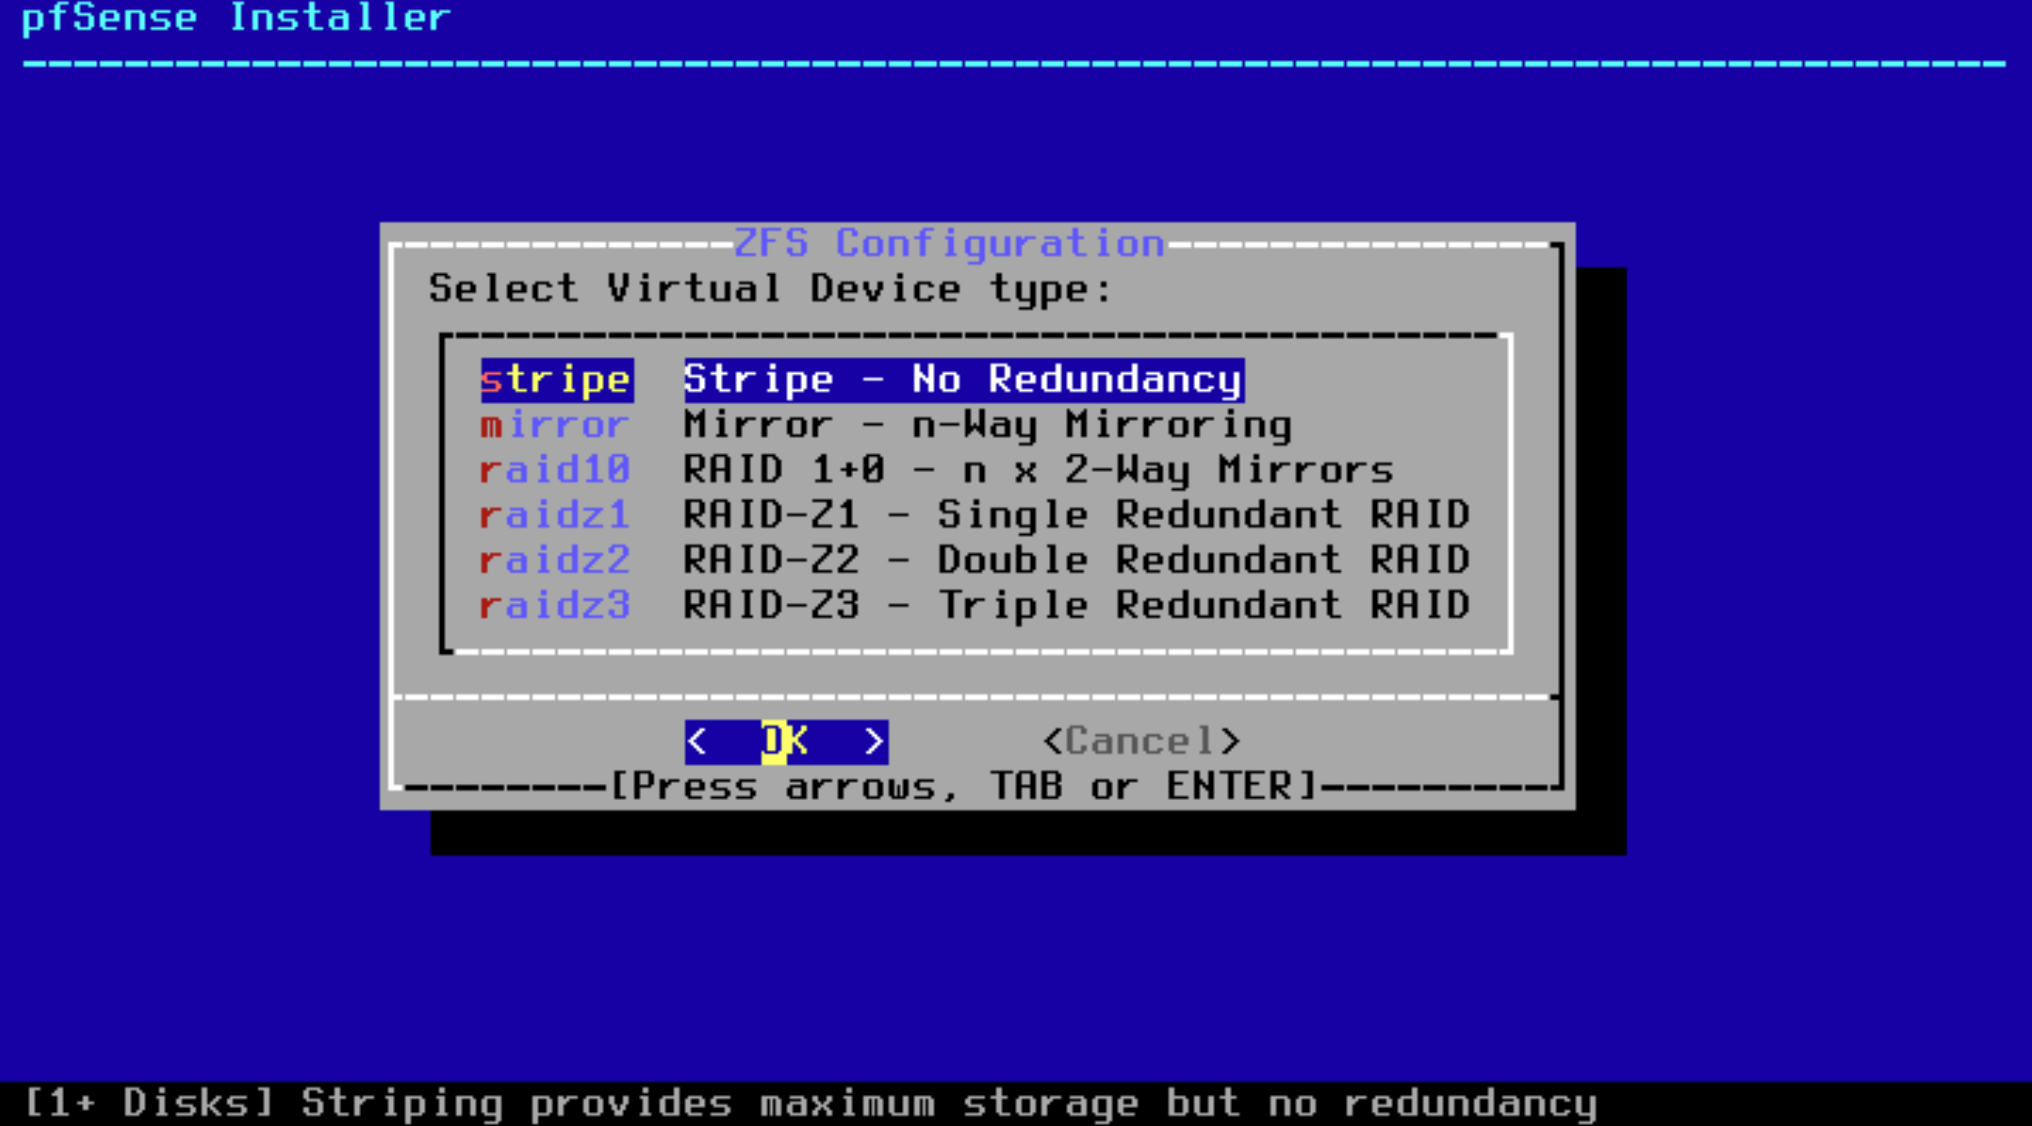
Same thing. Hit ok unless you know what you’re doing.
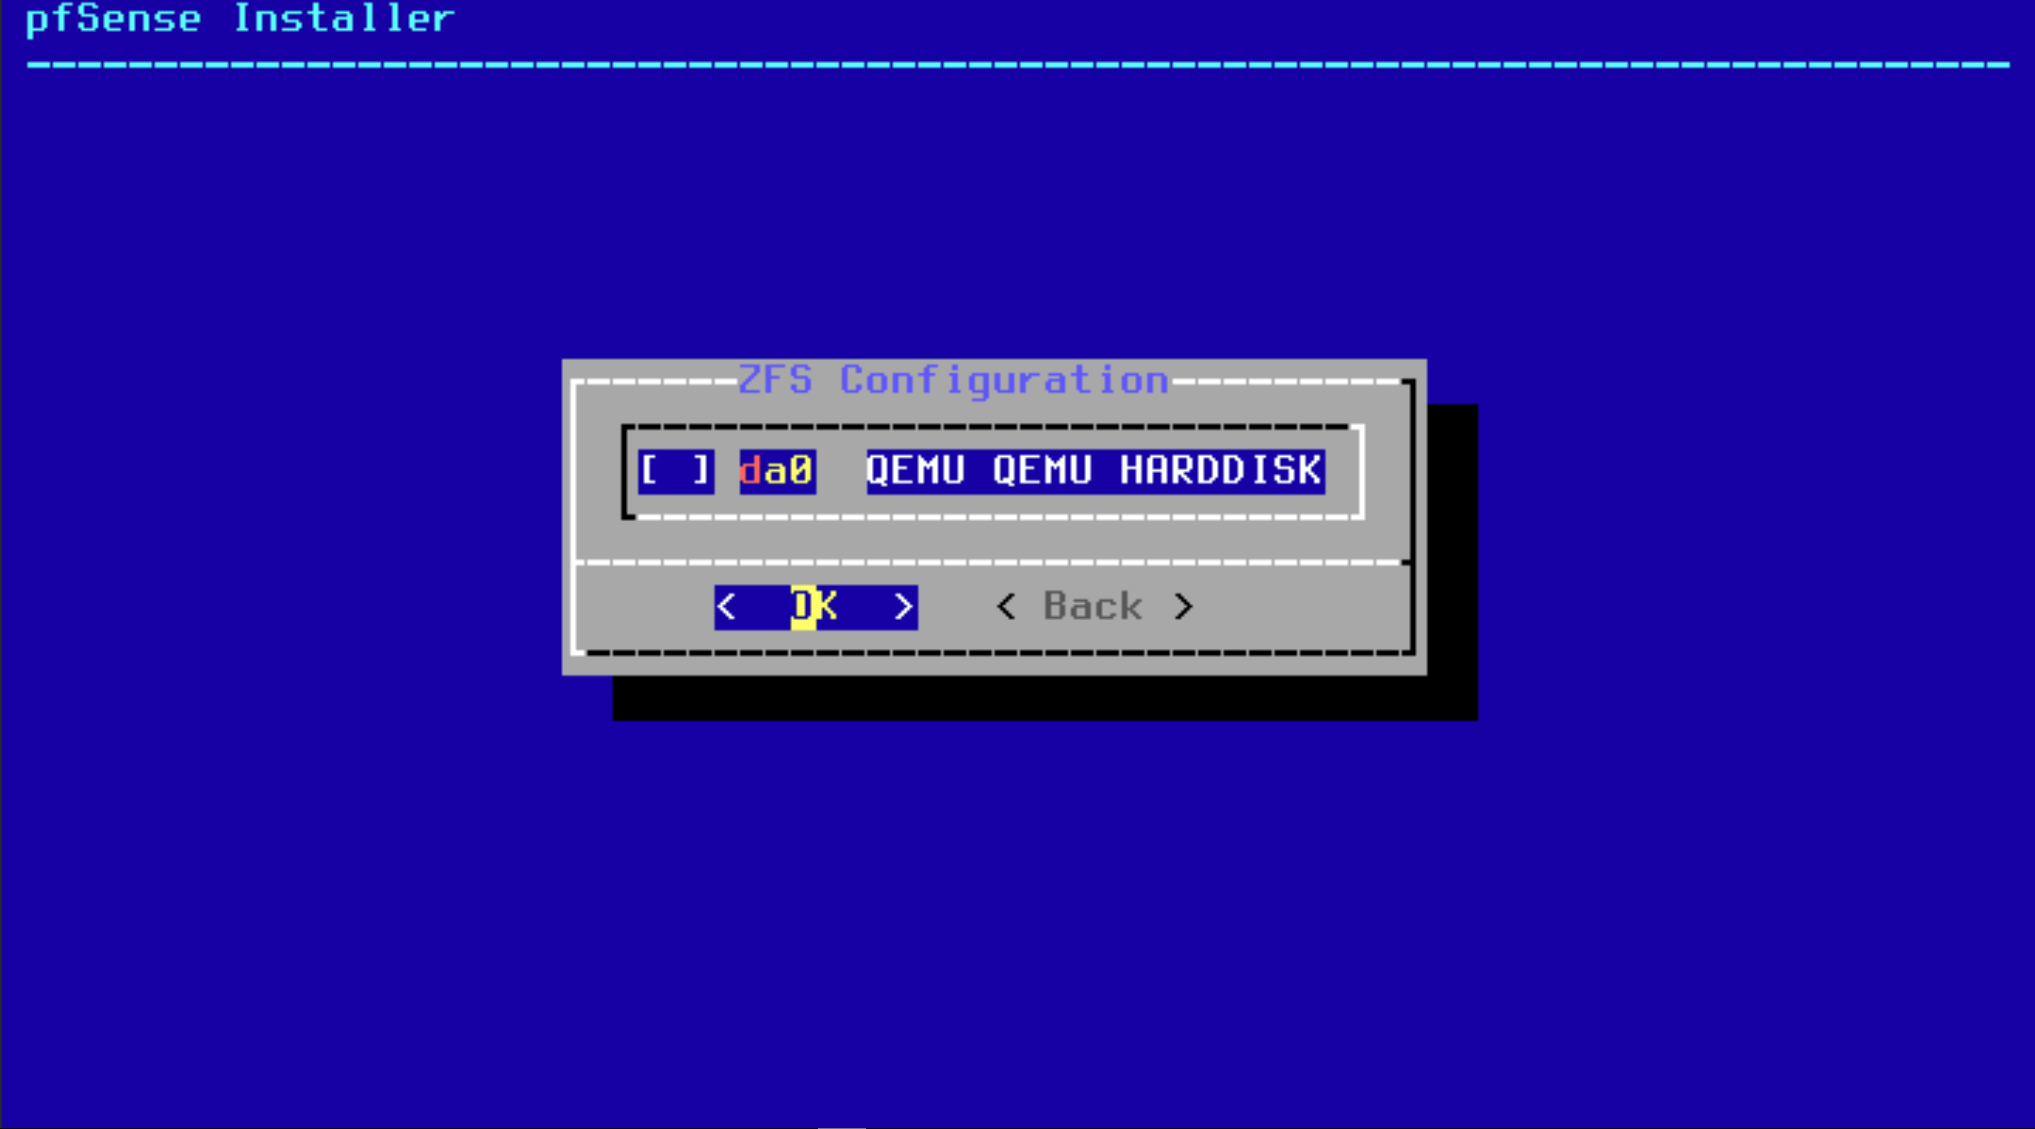
Hit Space and then Ok.
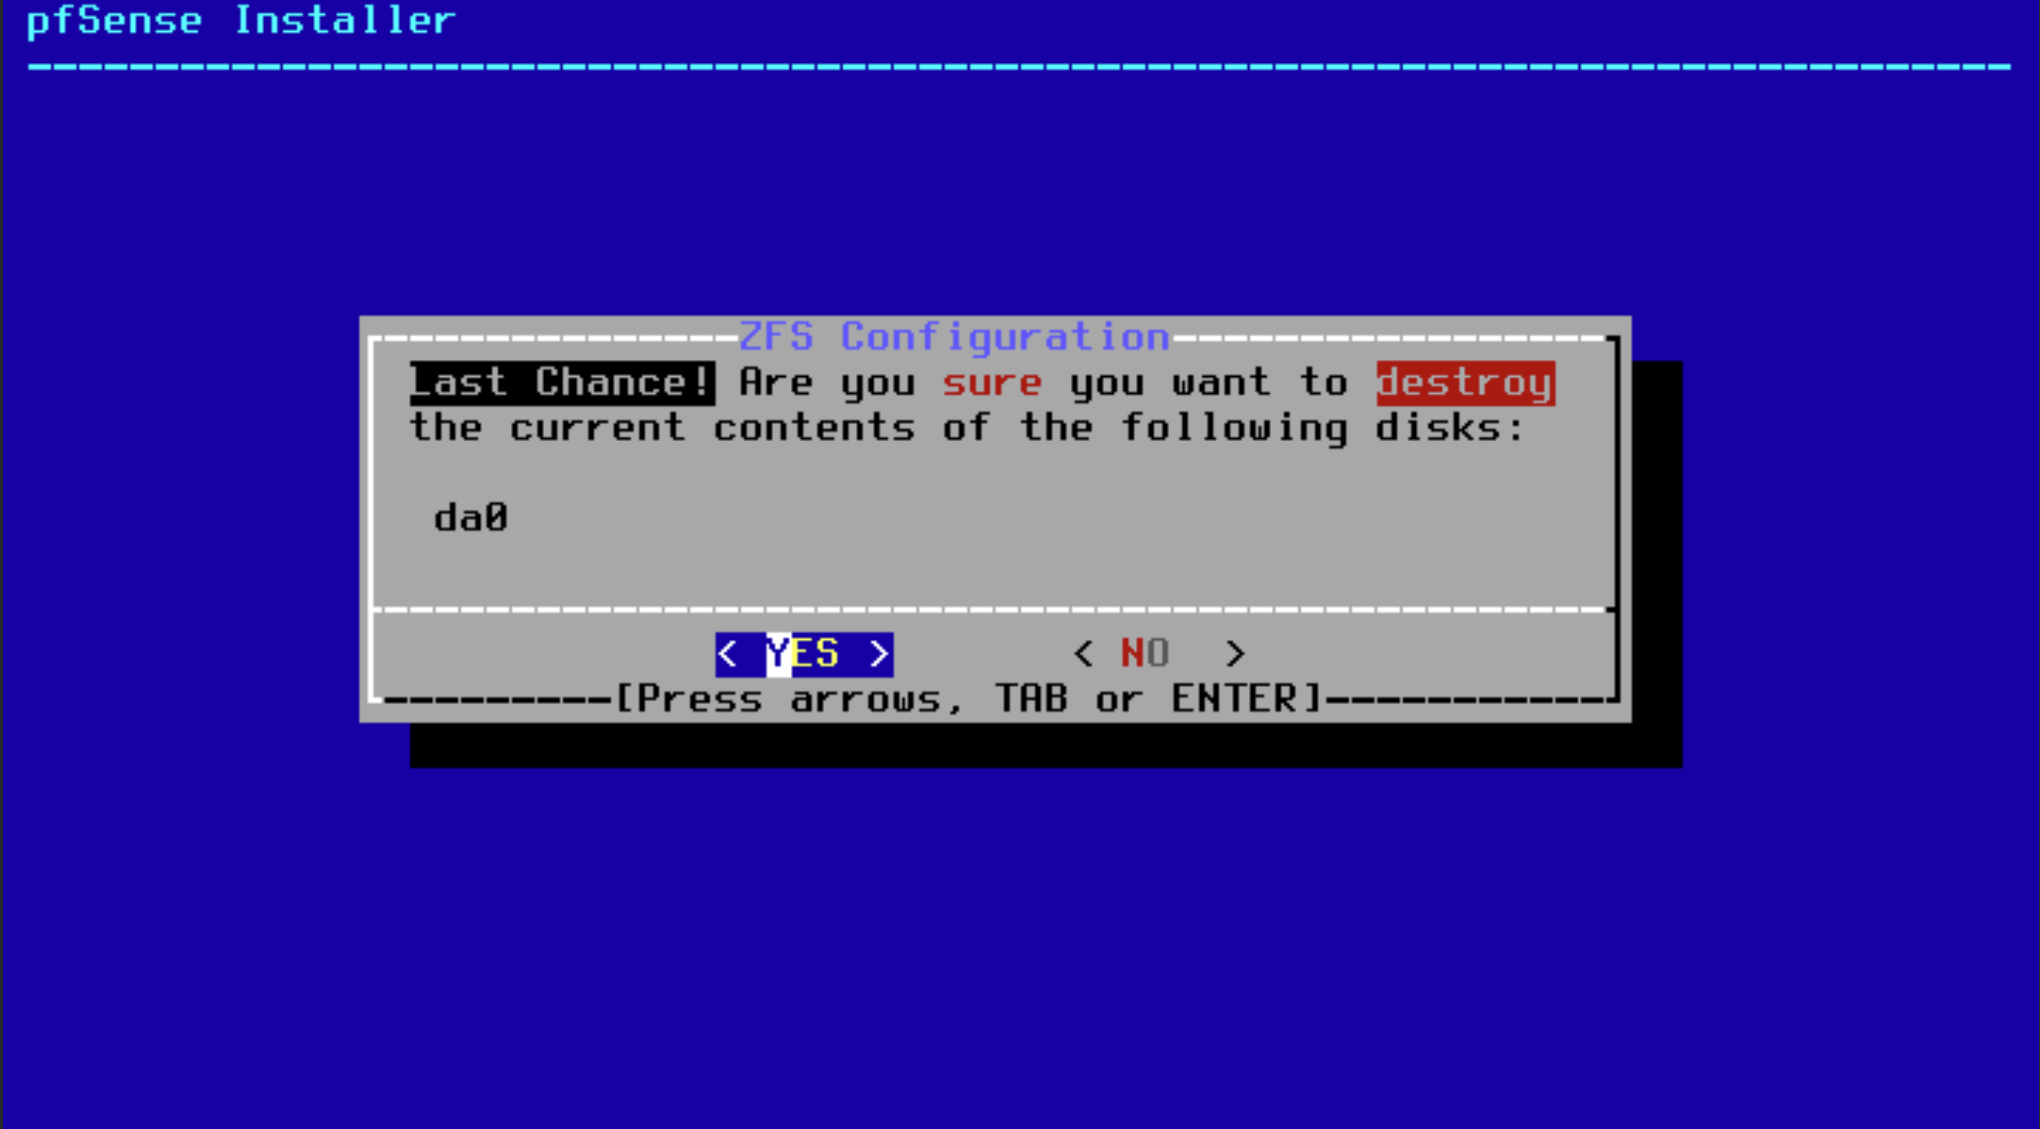
Looks scary but its harmless. Hit yes and take a breather and maybe some water.
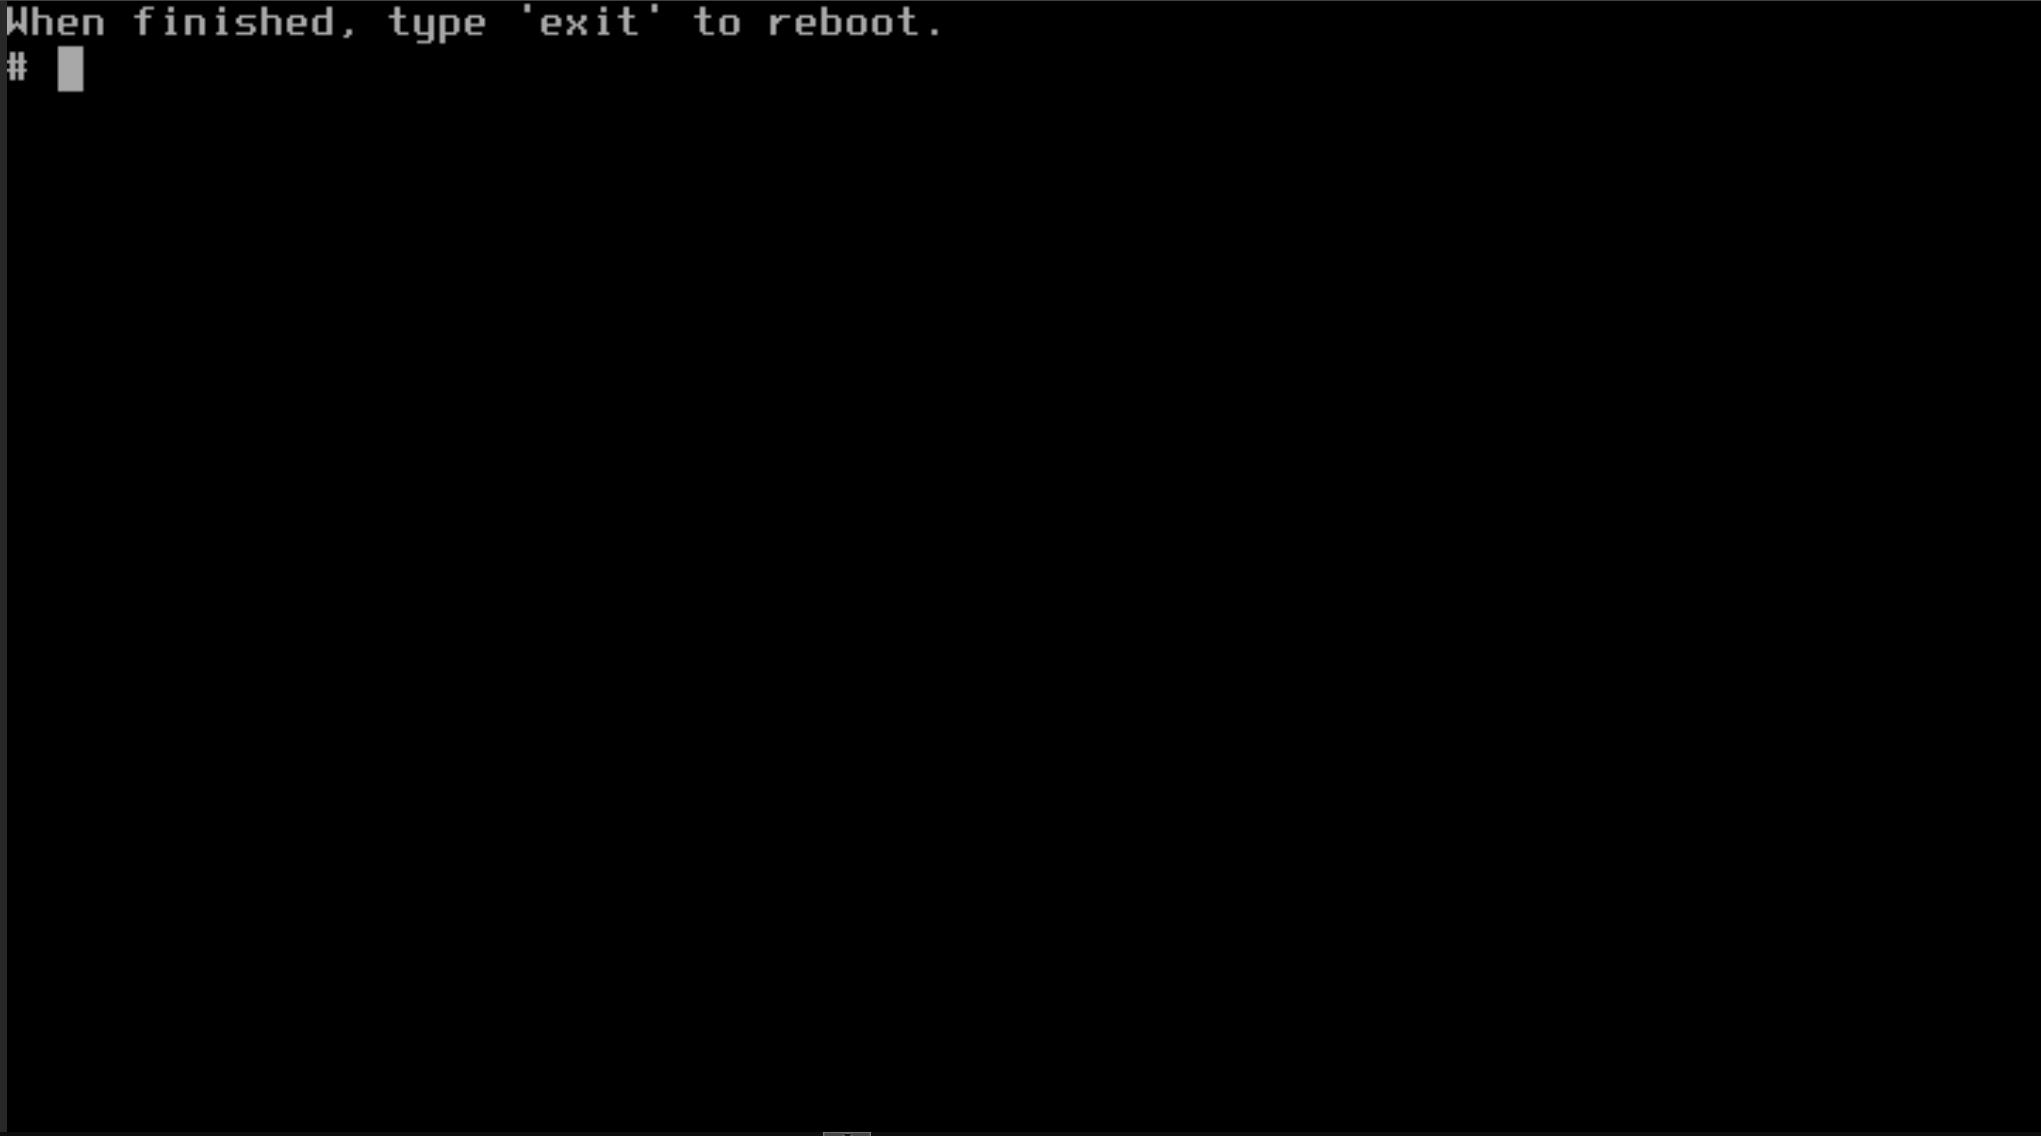 Once it finishes you might see a screen like this. Just got ahead and type exit and it will reboot.
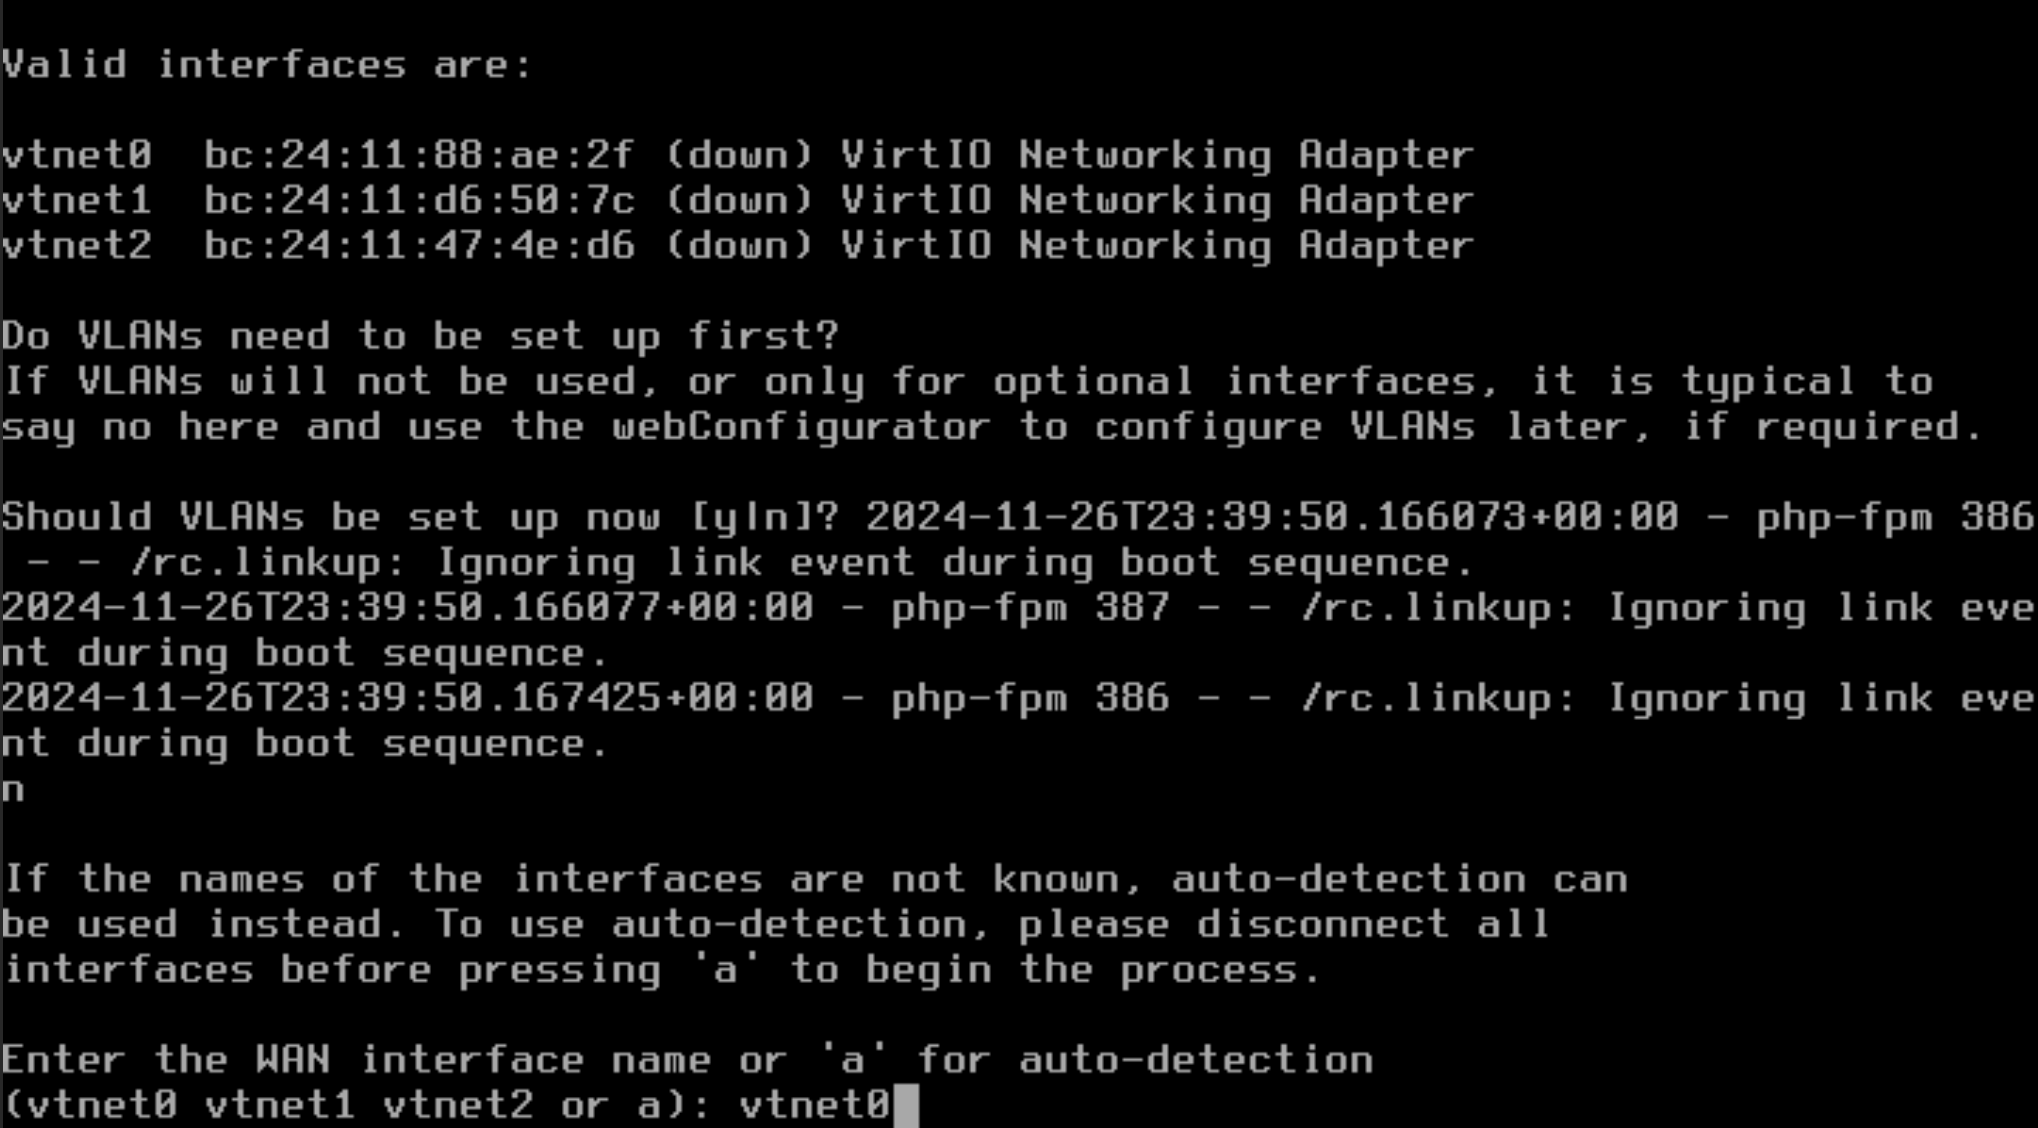
Once it finishes rebooting, we’ll need to configure the interfaces manually.
Should VLANs be set up now? n
Enter the WAN Interface name: vtnet0
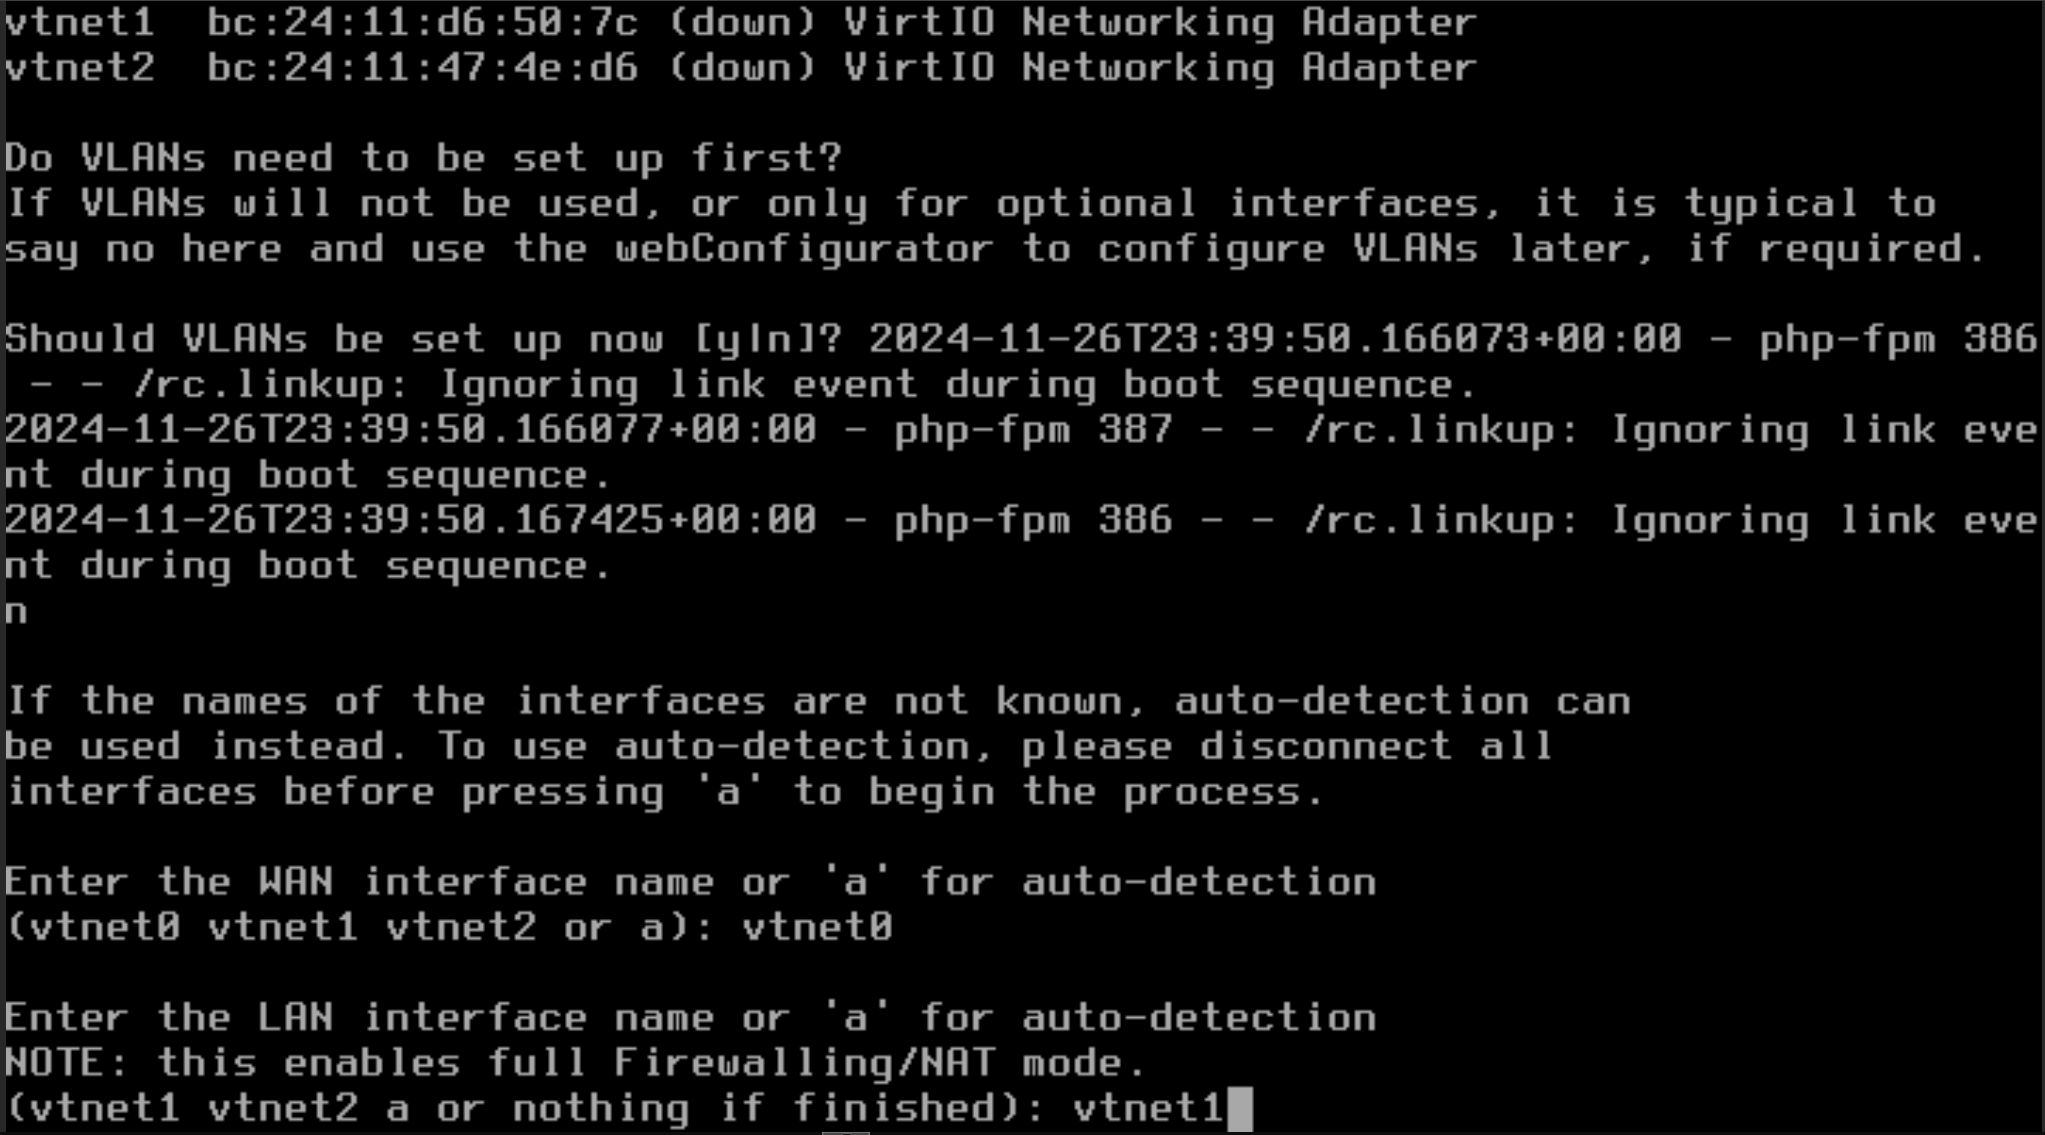
Enter the LAN interface name: vtnet1
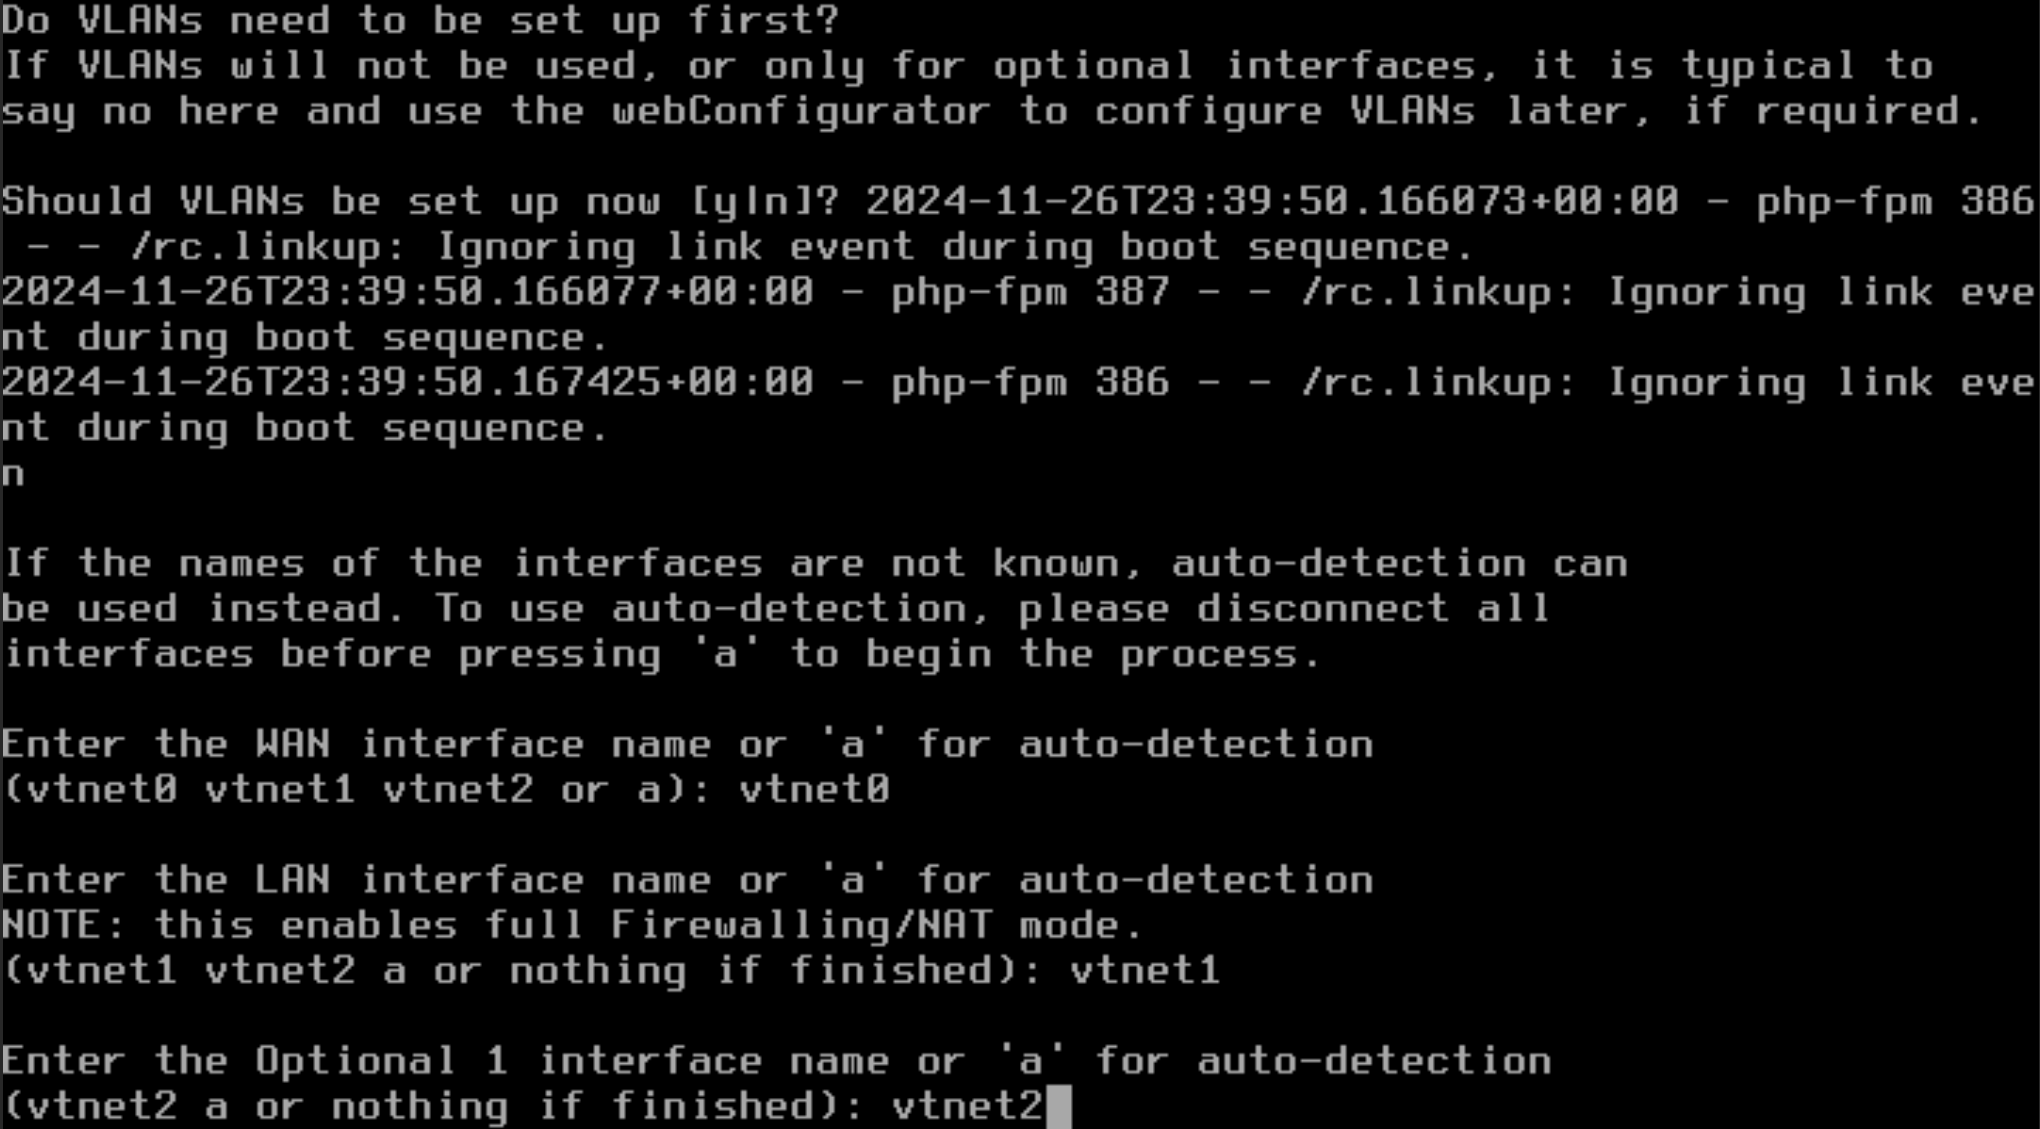
Enter the Optional 1 interface name: vtnet2
Do you want to proceed?: y
We will set up OPT1 in the pfSense interface so don’t worry if it doesn’t have an IP Address
Configuring LAN (vtnet1)
Personally, I do not need to configure the lan as this is the ip address I want to use, however for those using a 10.10.x.x or another ip scheme I will go over it!
Your WAN will have an IP assigned by your DHCP server, I blocked out mine because I’m shy.
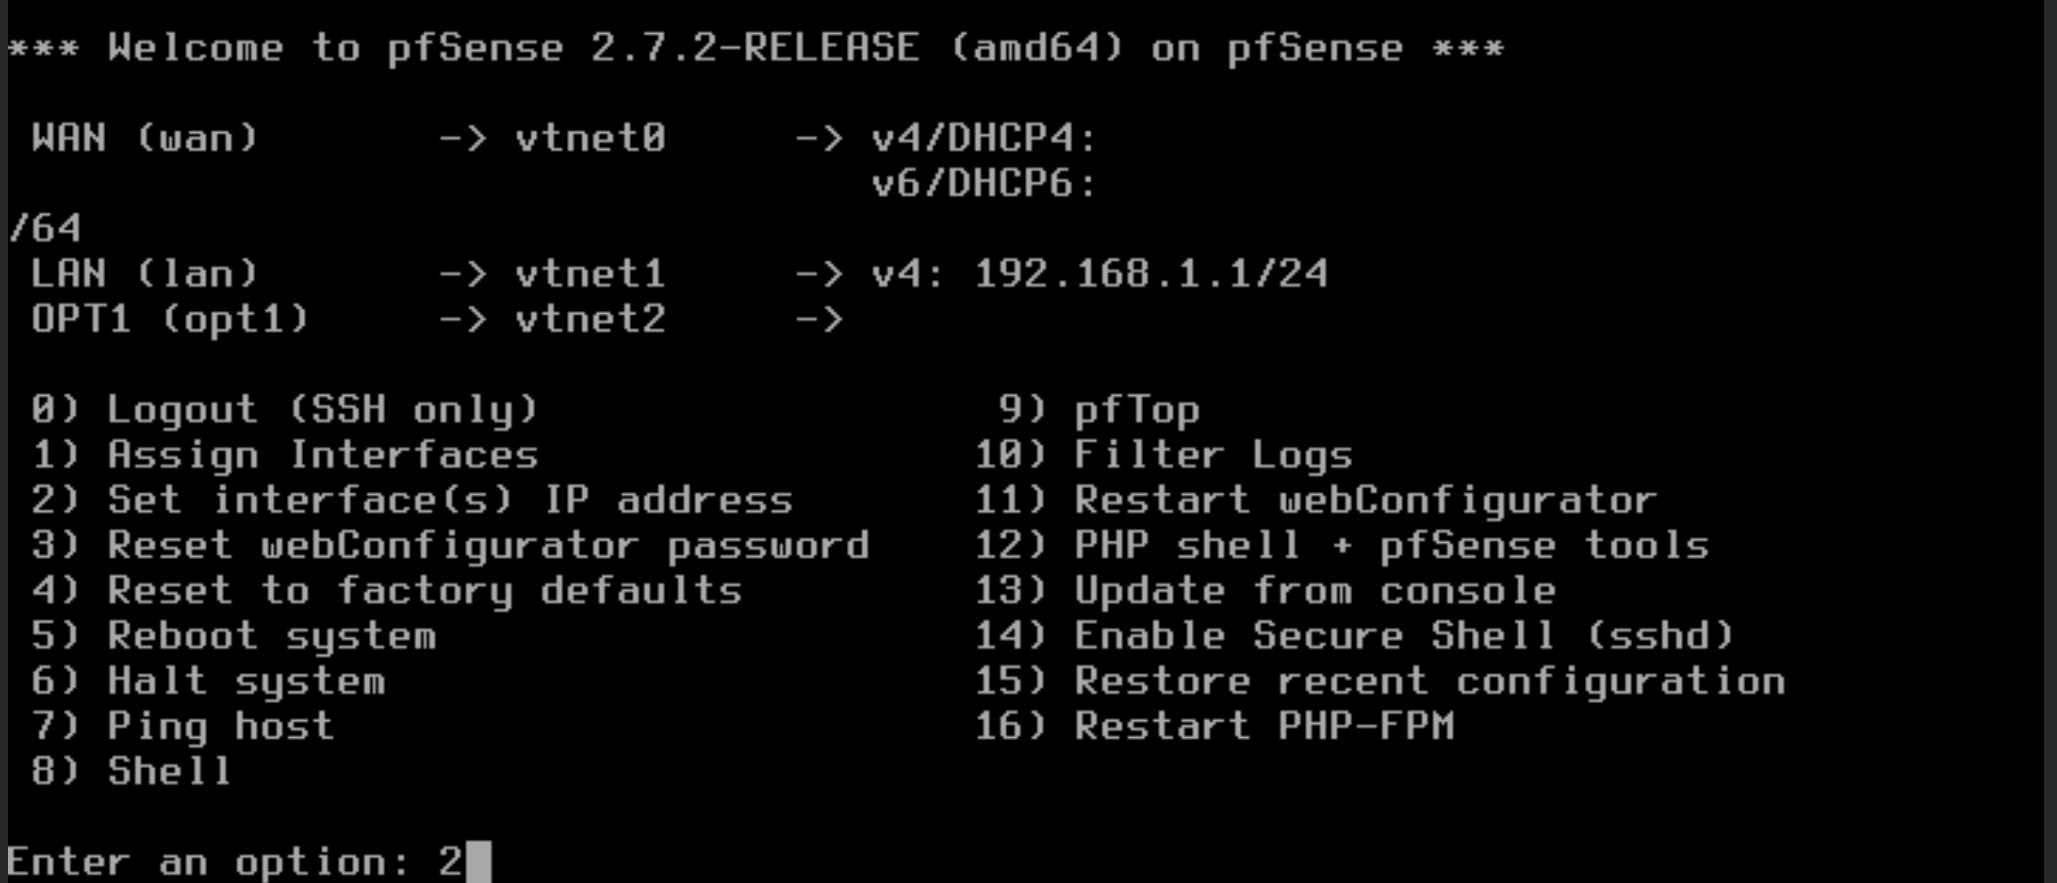
Enter 2 to select the Interface to assign
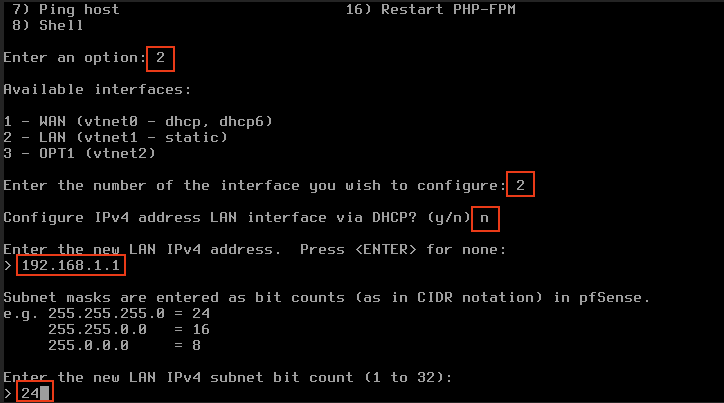
Enter an option: 2
Enter the number of the interface you wish to configure: 2
Configure IPv4 Address lan interface via DHCP? n
Enter the new LAN IPv4 Address: 192.168.1.1
Enter the new LAN IPv4 subnet bit count: 24
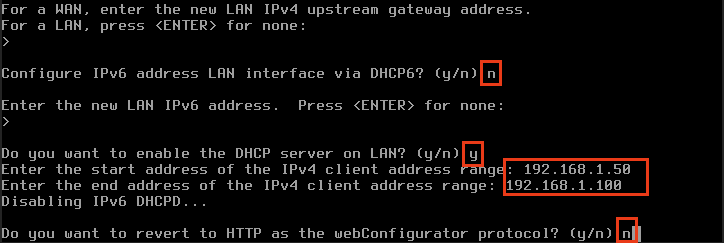 Configure IPv6 Address LAN interface via DHCP6?
 n
Enter the new LAN IPv6 address: NONE
Do you want to enable the DHCP Server on LAN? y
Enter the Start address of the Range: 192.168.1.50
Enter the end address of the Range: 192.168.1.100
Do you want to revert to HTTP as the webConfigurator Protocol?: n
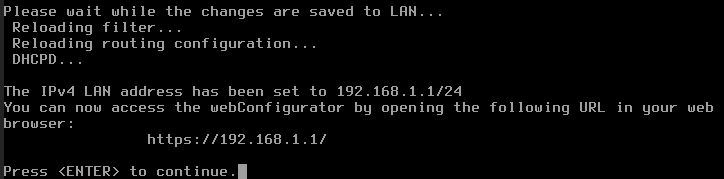
Once you have reached this part we are essentially done with the configuration of pfSense and in the next we will continue configuring pfsense through the Web Interface via Kali Linux.
Clean Up
Doesn’t hurt to clean up your environment a bit. After shutting down navigate to your VM and Navigate to Hardware.
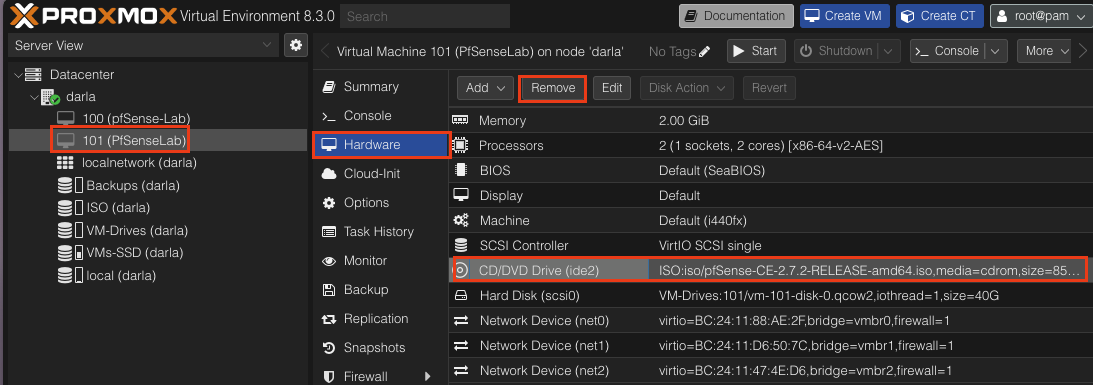
Select CD/DVD Drive and click Remove. This will remove the ISO image from the VM as it is no longer needed. Feel free to remove pfSense ISO image from your storage drive if you want the extra space.
Keep an eye out for the next part where we will set up Kali Linux and start configuring the Firewall on pfSense.