Building a CyberSecurity Home Lab with Proxmox: Part 2 - Kali Linux Setup
A Guide on Building a Cybersecurity Home Lab using Proxmox
Banner Background by AndreaCharlesta
Welcome back to the second part! I apologize for the delay, the christmas season has brought a cold and busy shopping for gifts. Lets jump right in with installing Kali Linux. Once Kali Linux is installed we will start configuring the pfSense Firewall through the web interface which is alot better to configure rather than doing it through the actual pfSense VM.
Downloading Kali Linux
There are two types of flavors of Kali Linux:
- Kali Purple: I call it the SOC In-A-Box that has tools more orientated towards defensive purposes
- Kali Linux: Standard kali linux orientated towards offensive purposes
For the purpose of the lab, I will be downloading Kali Purple but you are more than welcome to choose either and the set up will be slightly different and both will do everything you need.
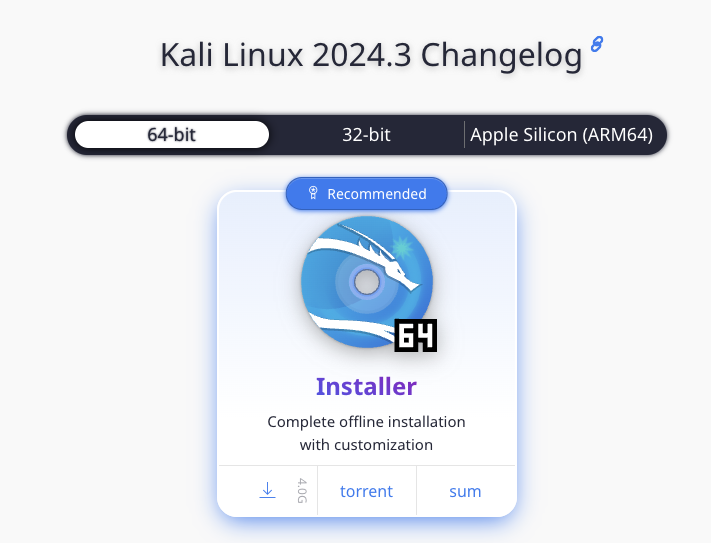
Latest version of Kali Linux: 2024.3a Links:
Get Kali Purple
Get Kali Linux
Once you have picked your flavor of choice. Go ahead and upload this to your ISO image storage. Refer to the previous post on how to upload it.
Kali Linux VM Creation
The process is similar to when we created the pfSense VM. Minor changes to the ram and memory.
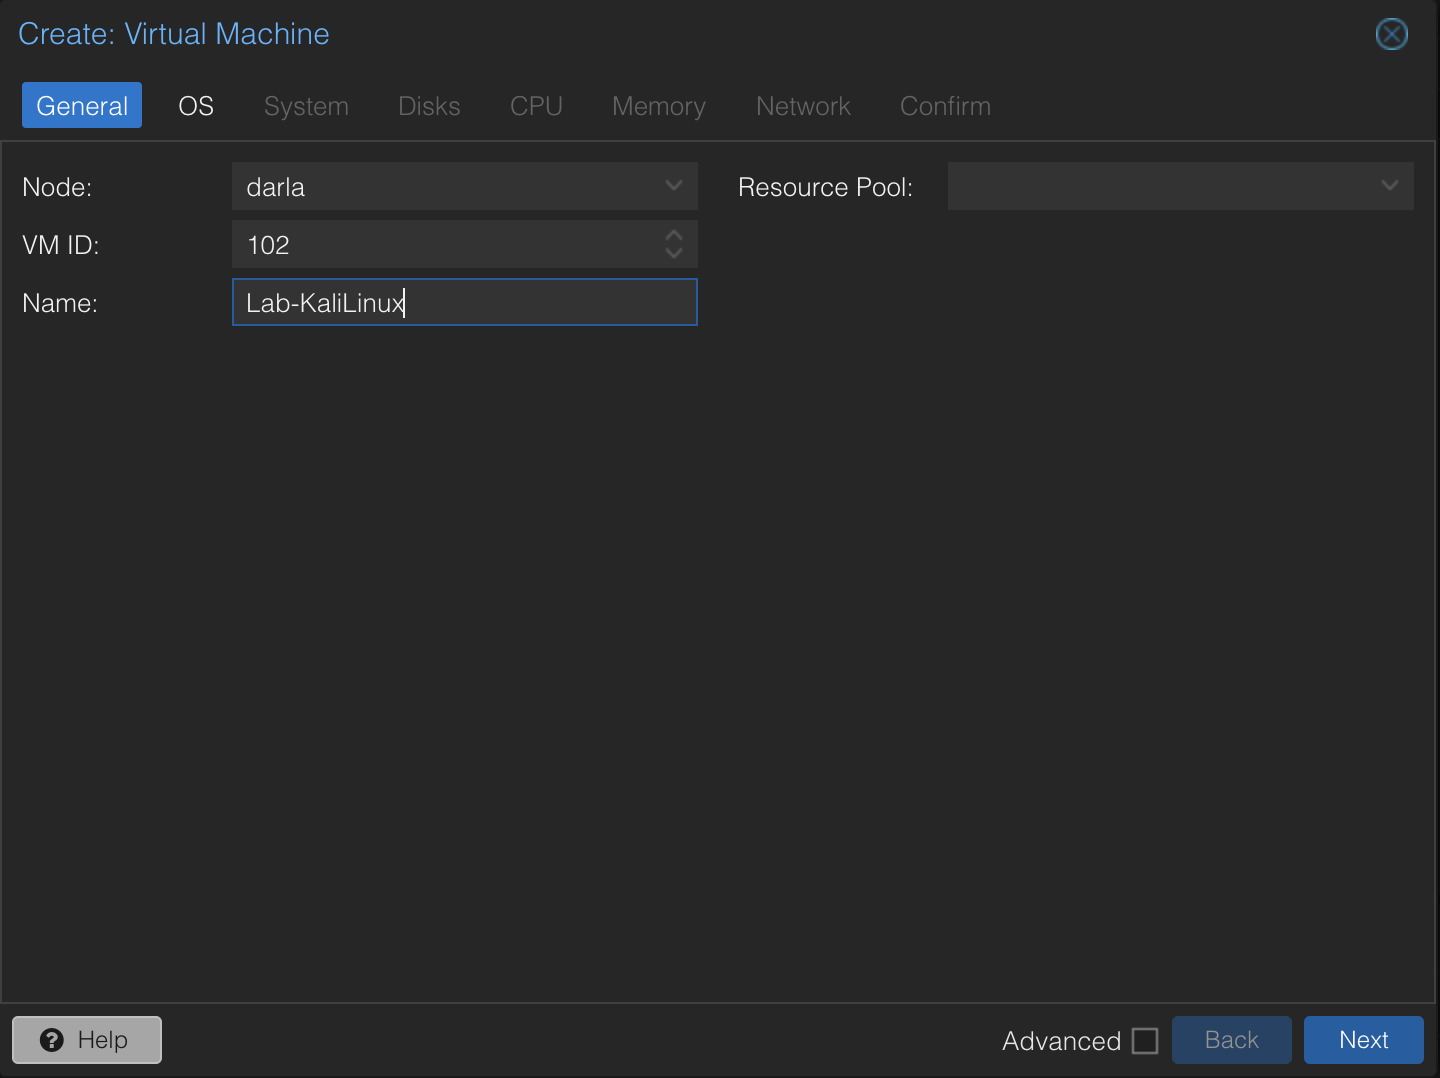
Lets create the VM. Give it a name and Hit Next
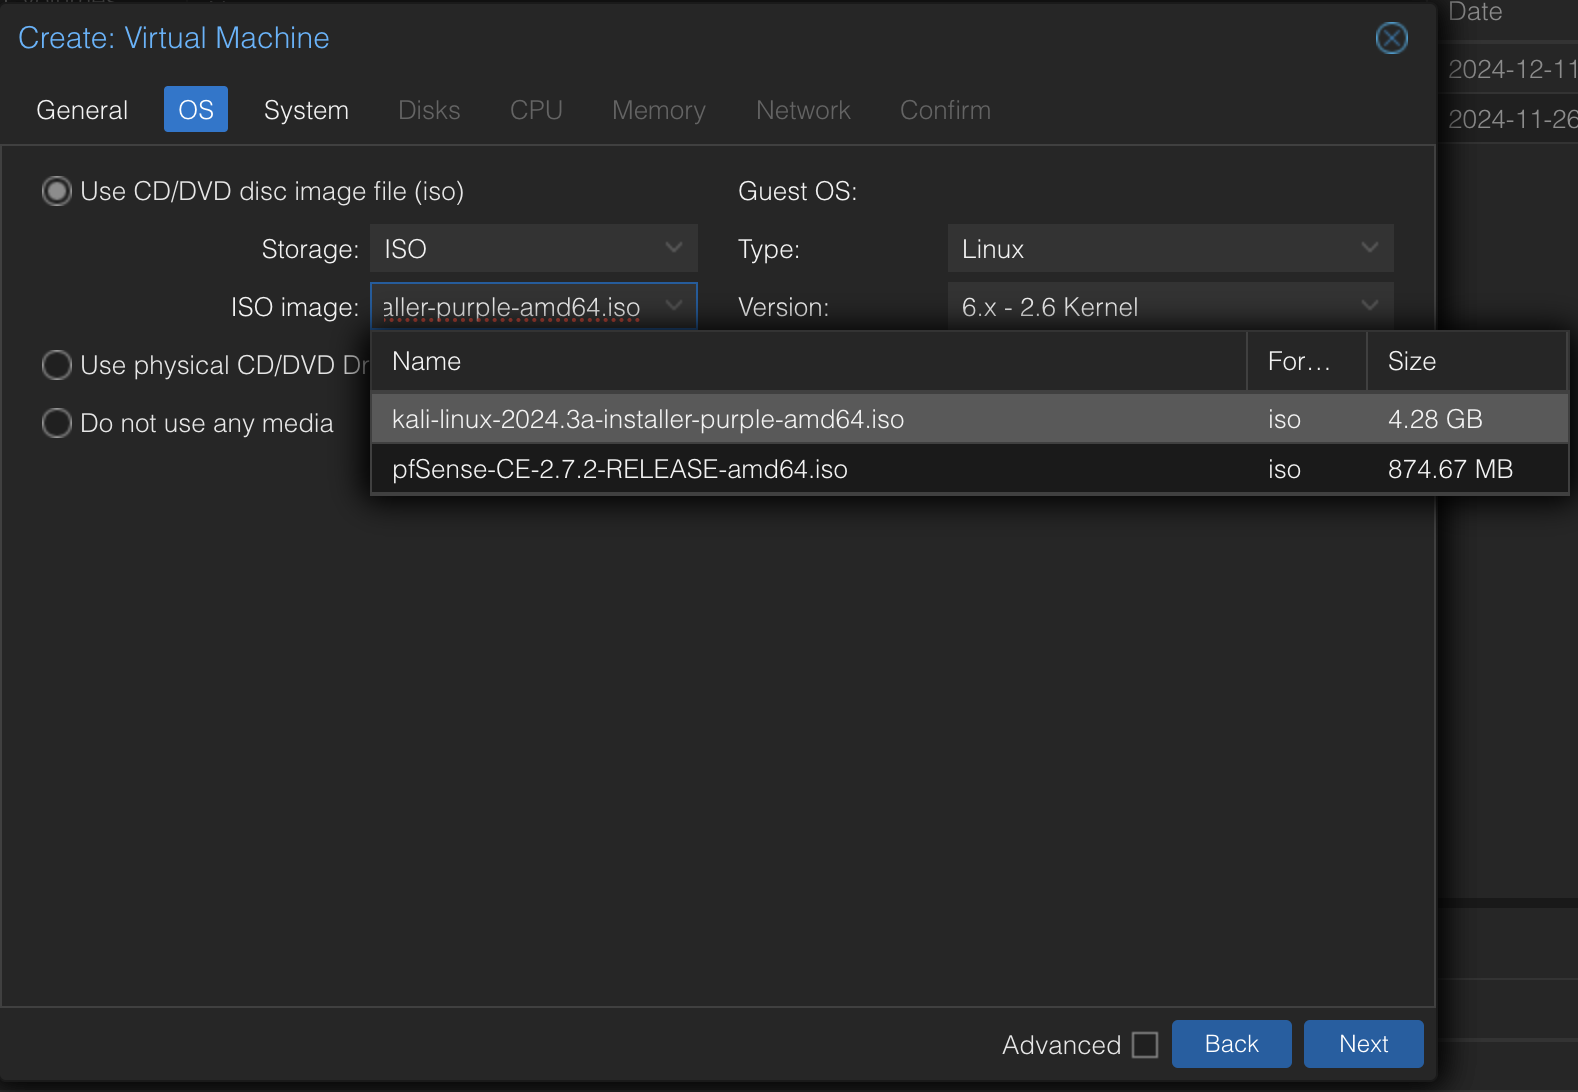
Let’s select our kali linux iso image.
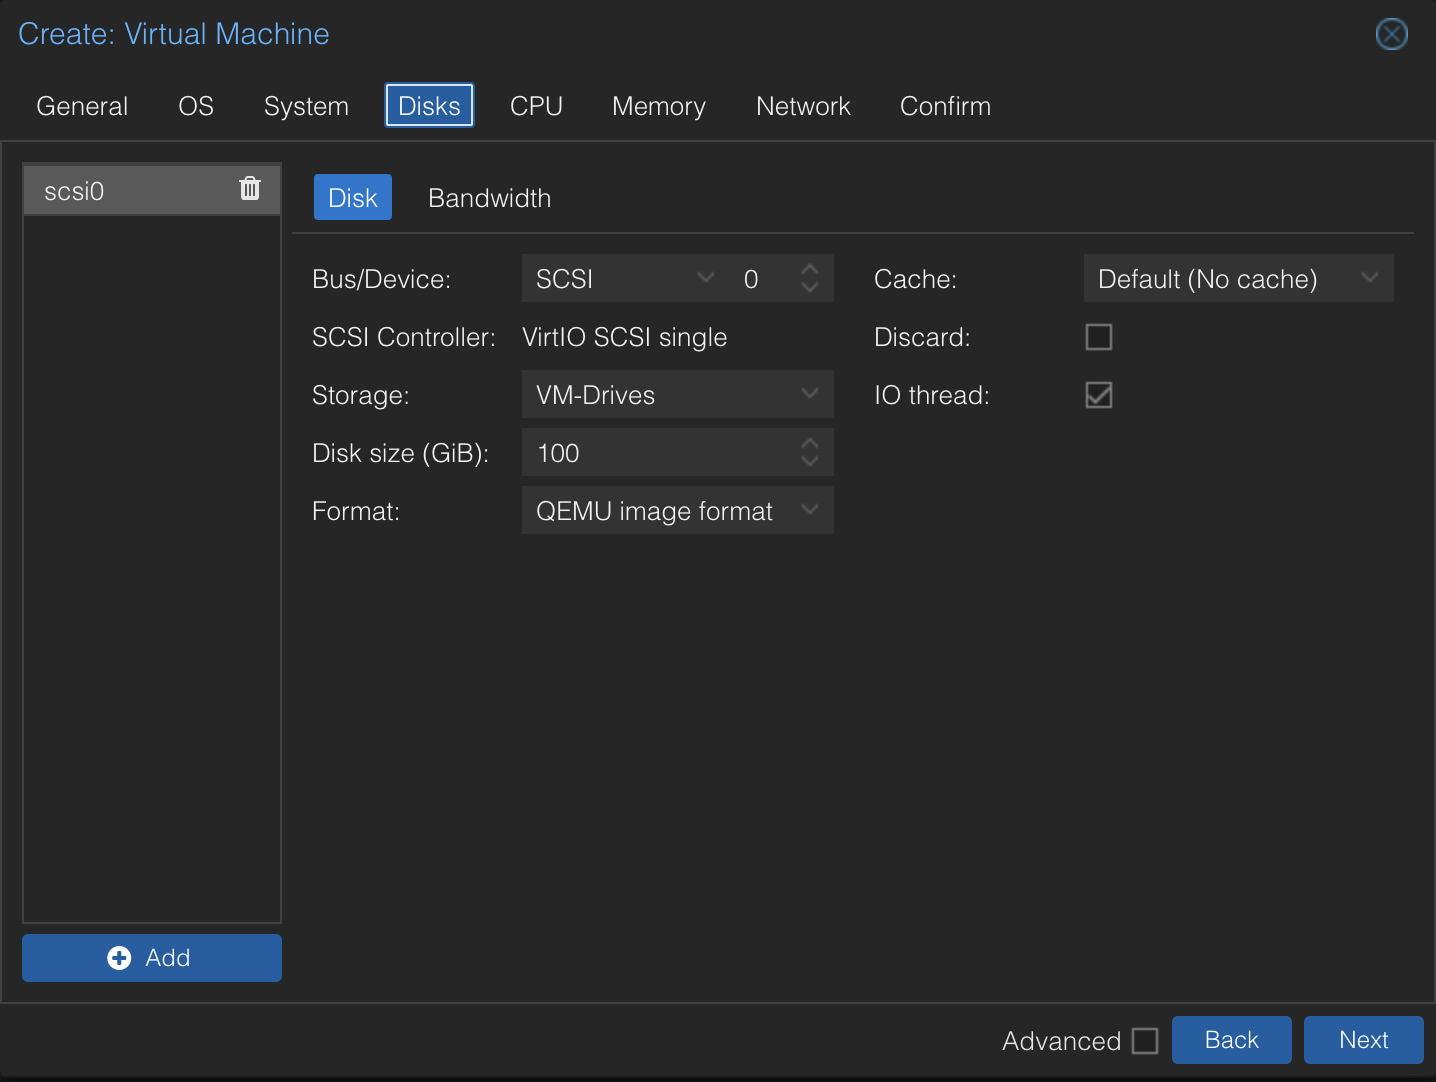
For the system tab, leave everything default and hit next. On the Disks tab select your Storage and Size I did 100GB to give me space to download extra tools if needed.
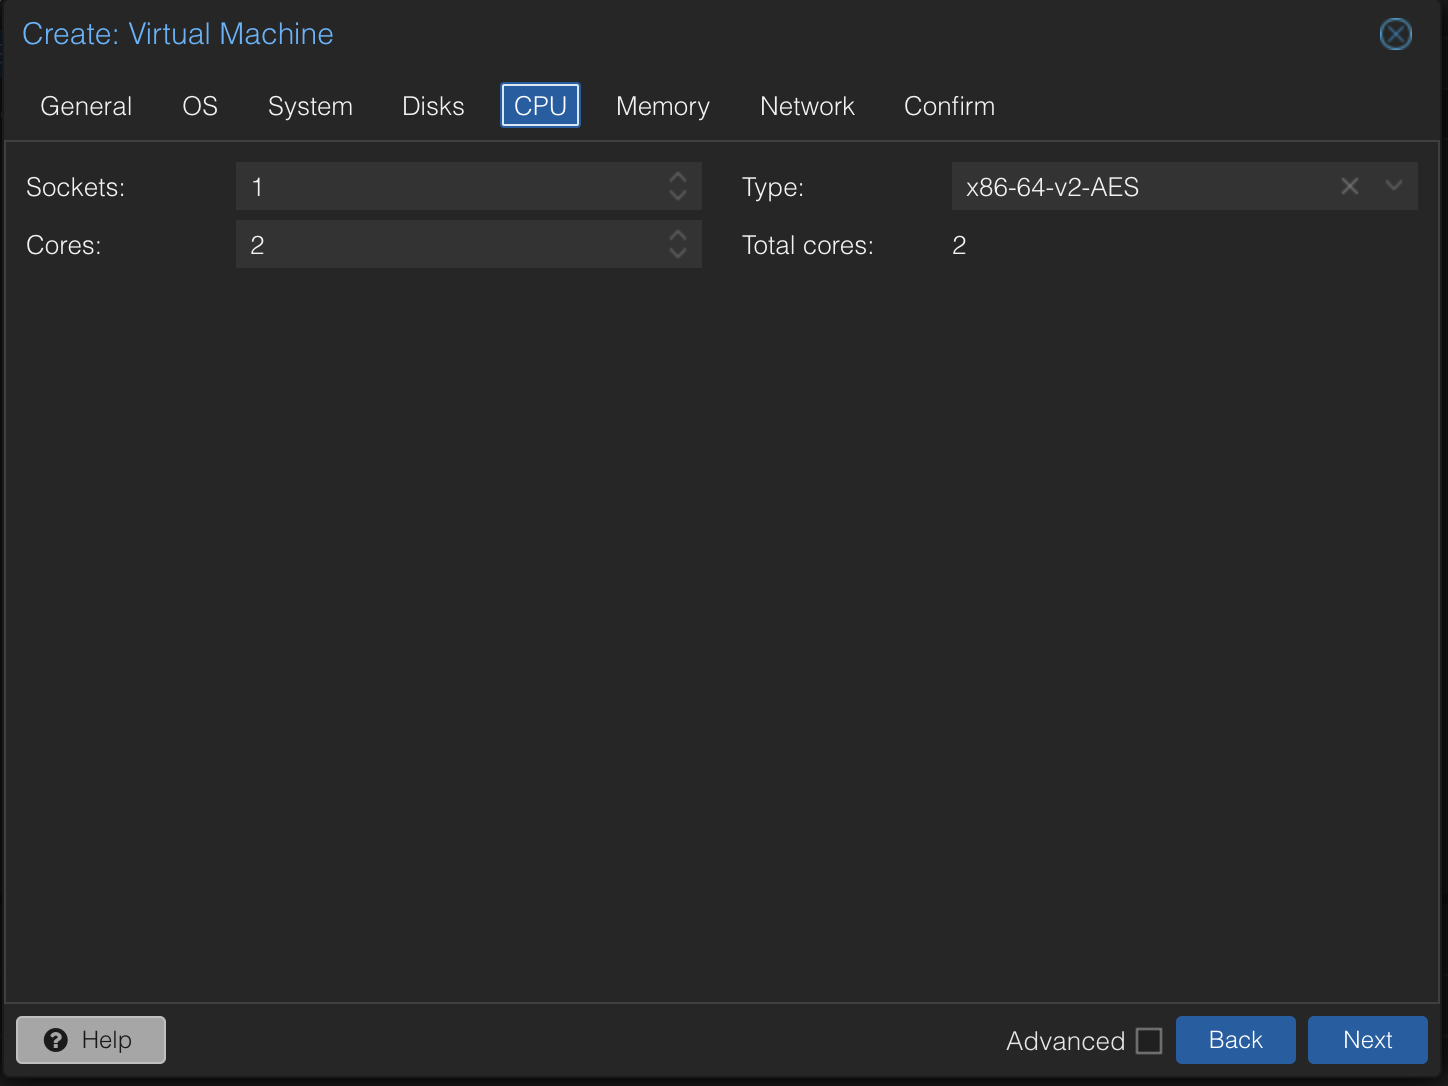
Single core is enough but if you can I would give it 2 just in case.
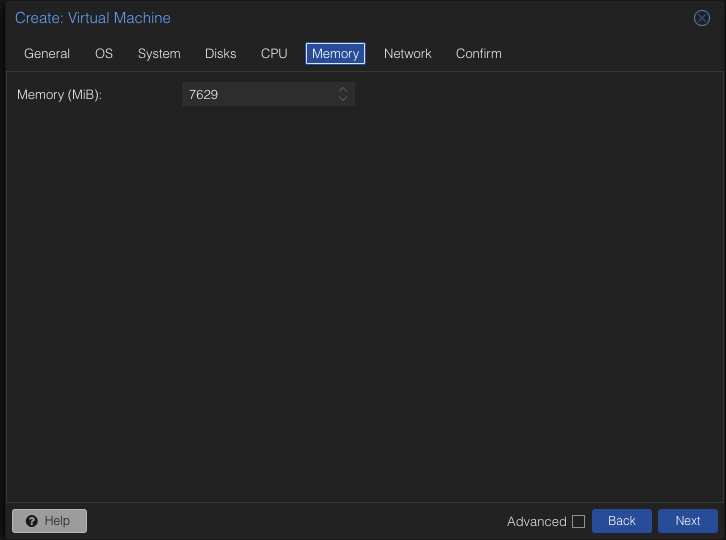
I gave mine 8GB of Memory because I have 64GB but it will do fine with 4GB (4096 MiB).
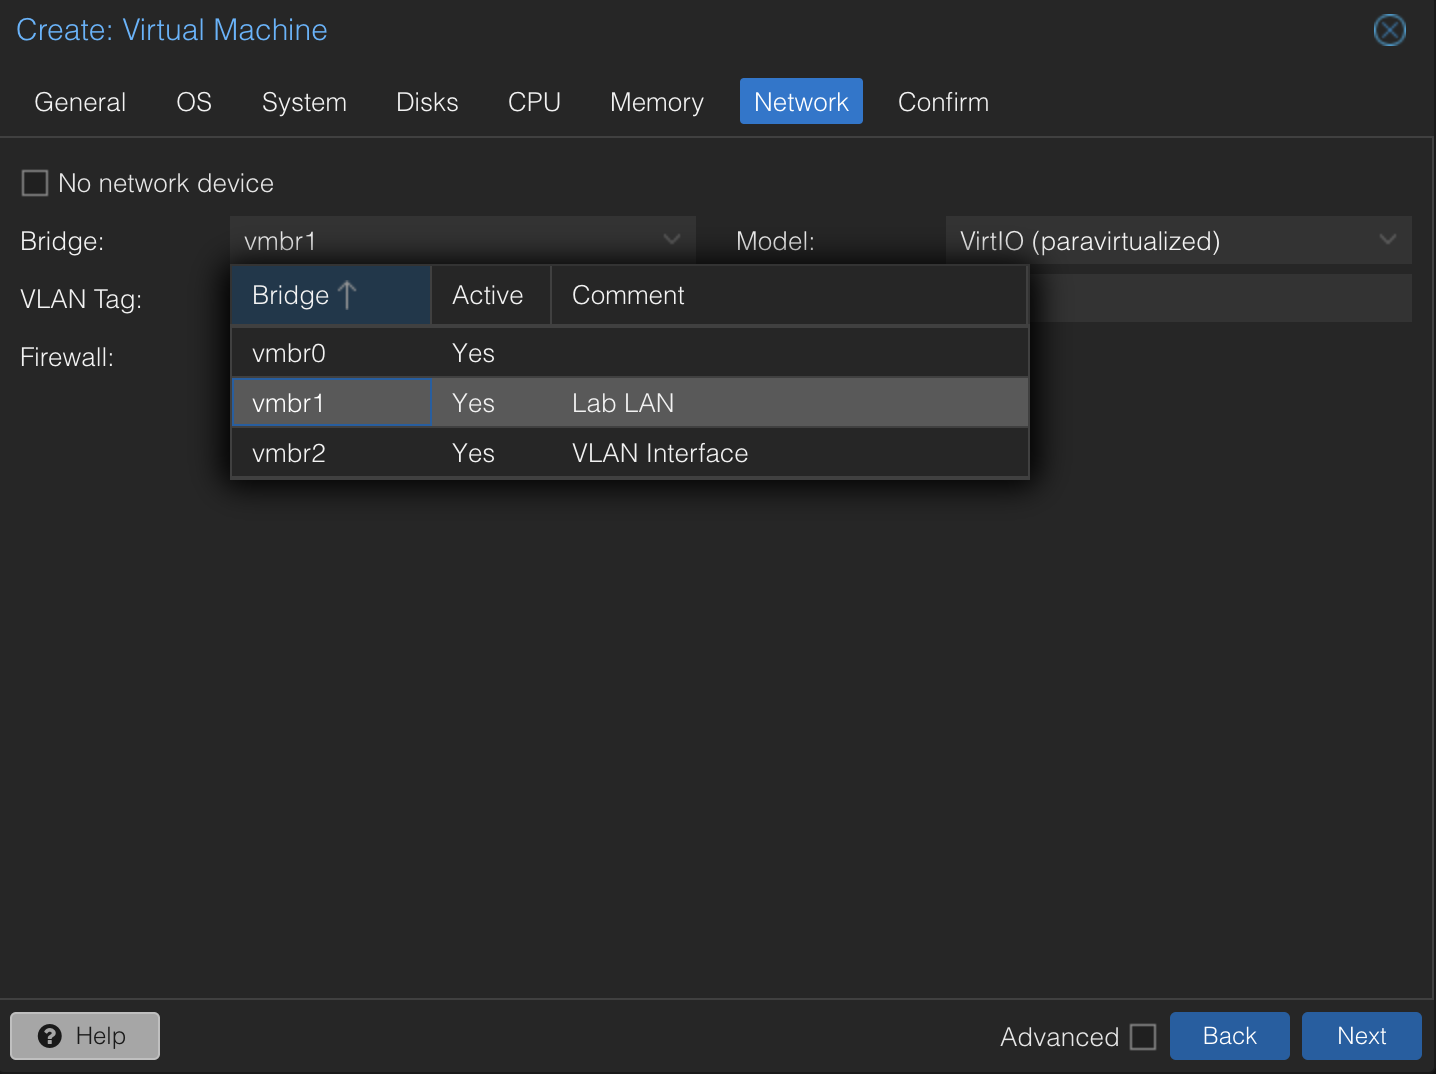
For our network interface, give it vmbr1 which is our Lab LAN
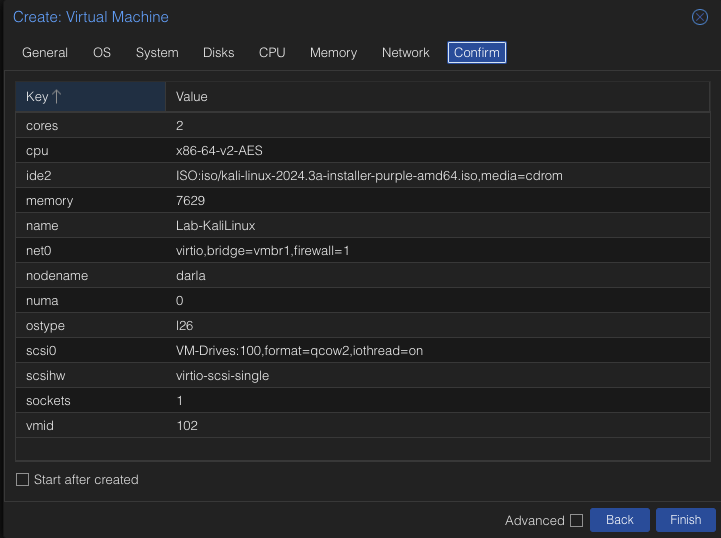
Confirm everything looks good and click Finish.
Kali Linux Installation
Once the VM is created and boot it up and let it initialize until you see the screen below.
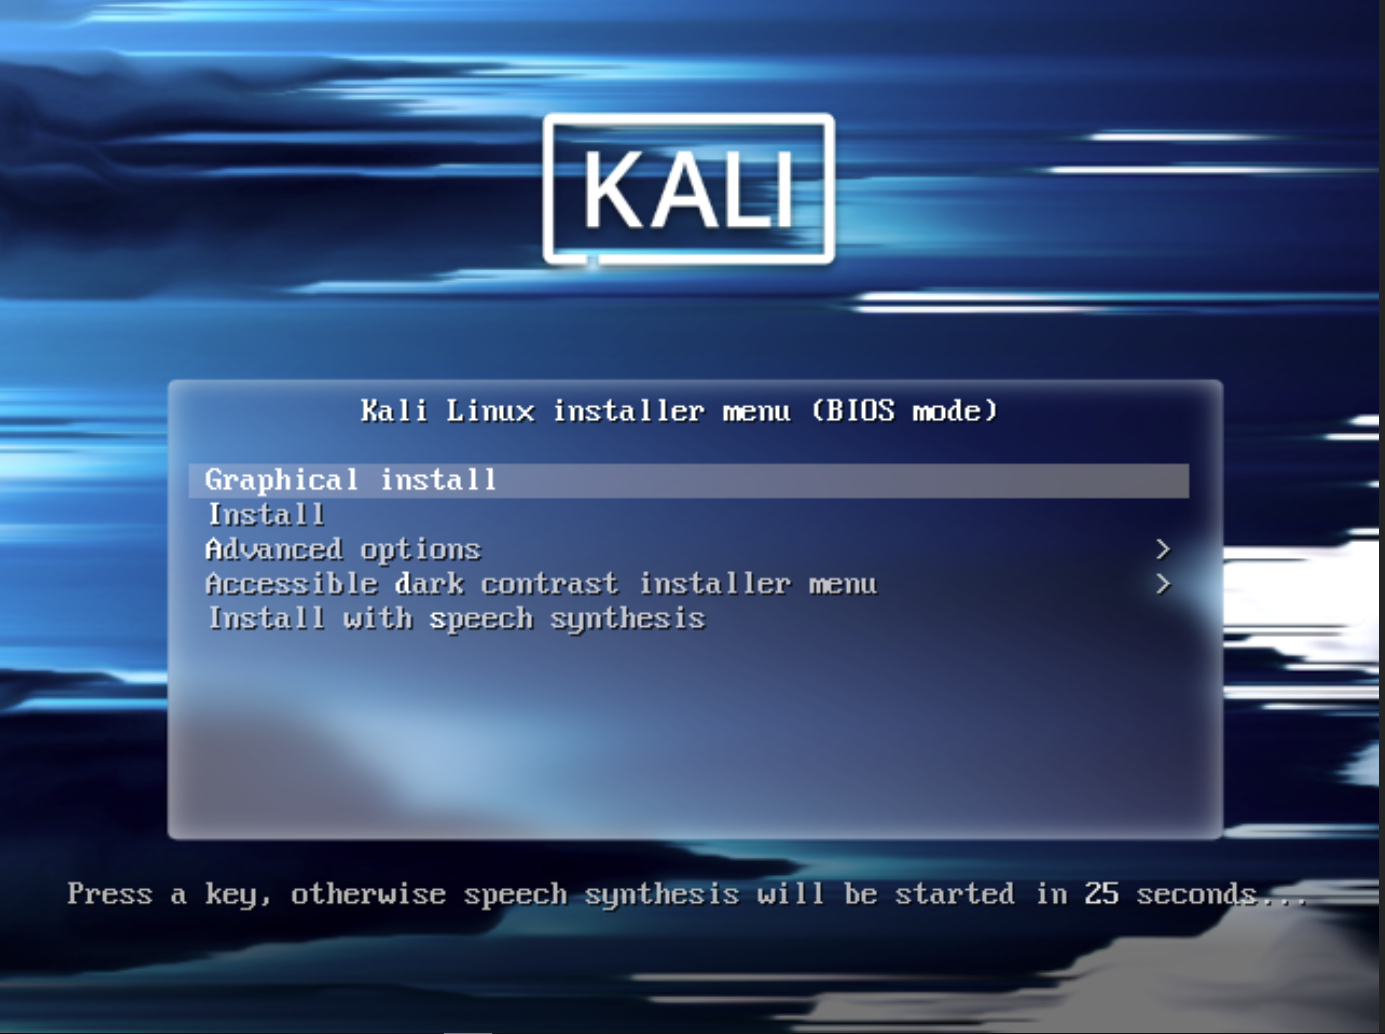
Press enter on Graphical Install.
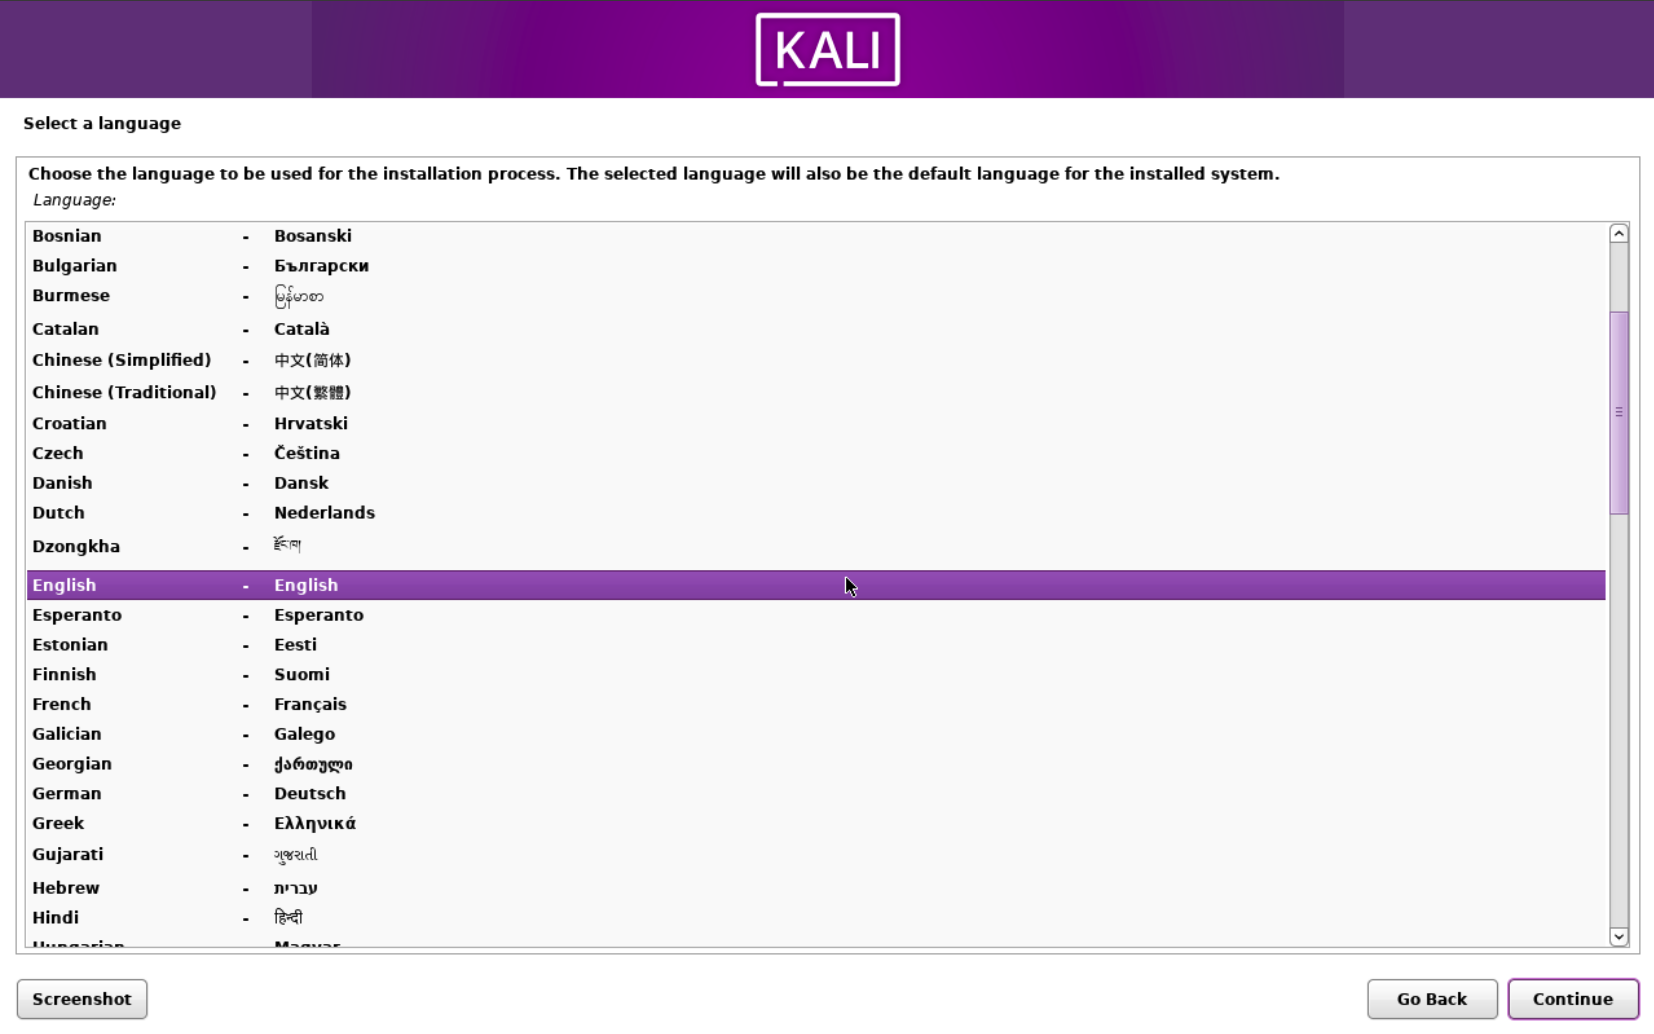
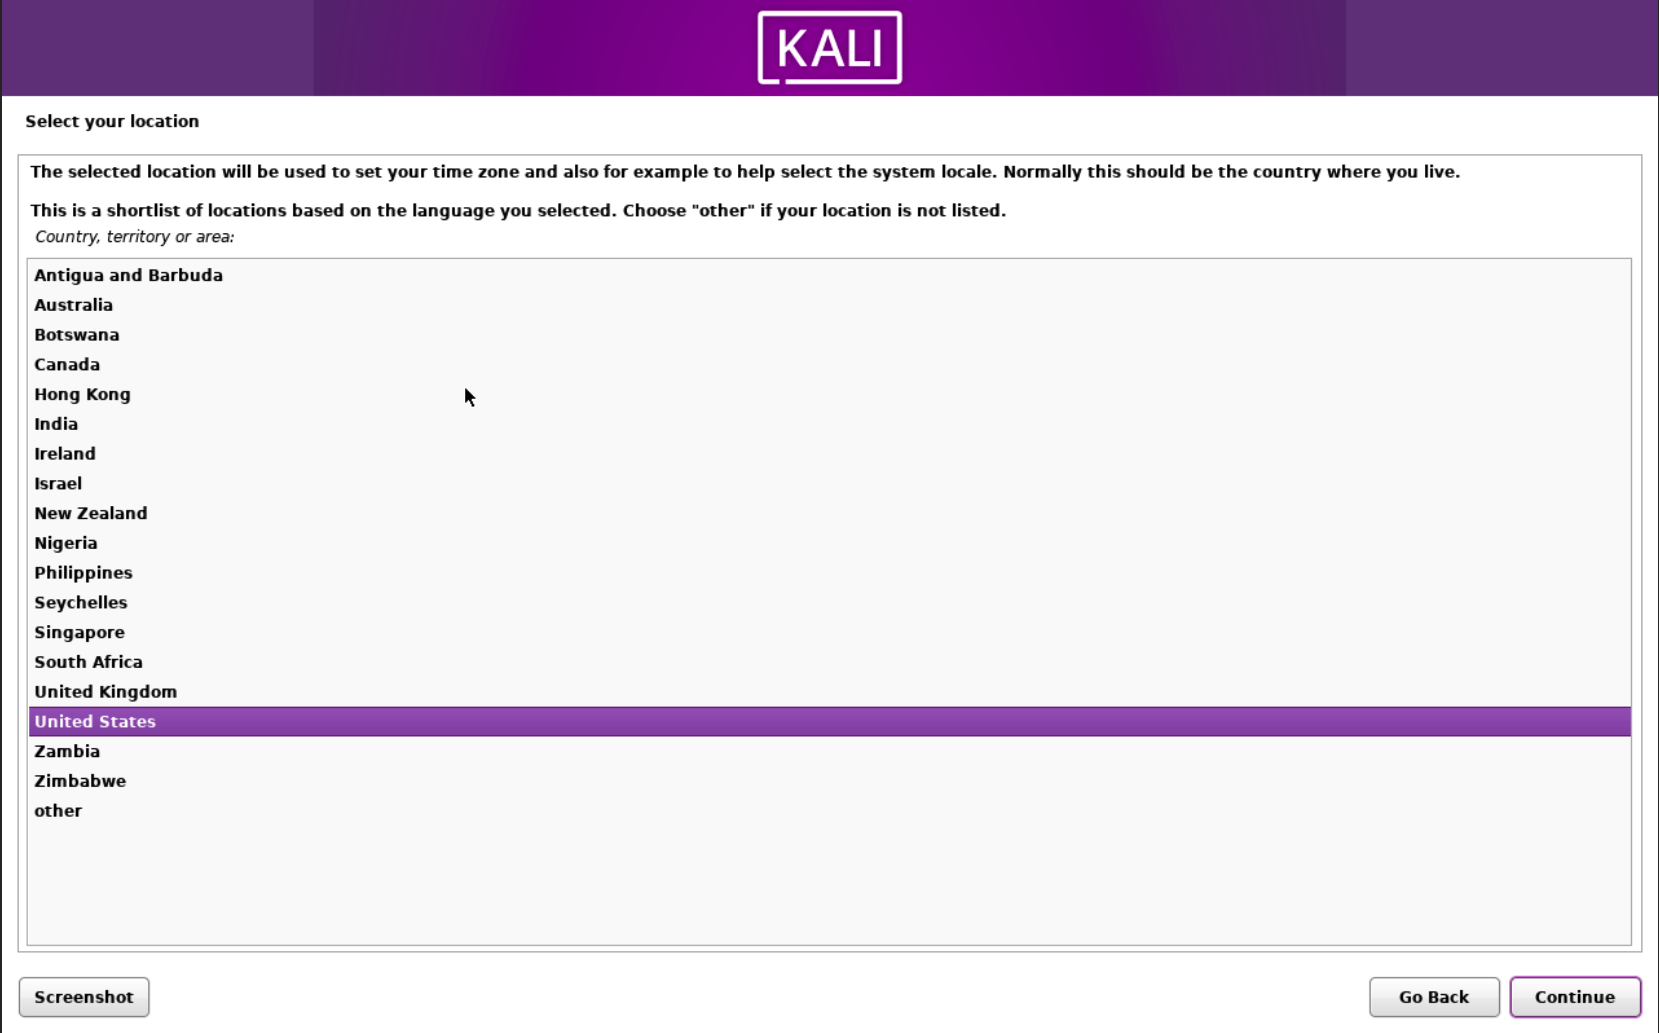
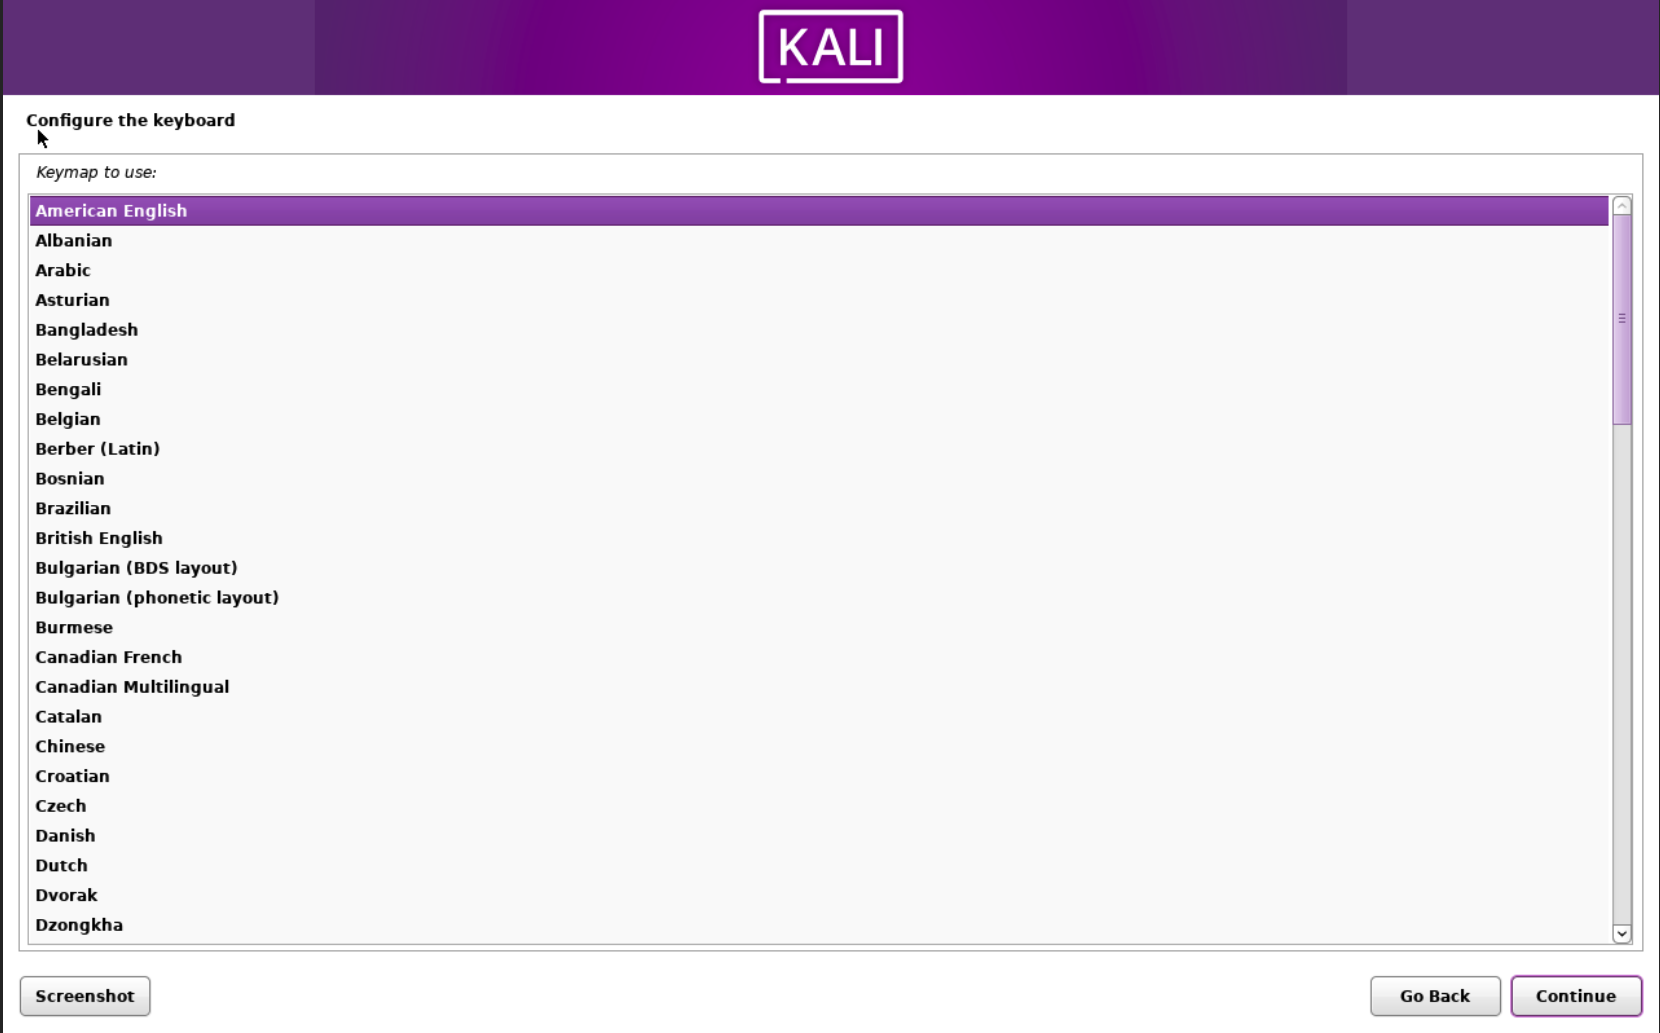
Select your language, location, and keyboard layout. Straight forward stuff.
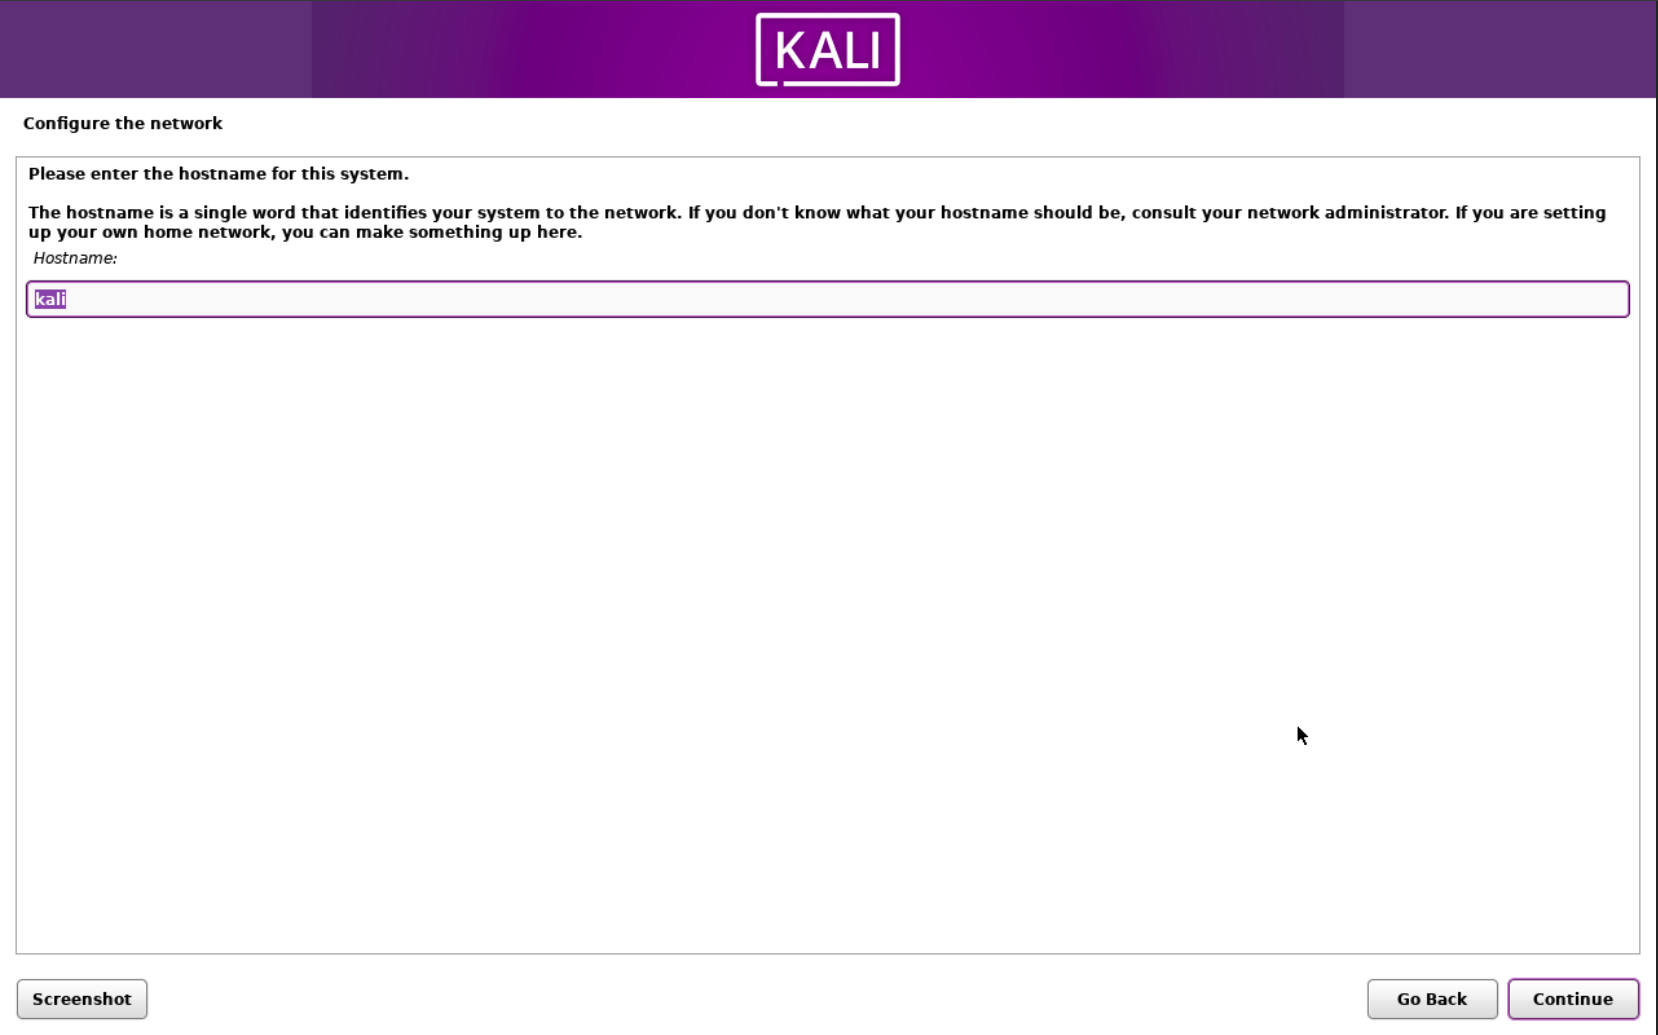
The hostname is used to identify the kali machine on the network. I usually leave it as kali but you can name it anything you like.

This won’t apply to you probably. Leave it blank.
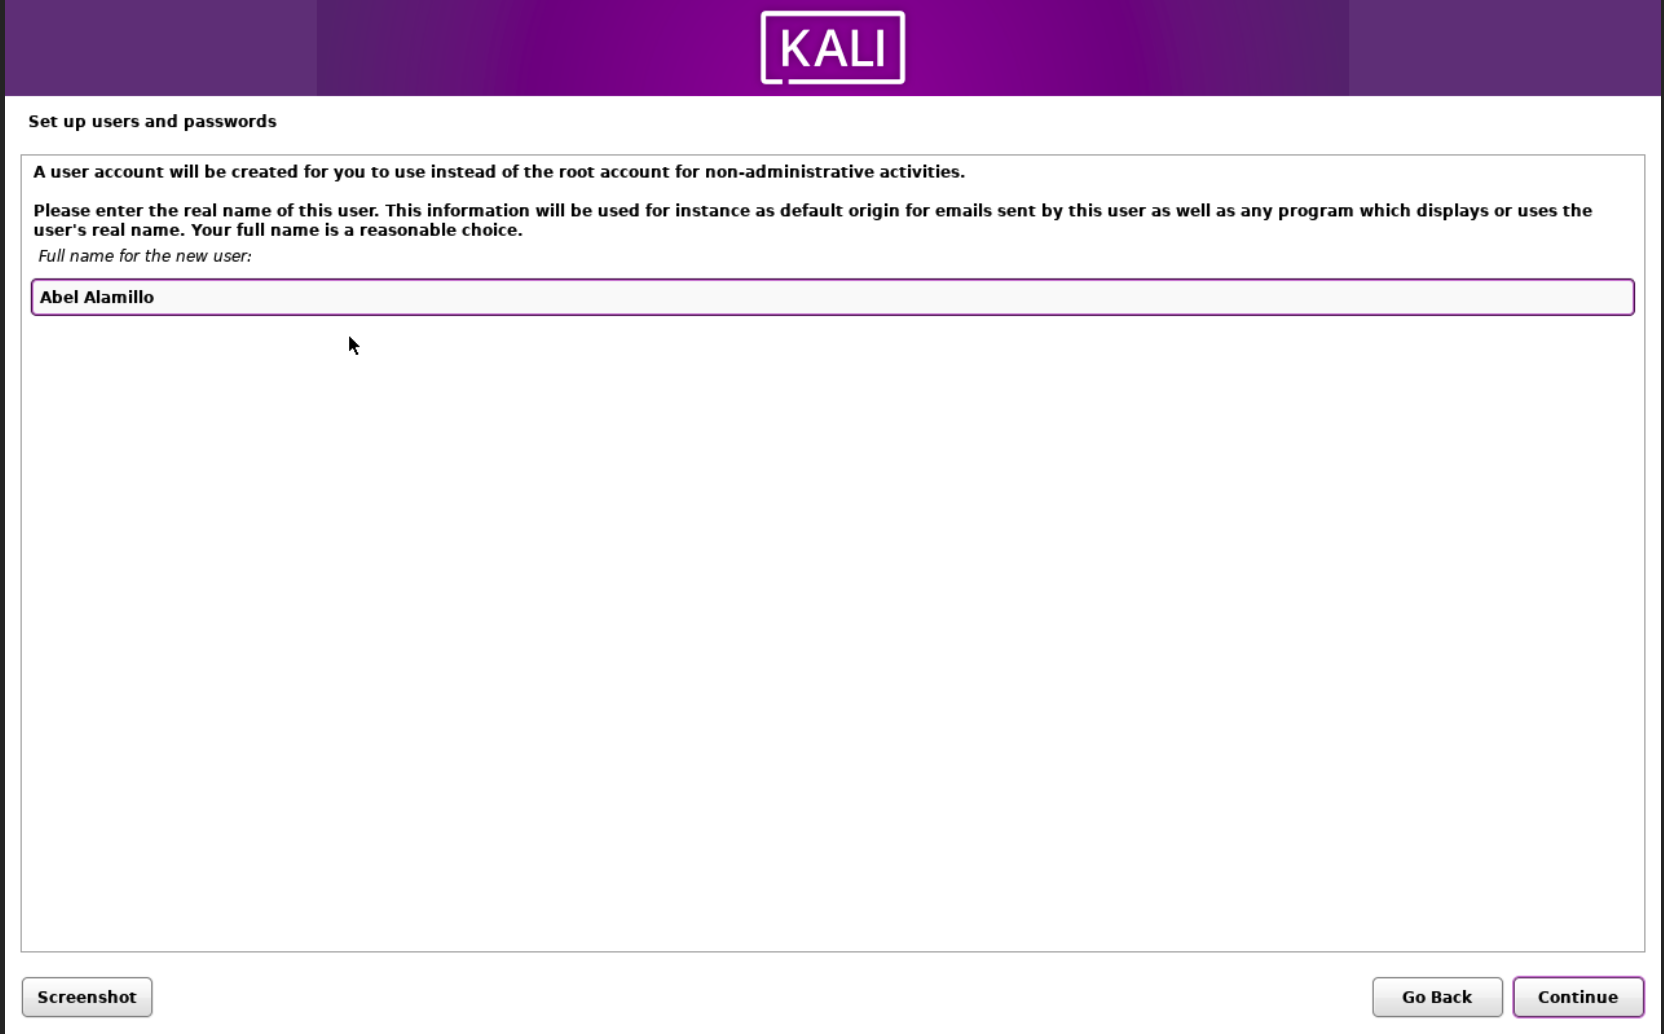
Enter your name to create your user account.
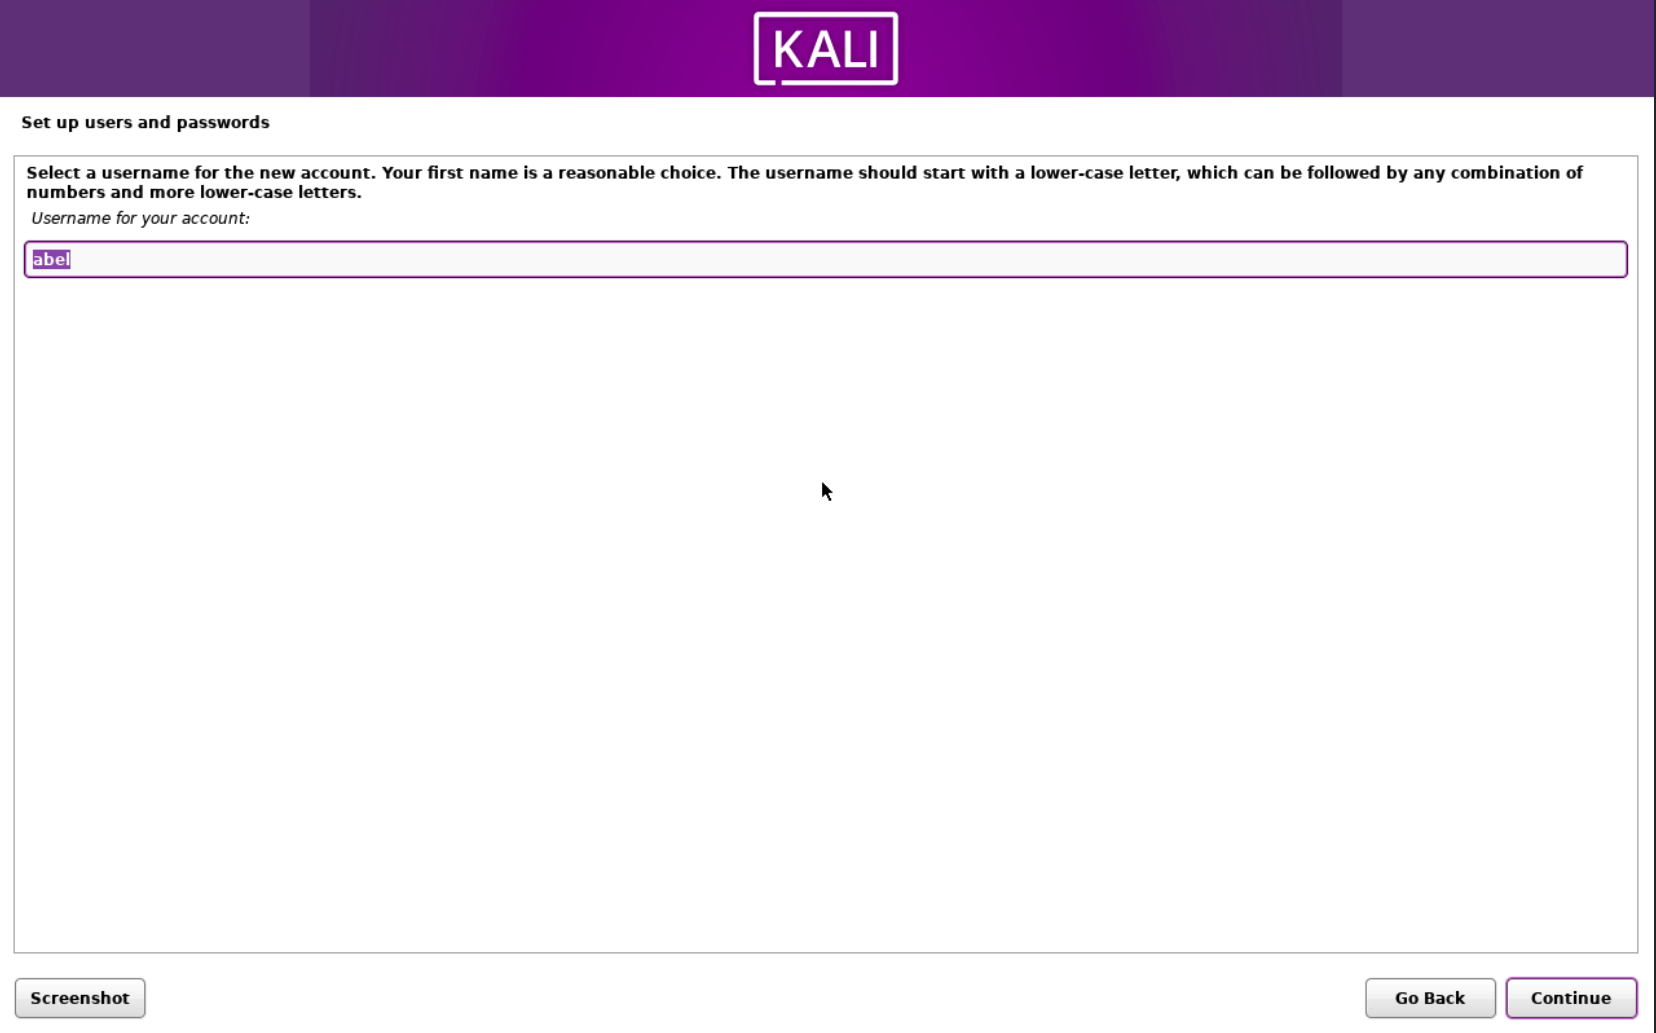
Enter your username for the home directory.
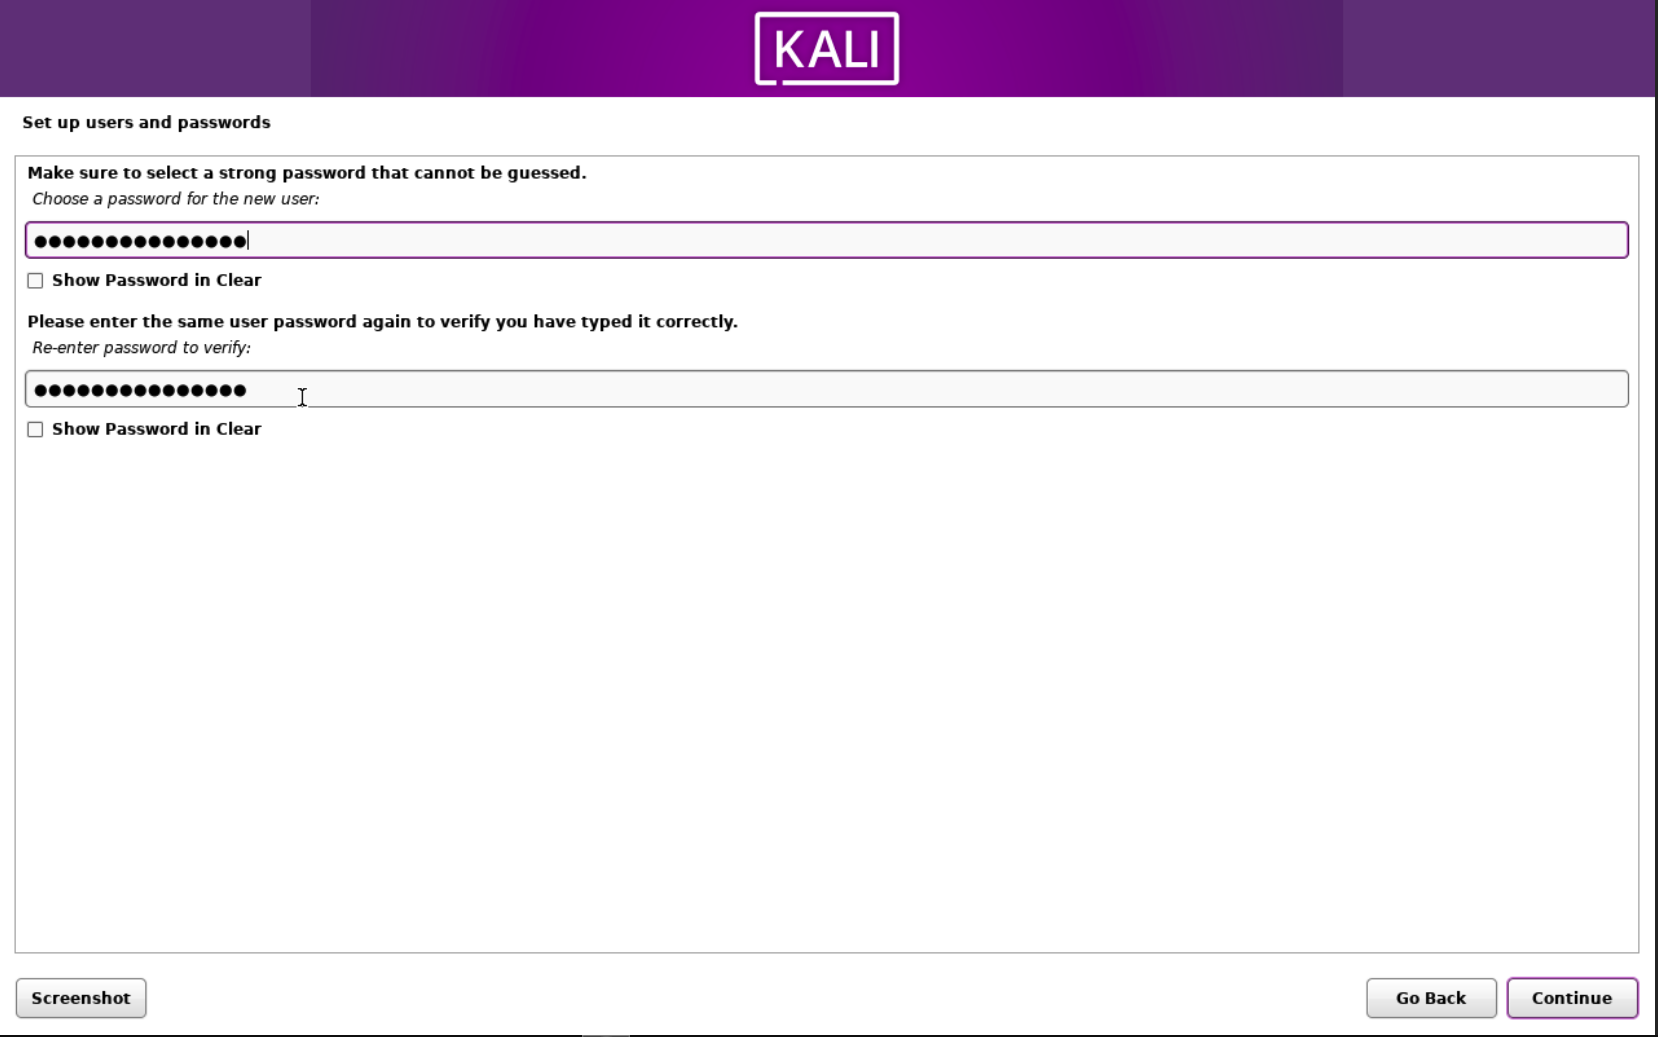
Go ahead and give it a memorable but strong password.
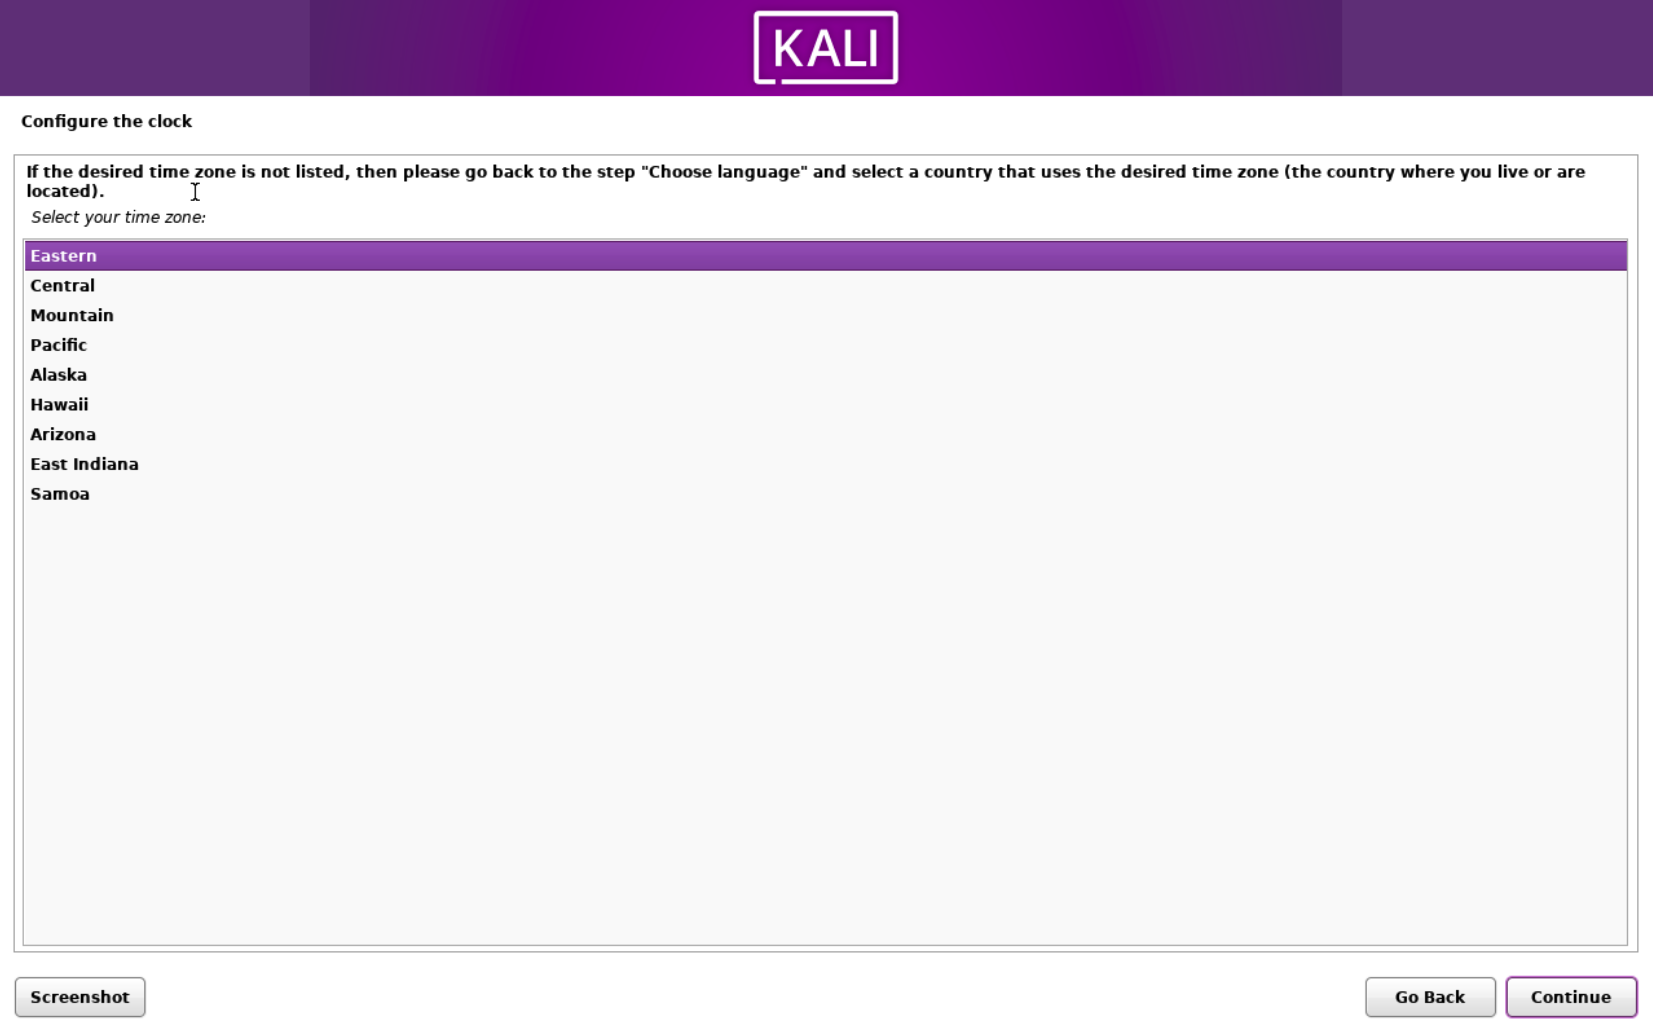
Set your time zone.
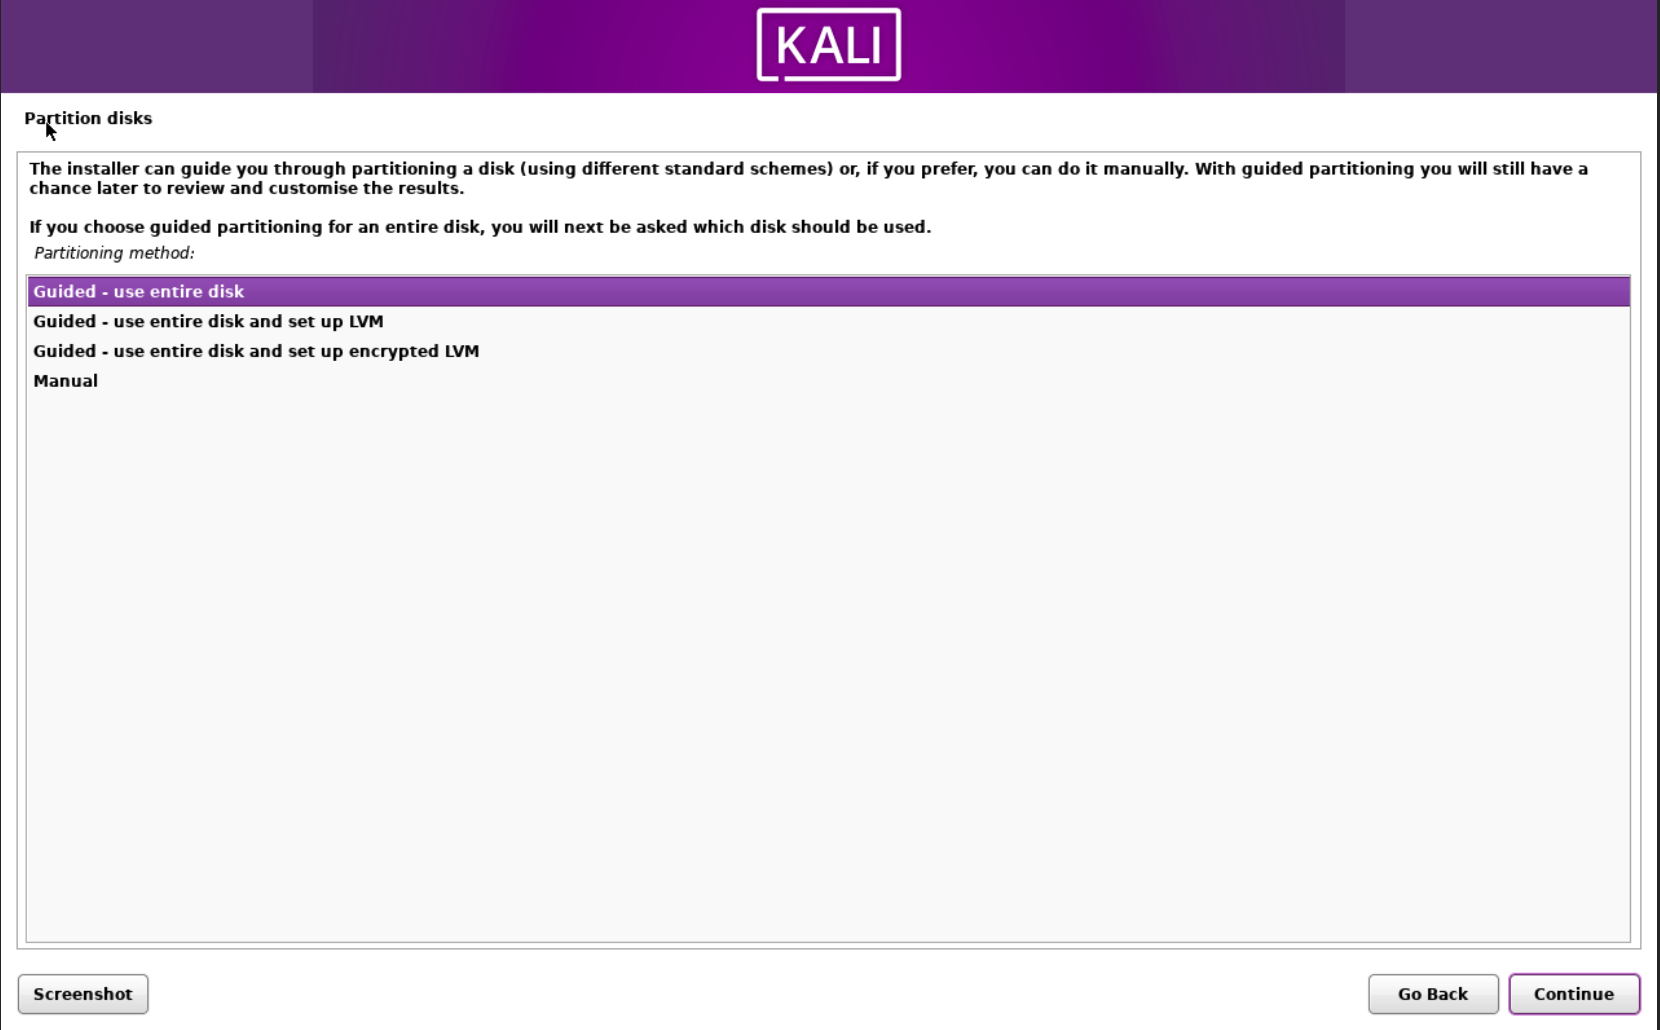
Use Guided- use entire disk and click continue.

Select the sda drive and click continue.
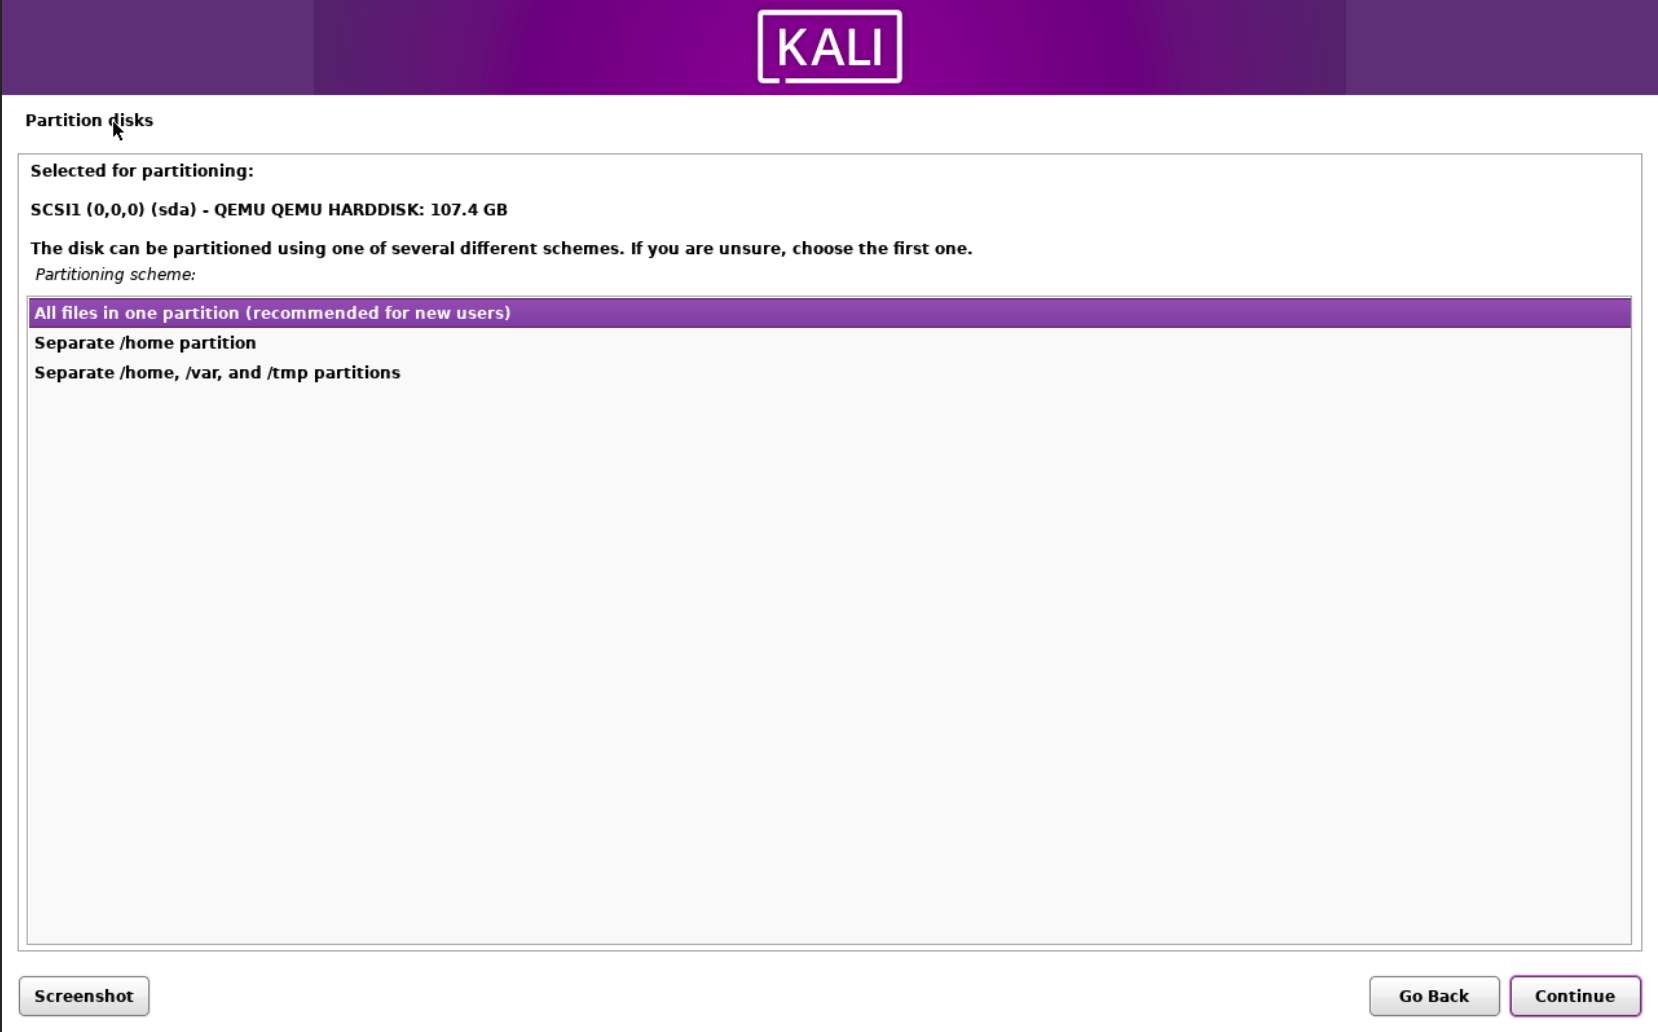
Select All files in one partition then Continue.
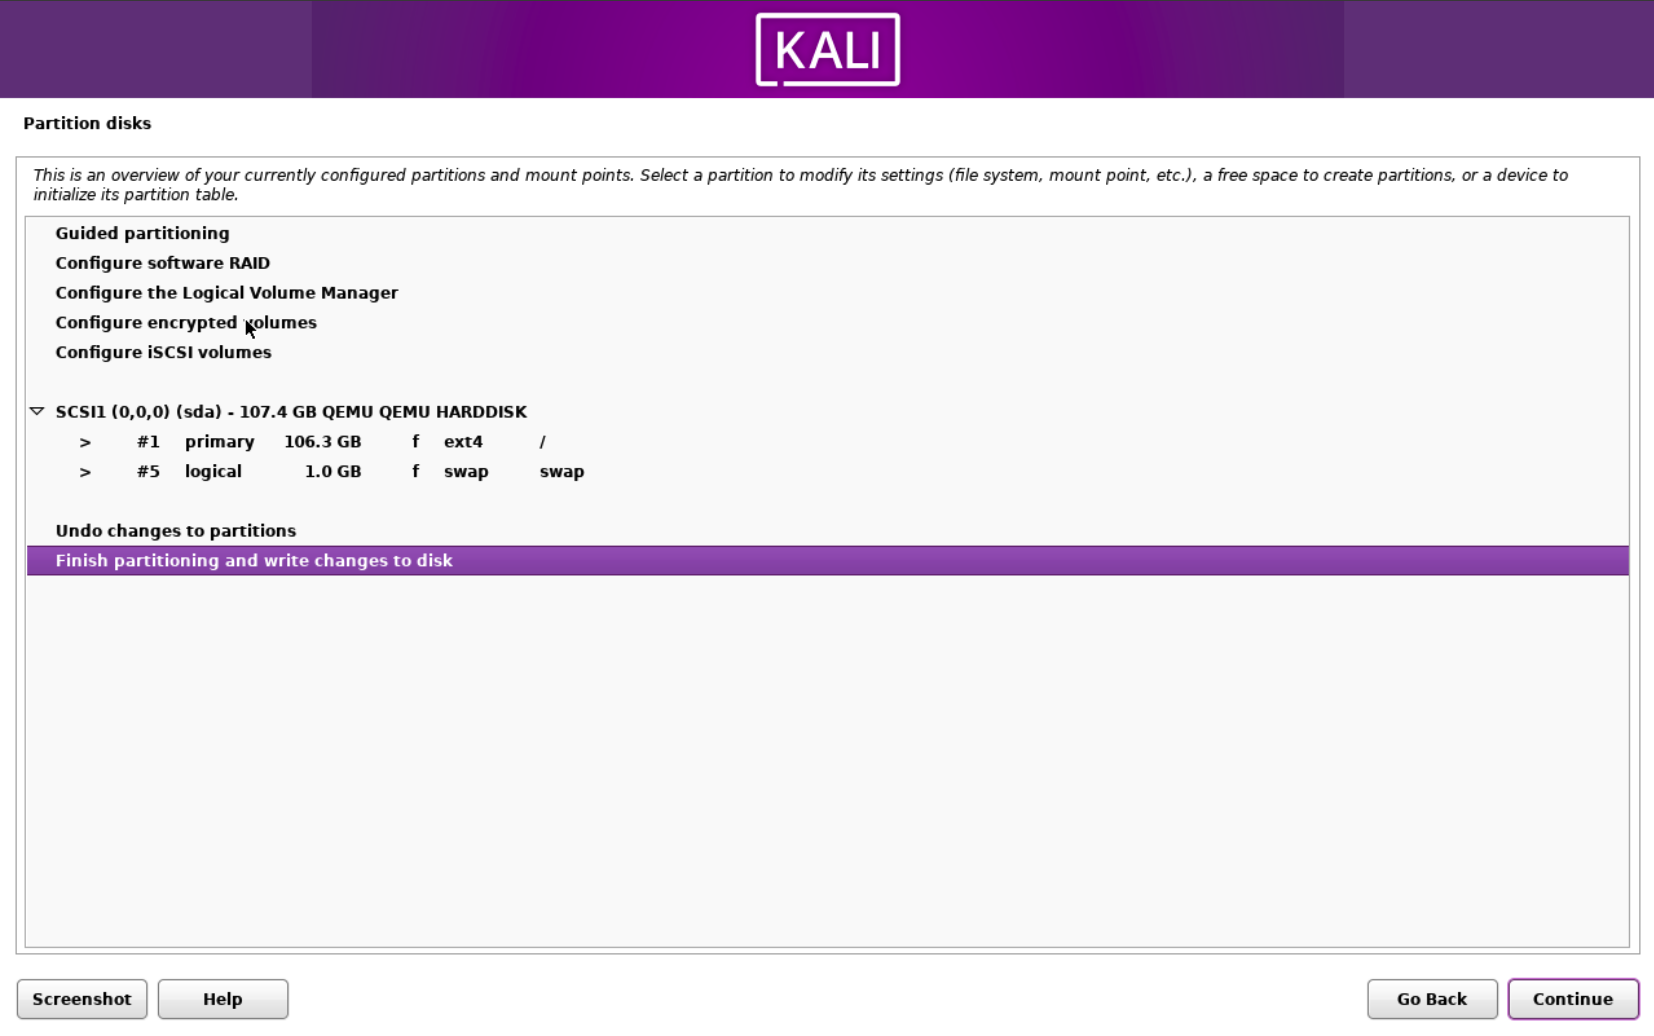
Select Finish partitioning and write changes to disk and click contiune.
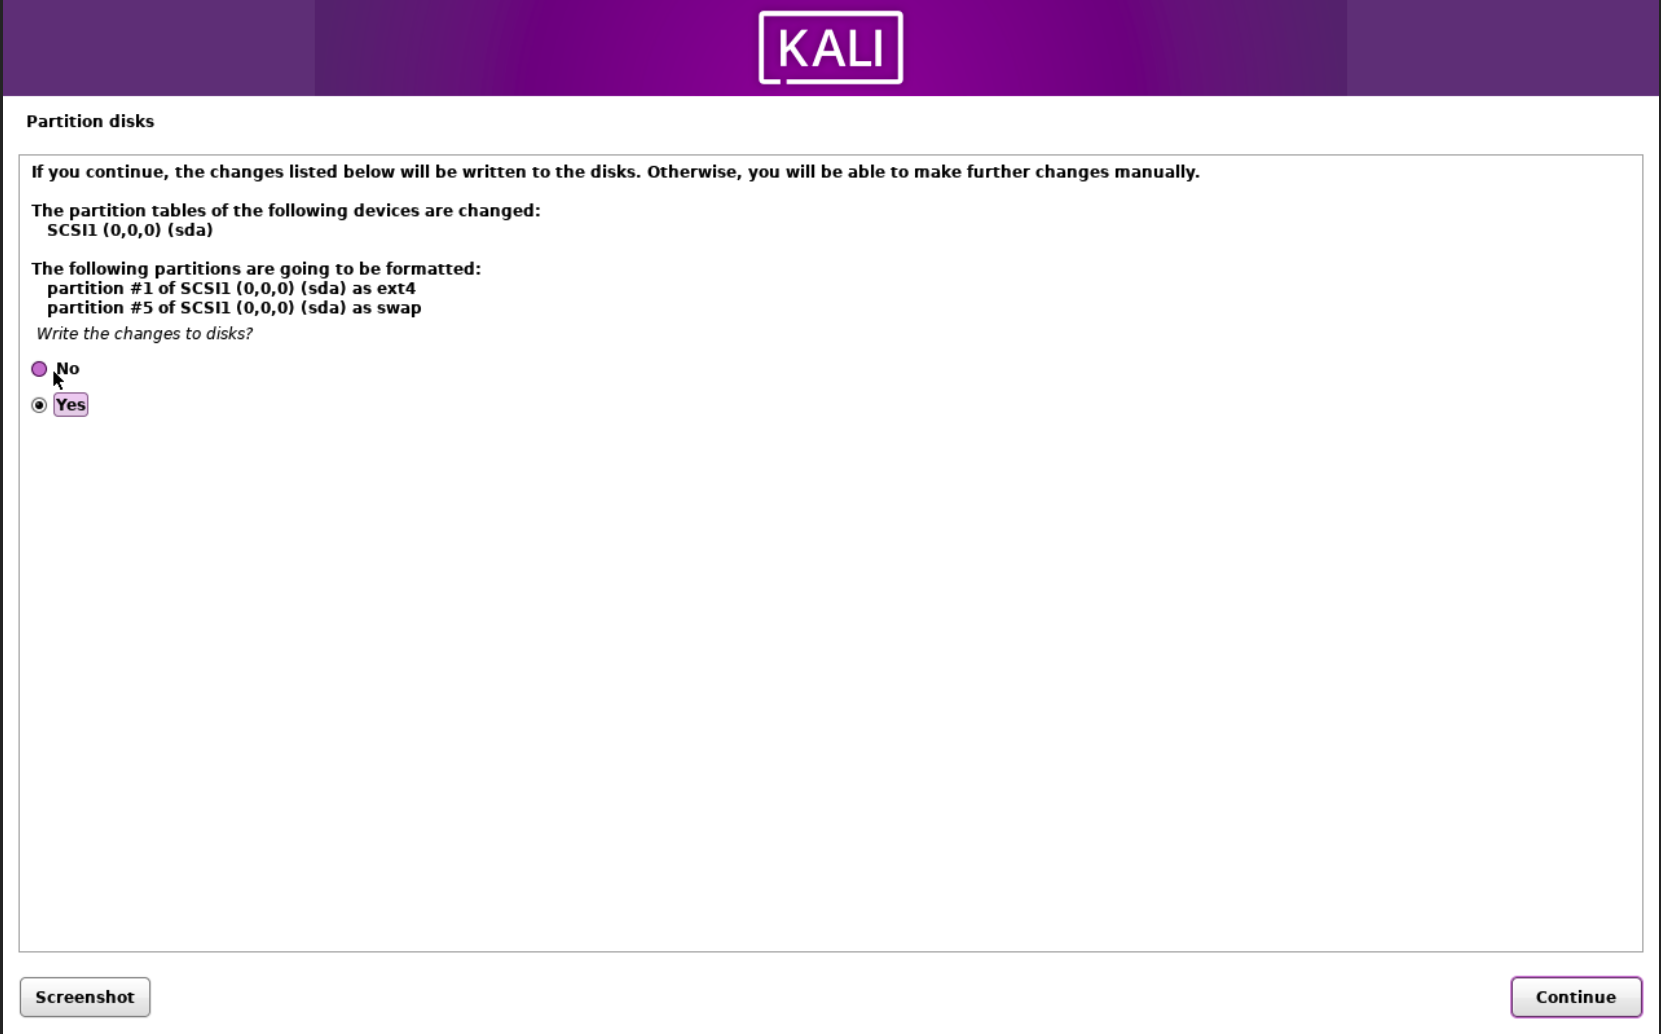
Select Yes to Write Changes to disks? and hit Continue. It will start installing so you can take a small break here maybe grab a snack or something.
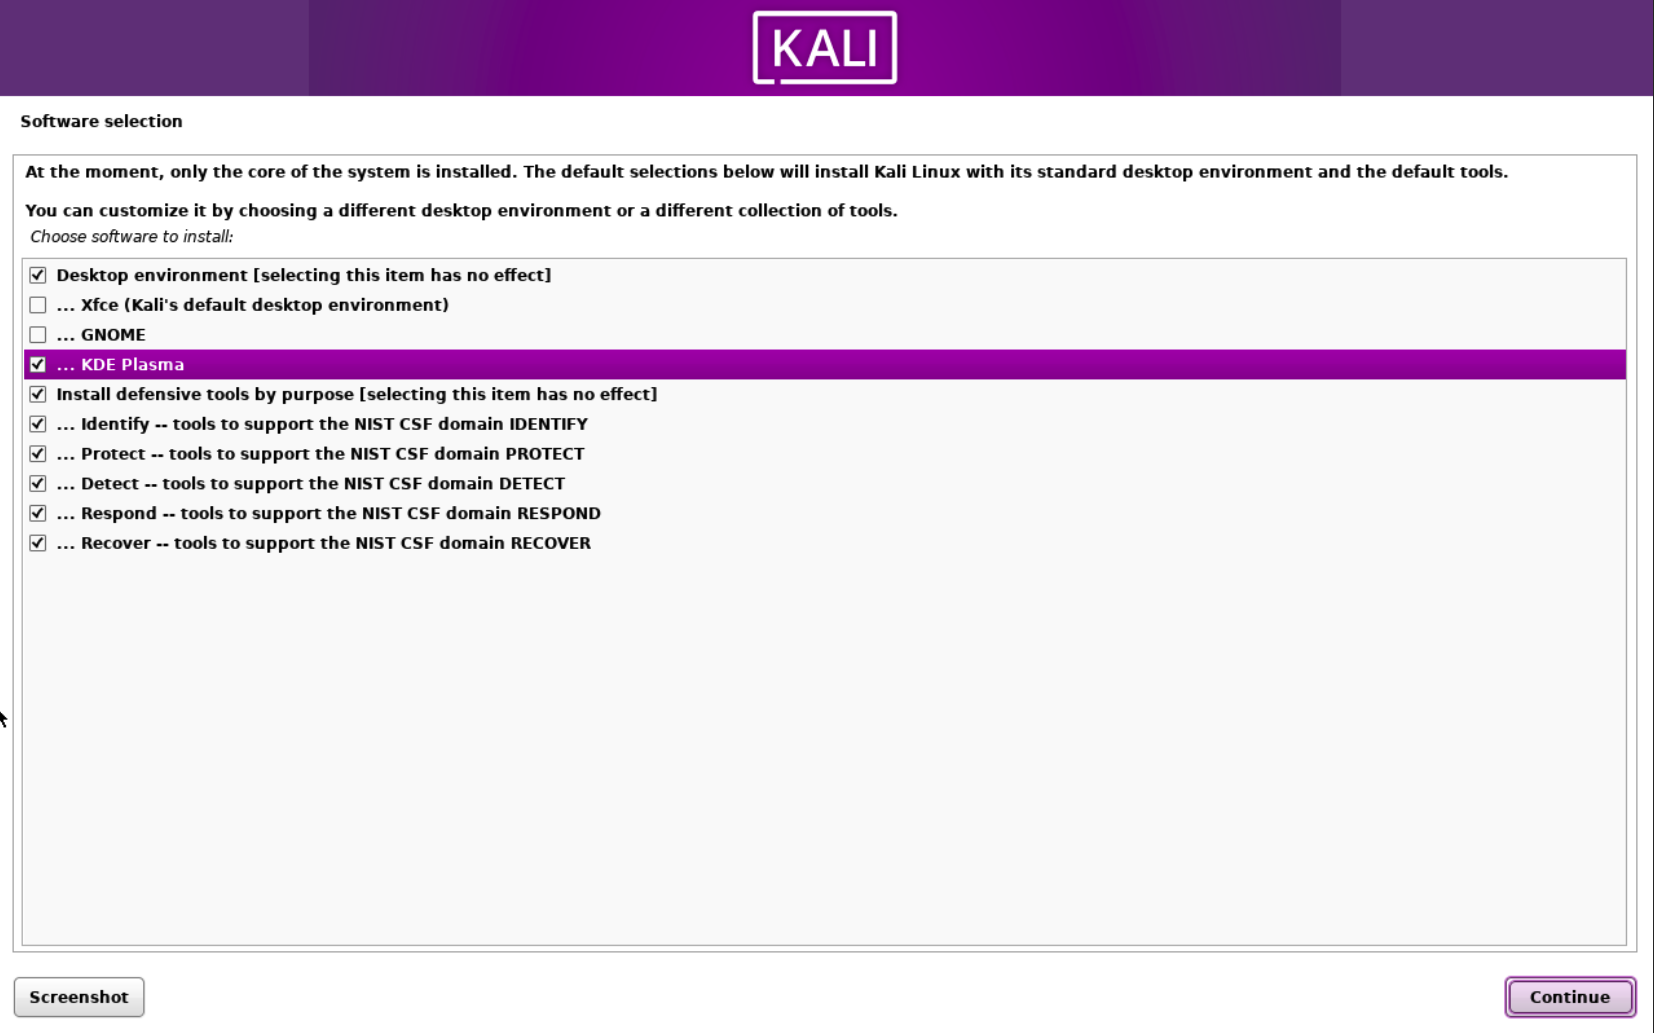
Once it has finished, it will ask you to select a desktop environment and default tools. Xfce is kali’s default environment and it standard. Gnome is a step up and visually appealing while still being lightweight. KDE Plasma is the top trim with all the visual features but it does take up more resources and would recommend to dedicate at least 2 cores and 4GB RAM core to keep it running smoothly. I chose KDE Plasma because I have the resources to spare. It does not matter which desktop environment you choose it’s all the same.
Leave the tools all checked as default.
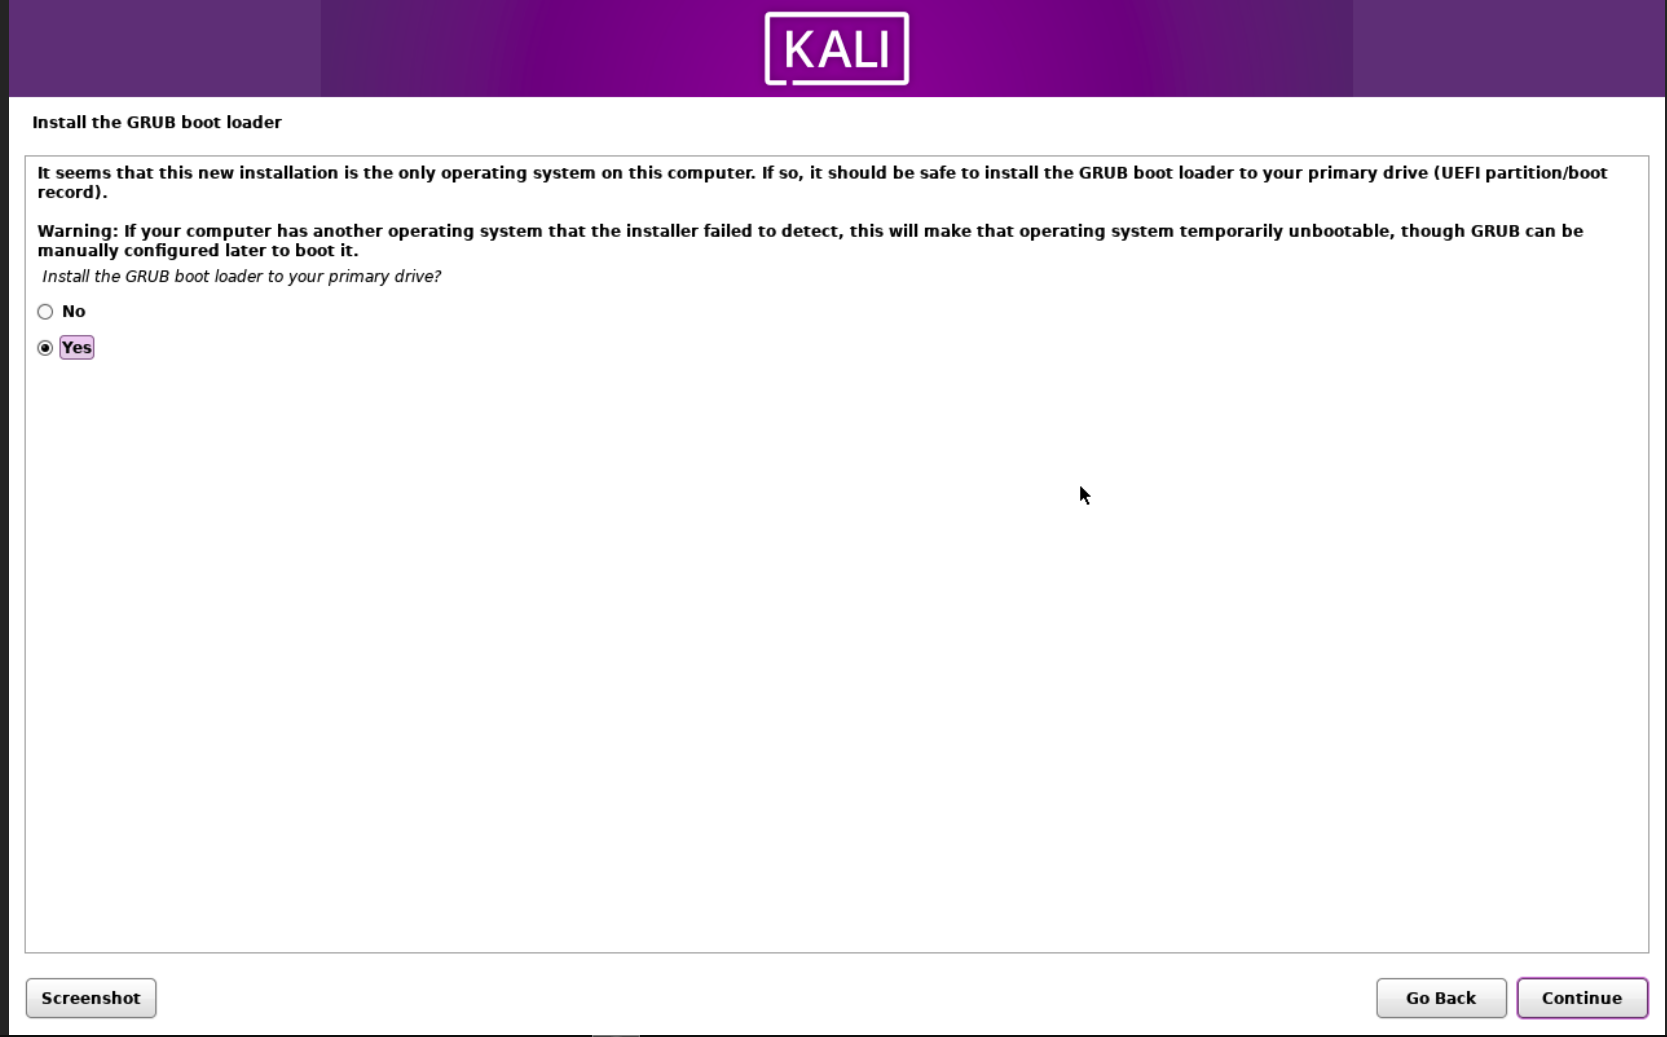
Select Yes
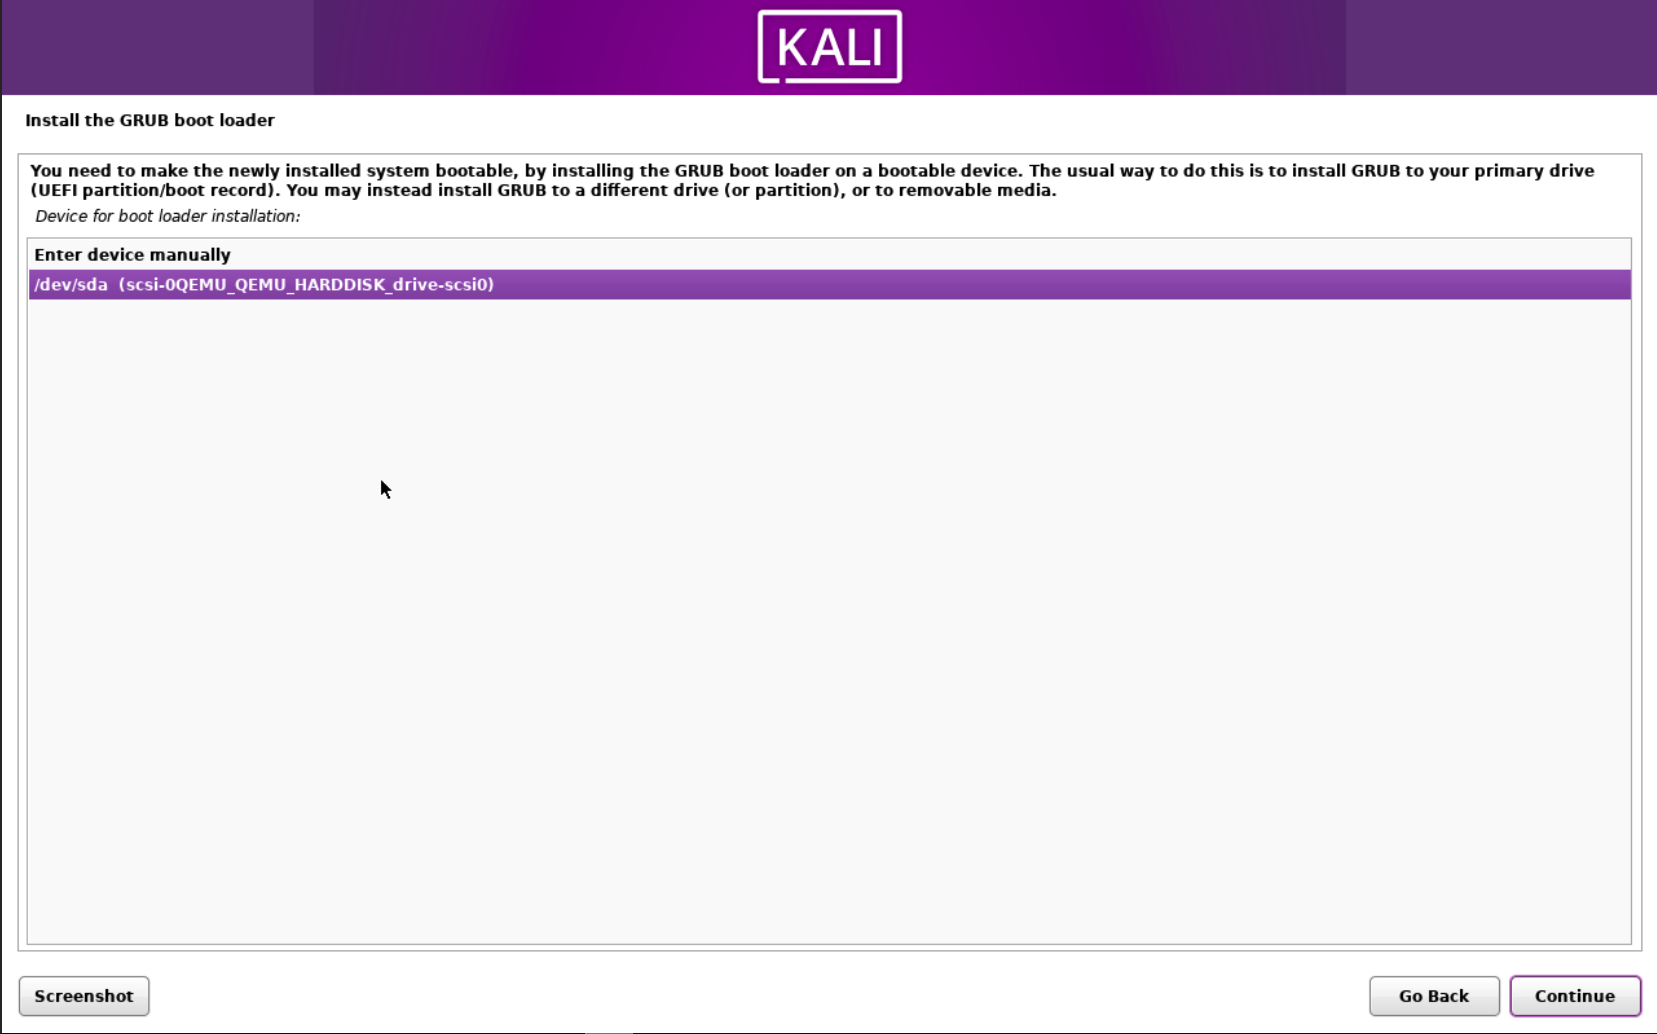
Select /dev/sda and hit Continue. Hit Continue on the next window to reboot.
Stuck on Reboot
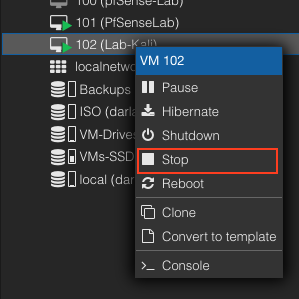
If the reboot gets stuck. Right click the VM on the proxmox menu and clickStop.This will force shutdown the vm and start it up.
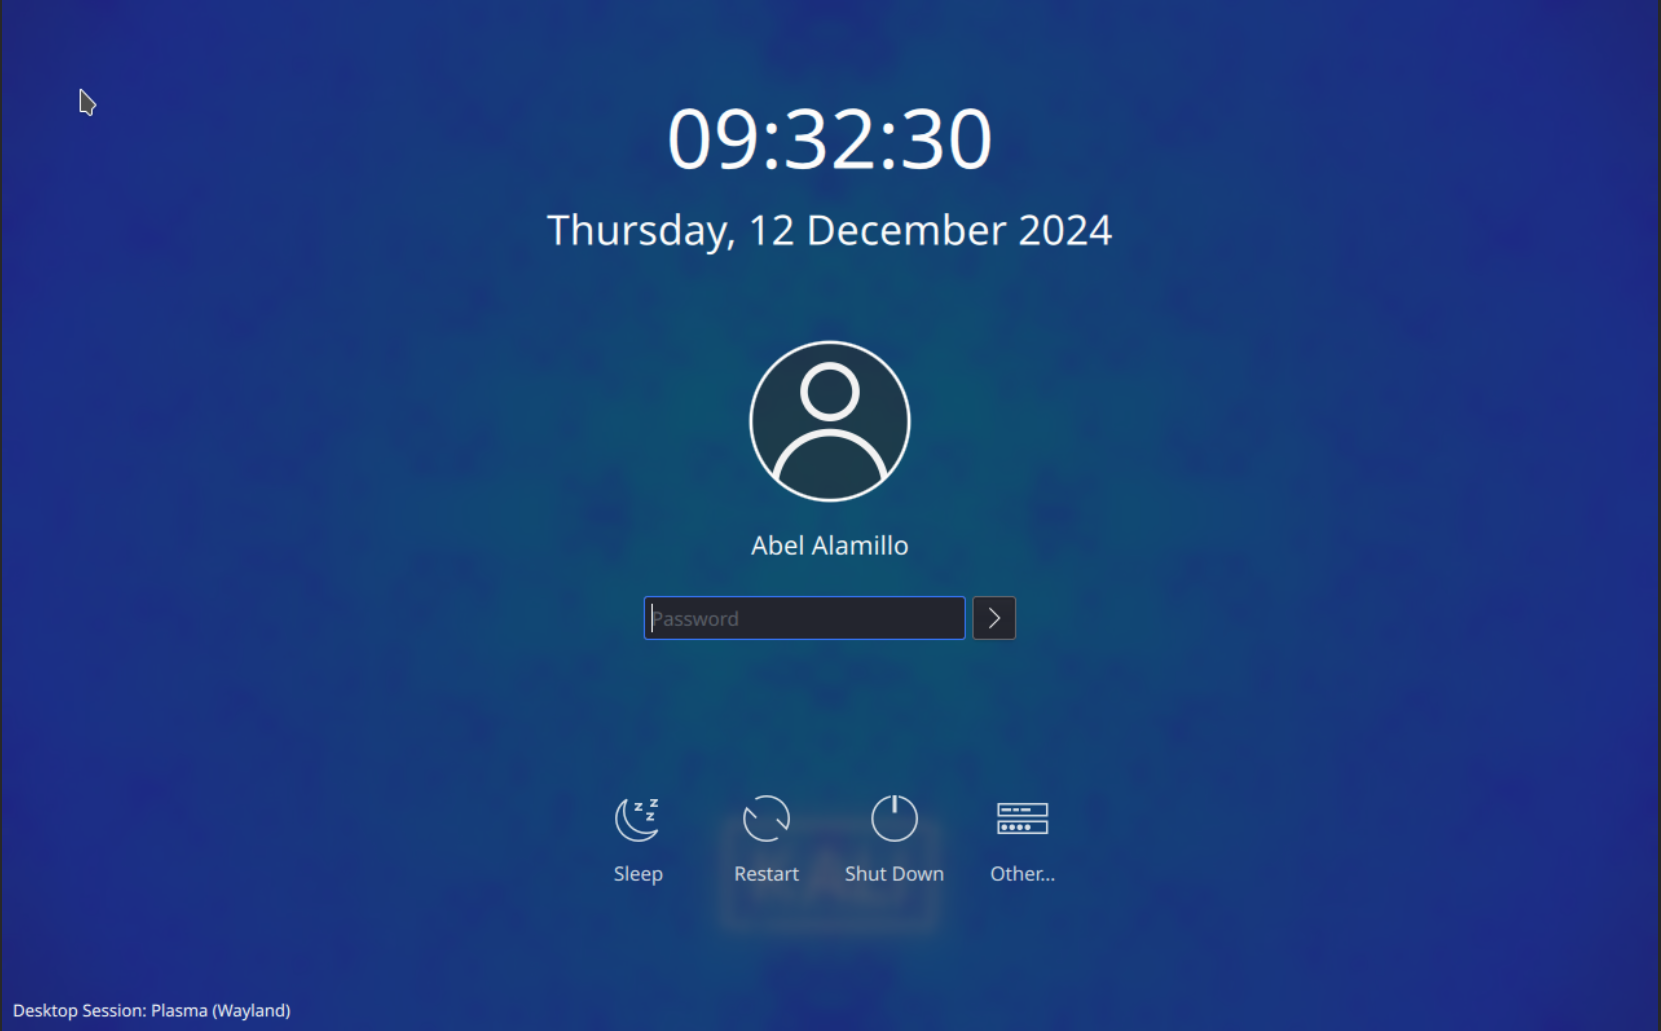
Reboot your system and it will take you to the login screen. Enter the password you created earlier.

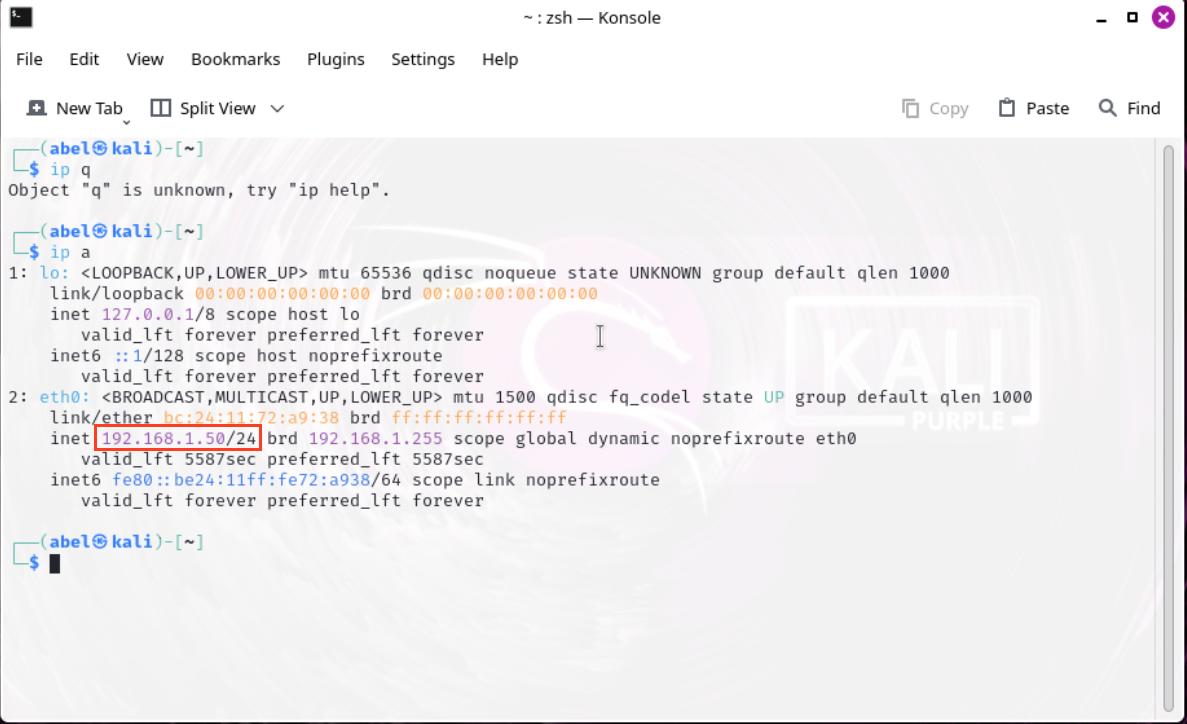
Open up terminal and run ip a and verify kali has an IP from DHCP server we setup in the last part.
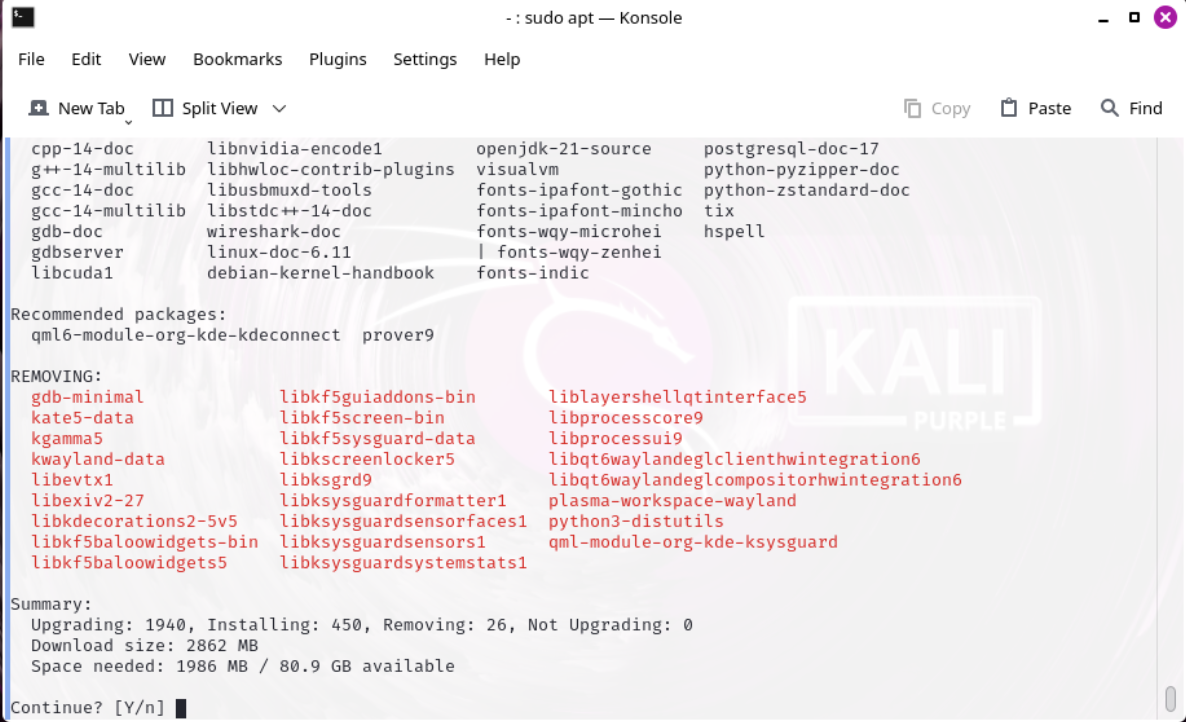 Before anything is done, let’s run updates first:
1
sudo apt update && sudo apt upgrade && sudo apt autoremove
It will prompt for your password and if you want to continue. This might take a while, so perfect time for a snack. This command will grab the latest updates/upgrades and apply them to kali. Afterwards it will then clean up the unused packages.
Clean Up
We are going to clean up the kali VM. After shutting down navigate to your VM and Navigate to Hardware.
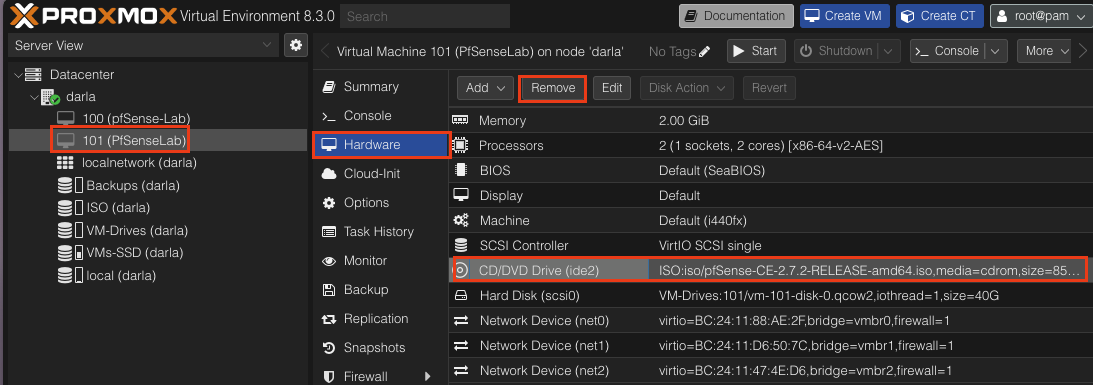
Select CD/DVD Drive and click Remove. This will remove the ISO image from the VM as it is no longer needed.
Keep an eye out for the next part where we will start configuring the Firewall through the pfSense Web interface.