Building a CyberSecurity Home Lab with Proxmox: Part 3 - Firewall Configuration
A Guide on Building a Cybersecurity Home Lab using Proxmox
Banner Background by AndreaCharlesta
Merry Christmas and Happy New Year! I apologize again for the late post. The holidays had busy but I am back! In this part, we will finish setting up pfSense and configuring the firewall rules for the VLANs/subnets we have set for the home lab.
pfSense Configuration
GUI Setup
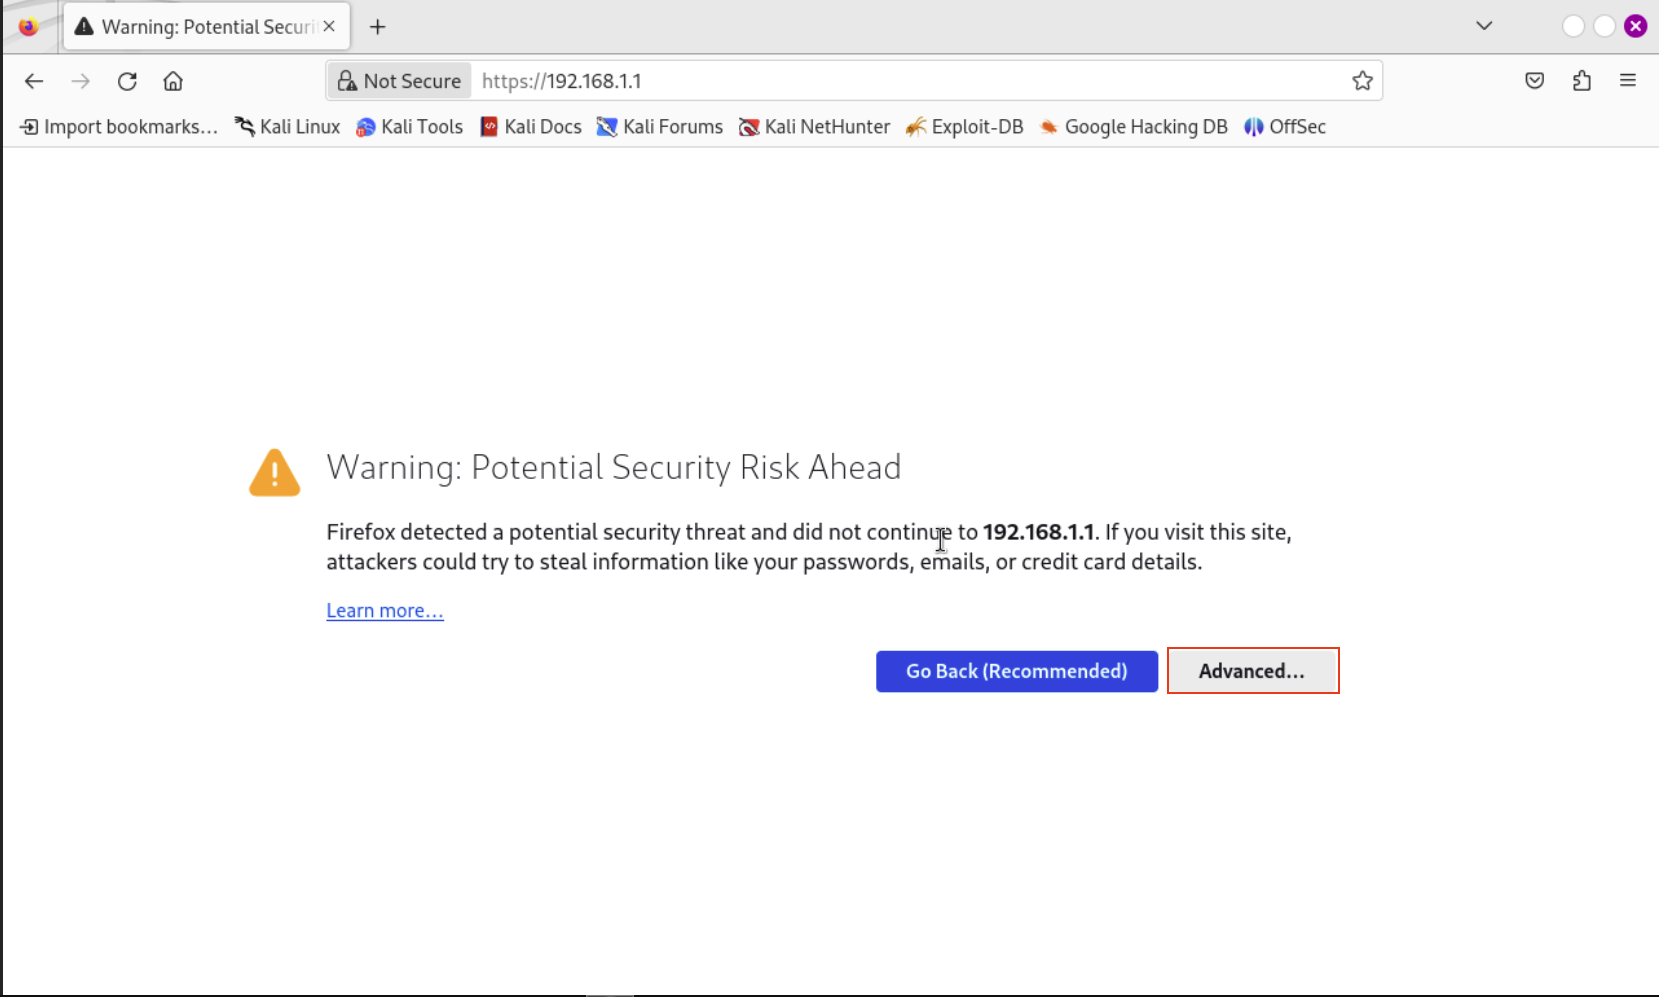
Let’s spin up the Kali Linux VM and open the browser. We will navigate to https://192.168.1.1.
You will see Warning: Potential Security Risk Ahead. No need to panic, we can safely ignore this warning. It is warning us because we are not using https which means the browser is doing it’s job but we know this is not malicious. Click on Advanced and then Accept the Risk and Continue.
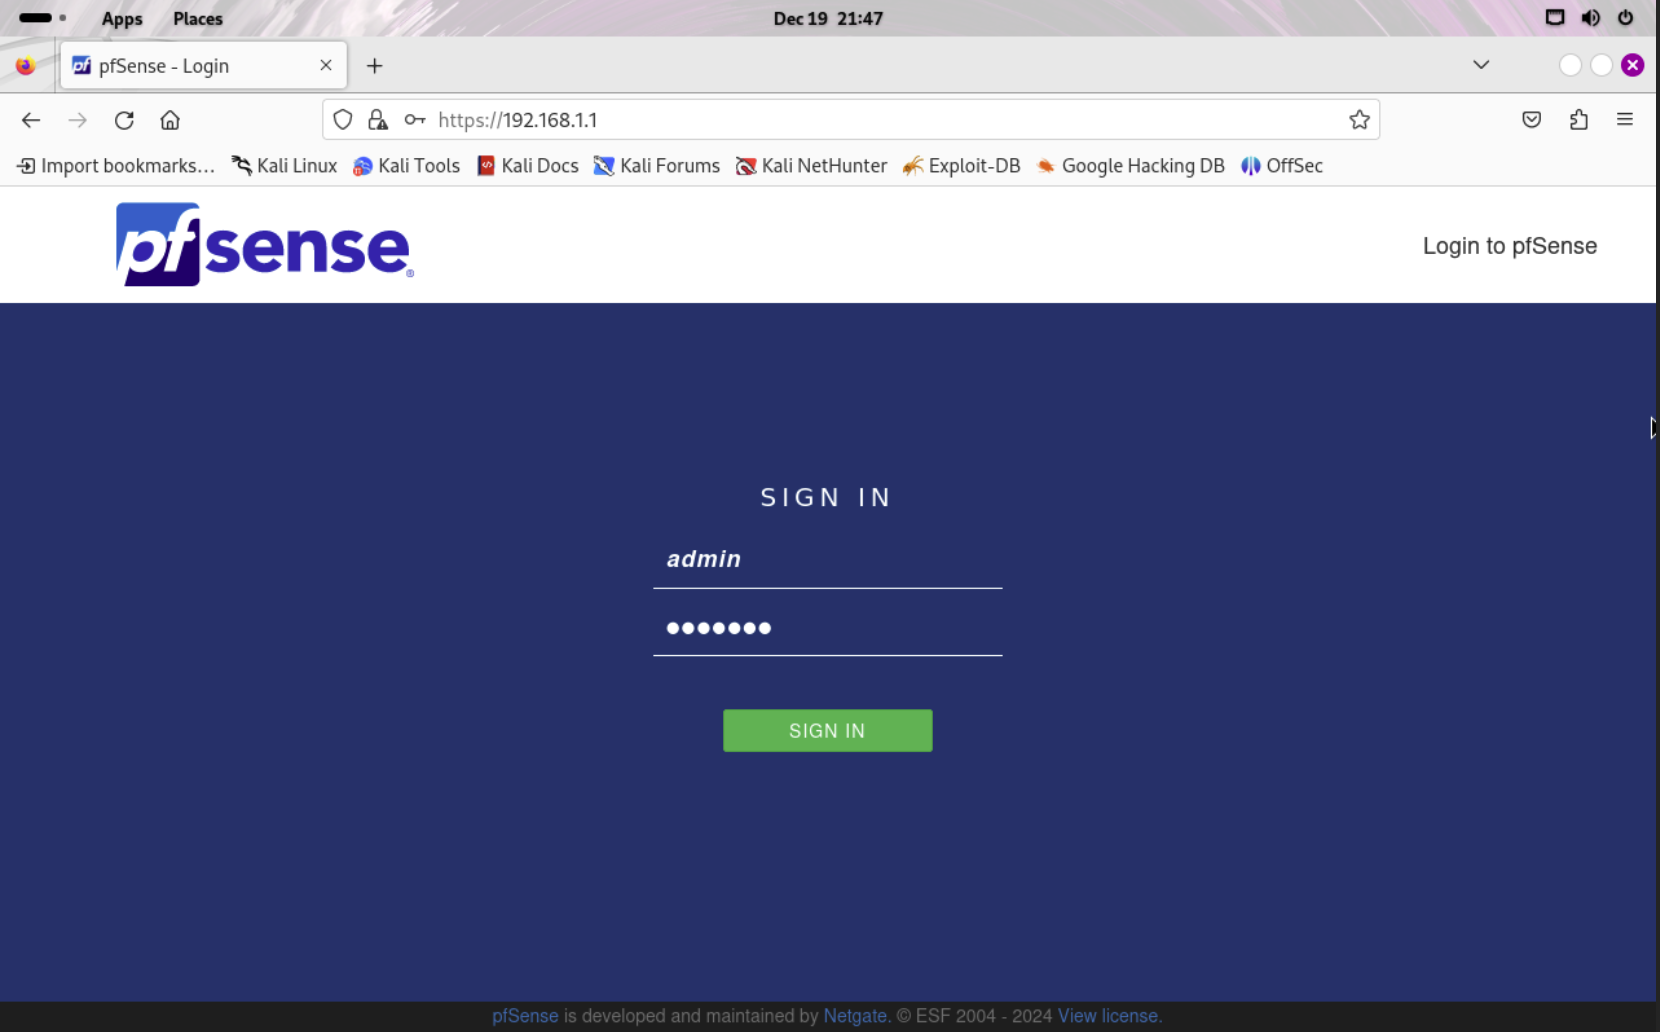
You will see the pfSense Login Page. To log in use the default credentials.
Username: admin
Password: pfsense
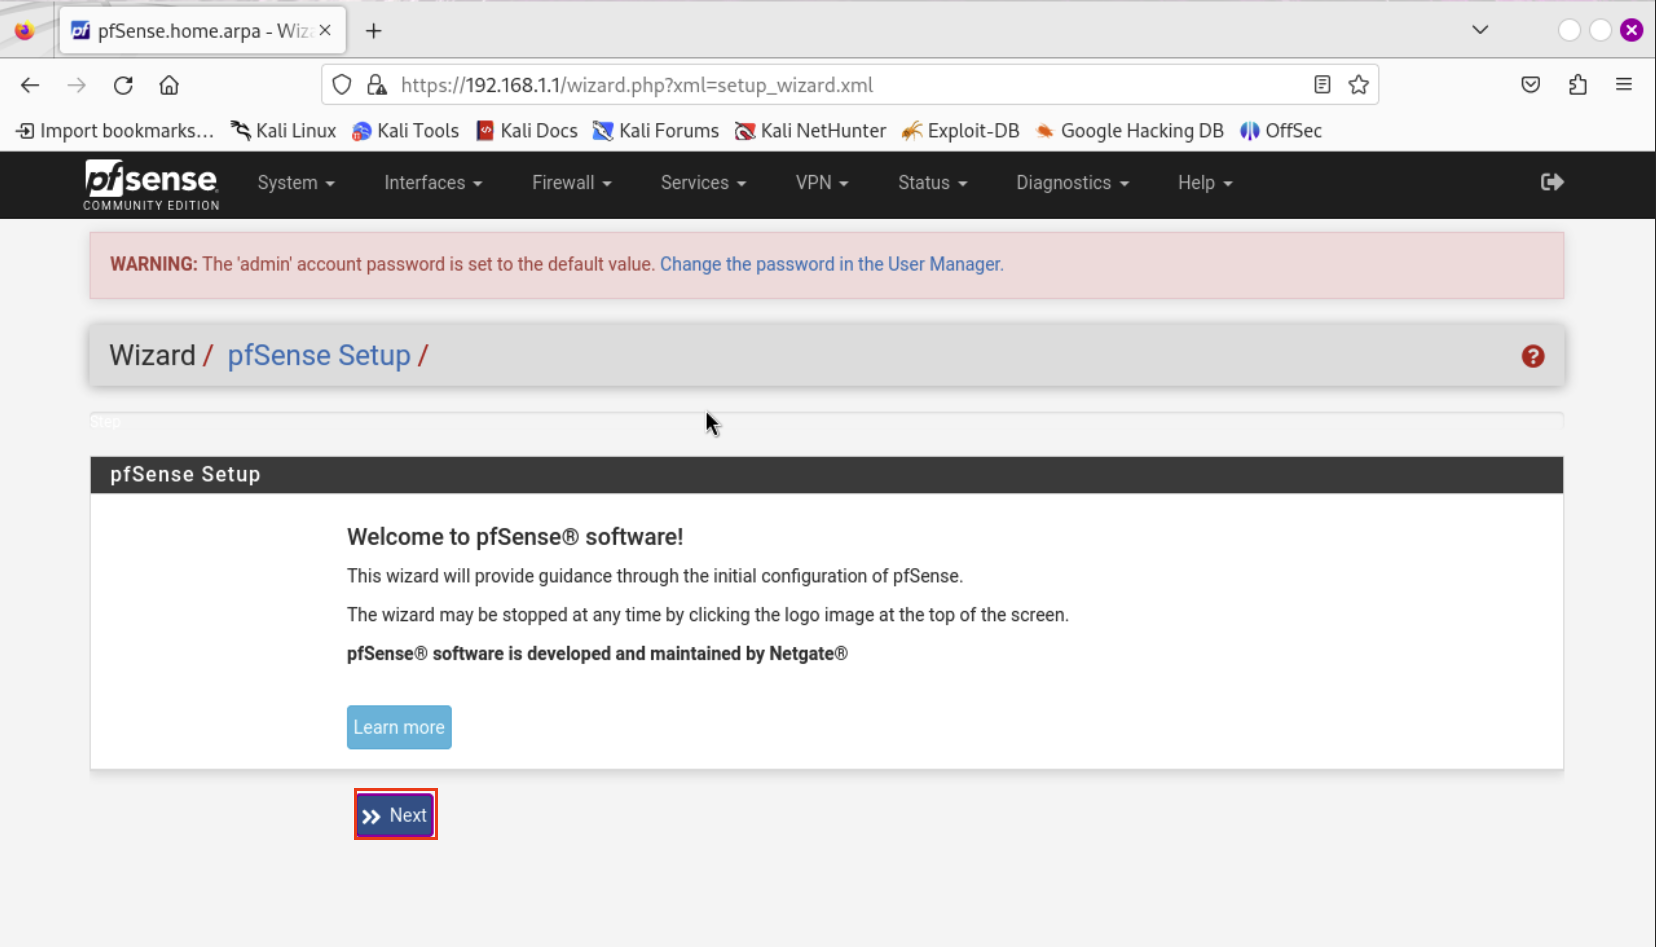
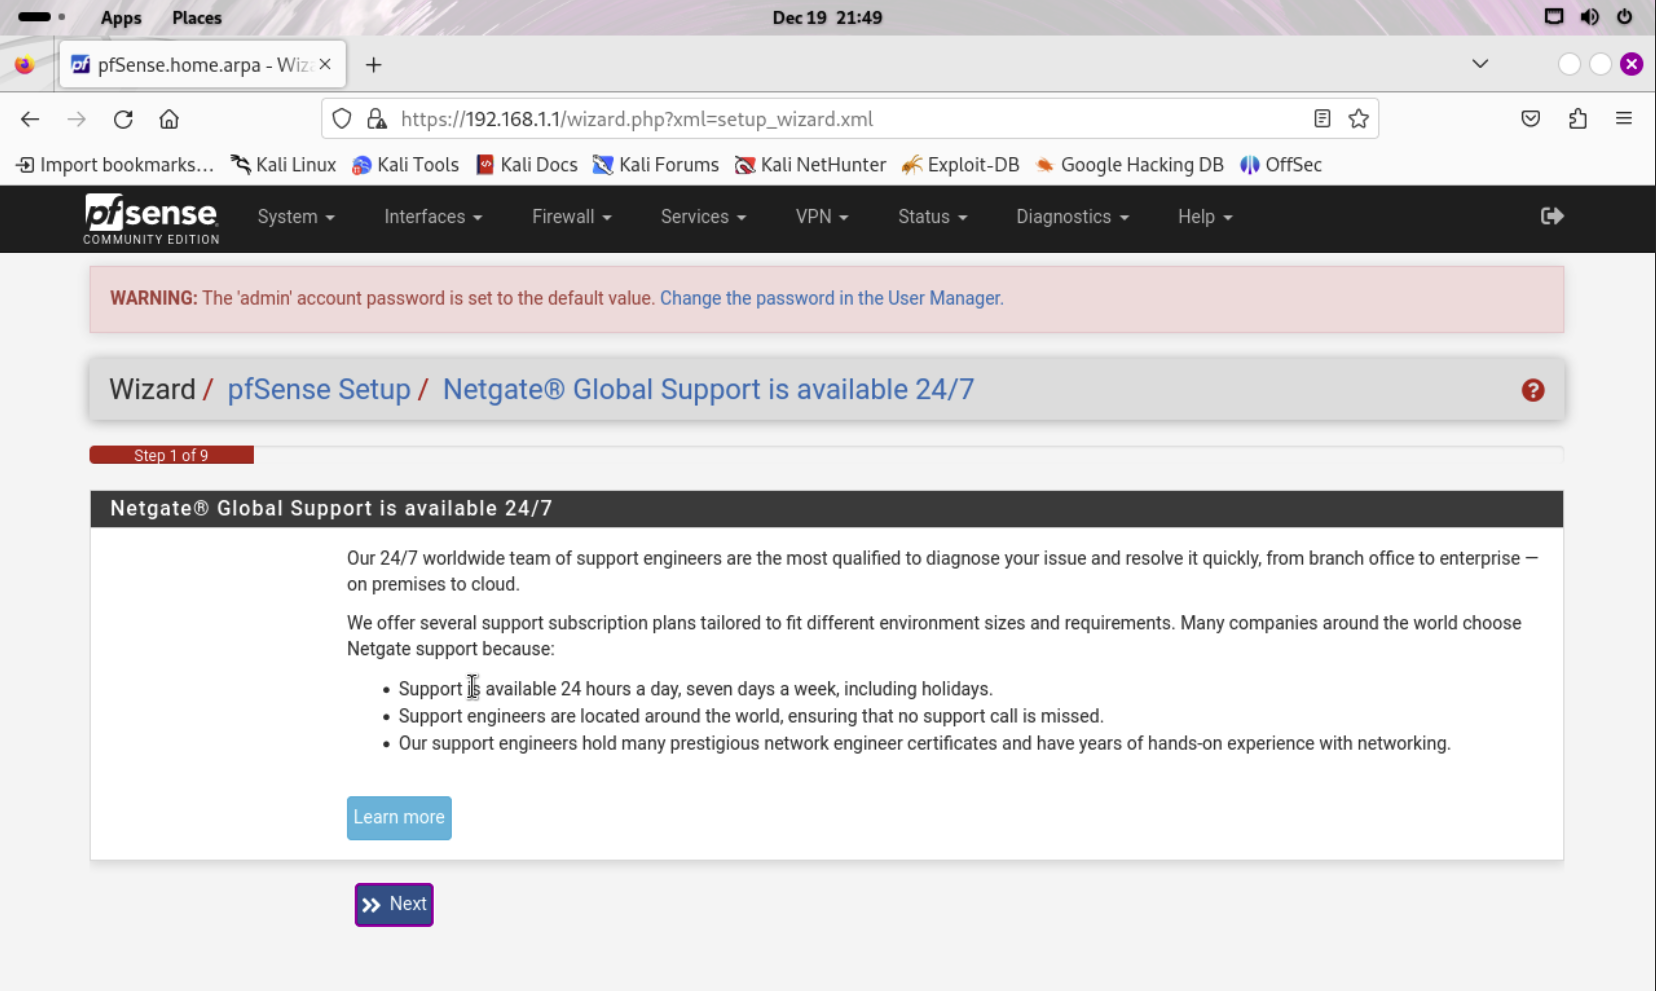
Hit Next
Hit Next
Provide a Hostname and a Domain name. This can be anything you like or you can copy me. Hostname is what the VM will be named on the network. The domain name is just the name of the firewall. Make sure to uncheck the Override DNS button at the bottom before clicking Next.

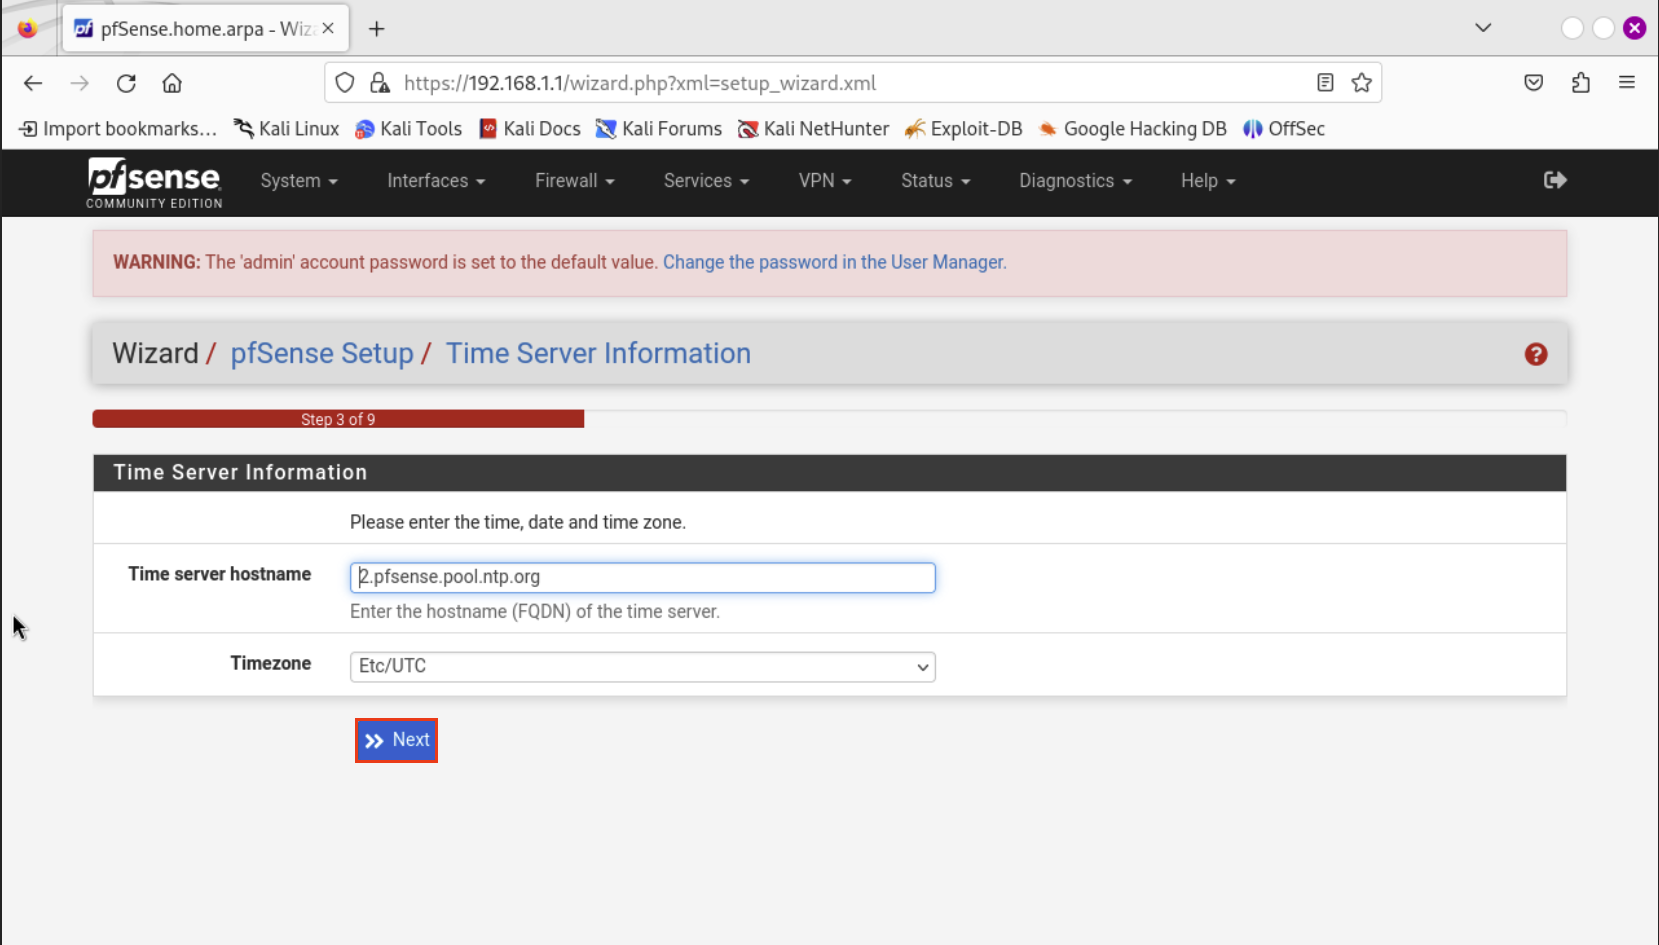
Select your Time Zone and hit Next.
Ignore the red box around **Block bogon Network** leave it default. Make sure to check the box: **Block RFC1918 Private Networks**. Hit Next. 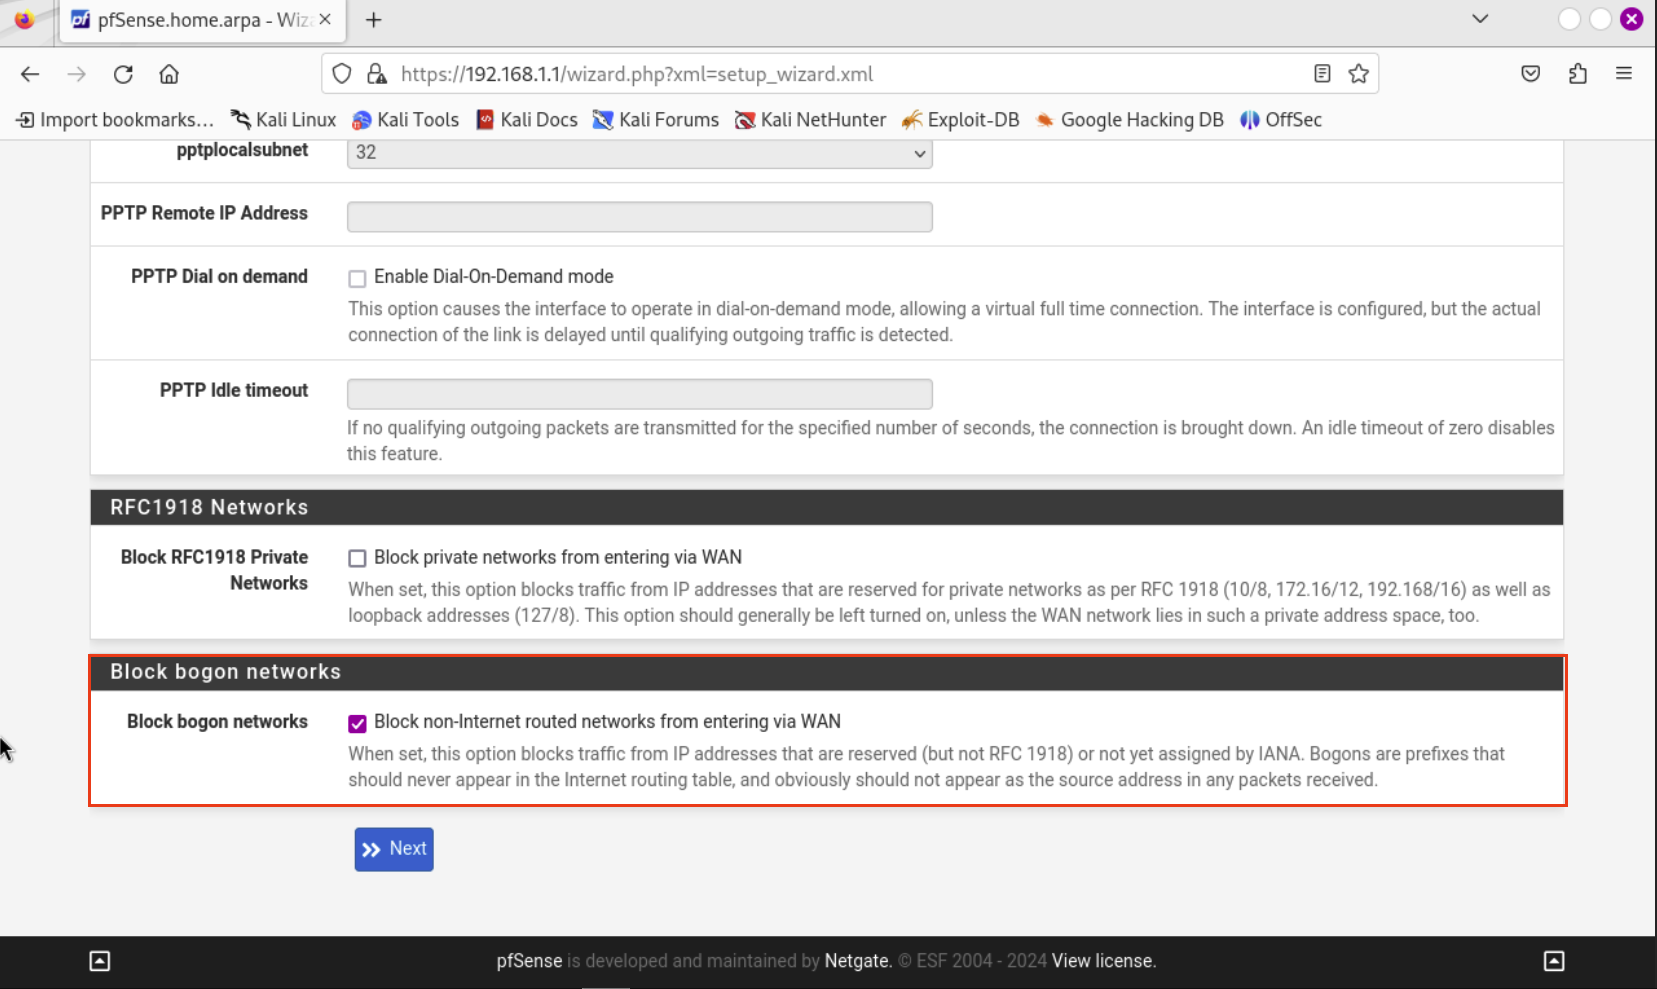
RFC1918 Private Networks
This option has been disabled due to the nature of the home lab. The WAN interface we are using is not a true WAN as it is using a private IP and not a public IP.
The WAN interface will use the private IP to send traffic to our host machine and then pfSense acting as our router will route traffic to our systems.
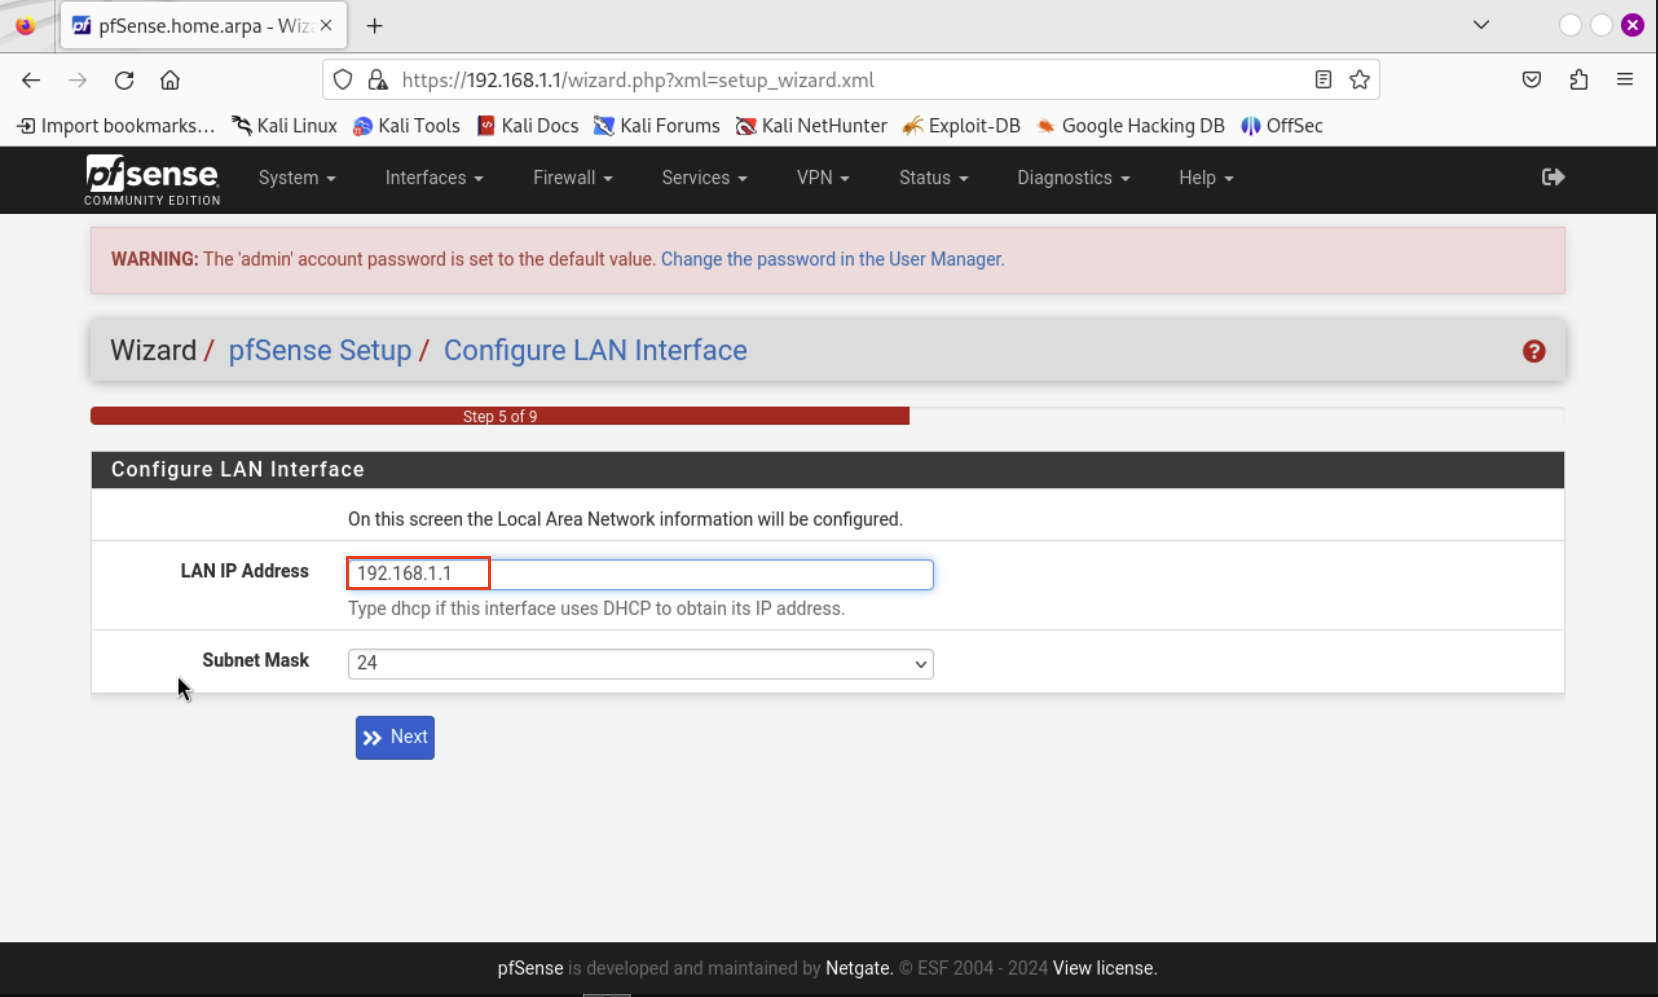
Our LAN IP Address will be 192.168.1.1. Hit Next.
Create a new password to log into pfsense with.

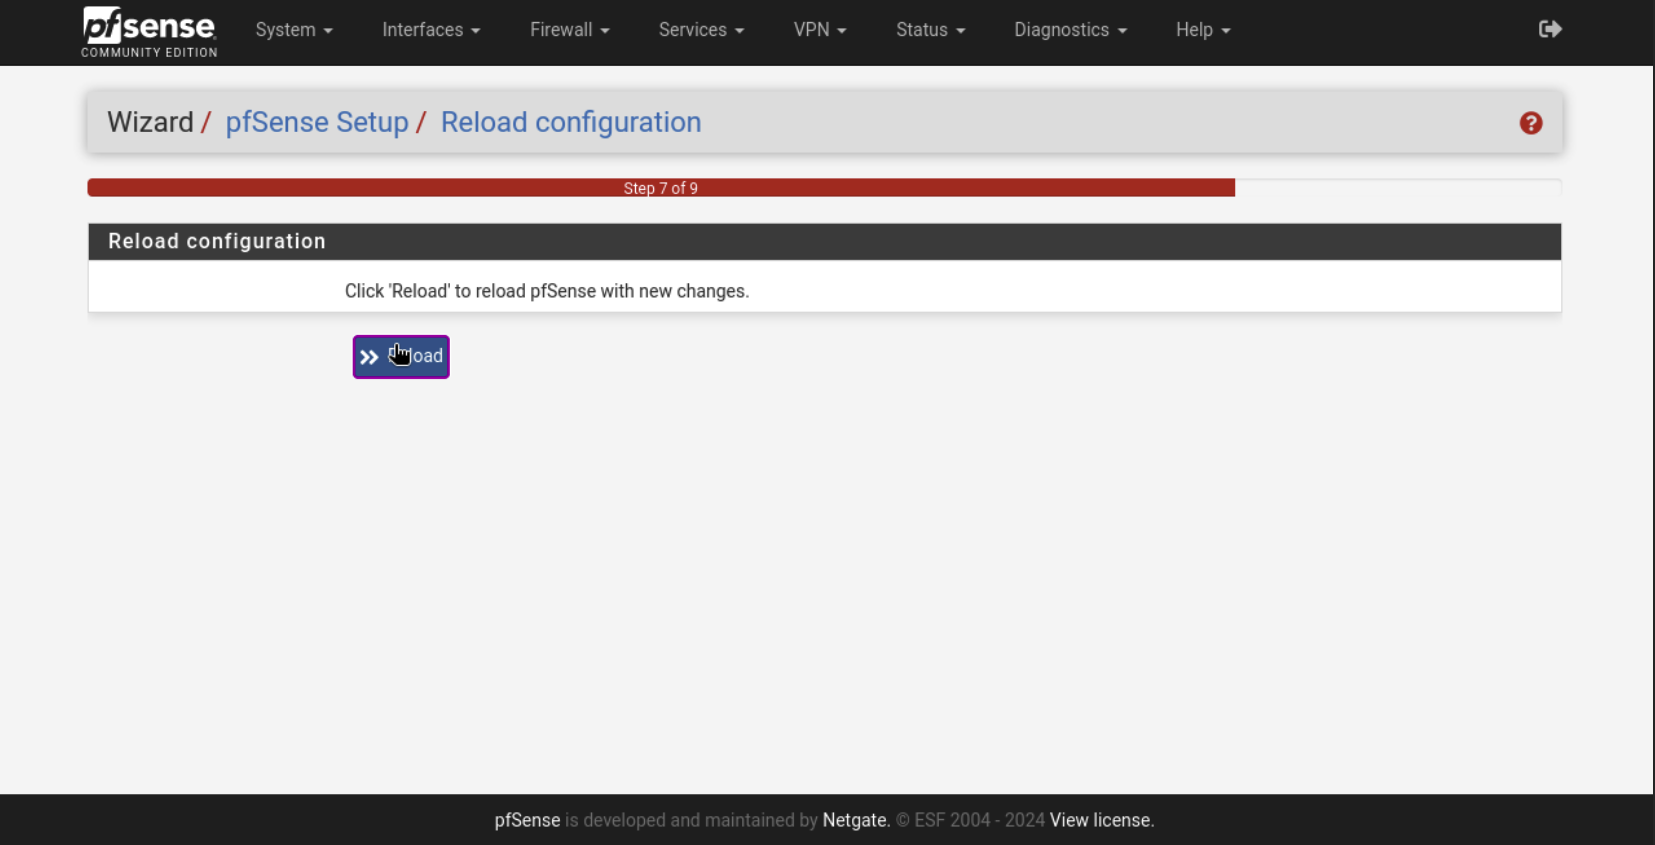
Hit Reload to apply changes.
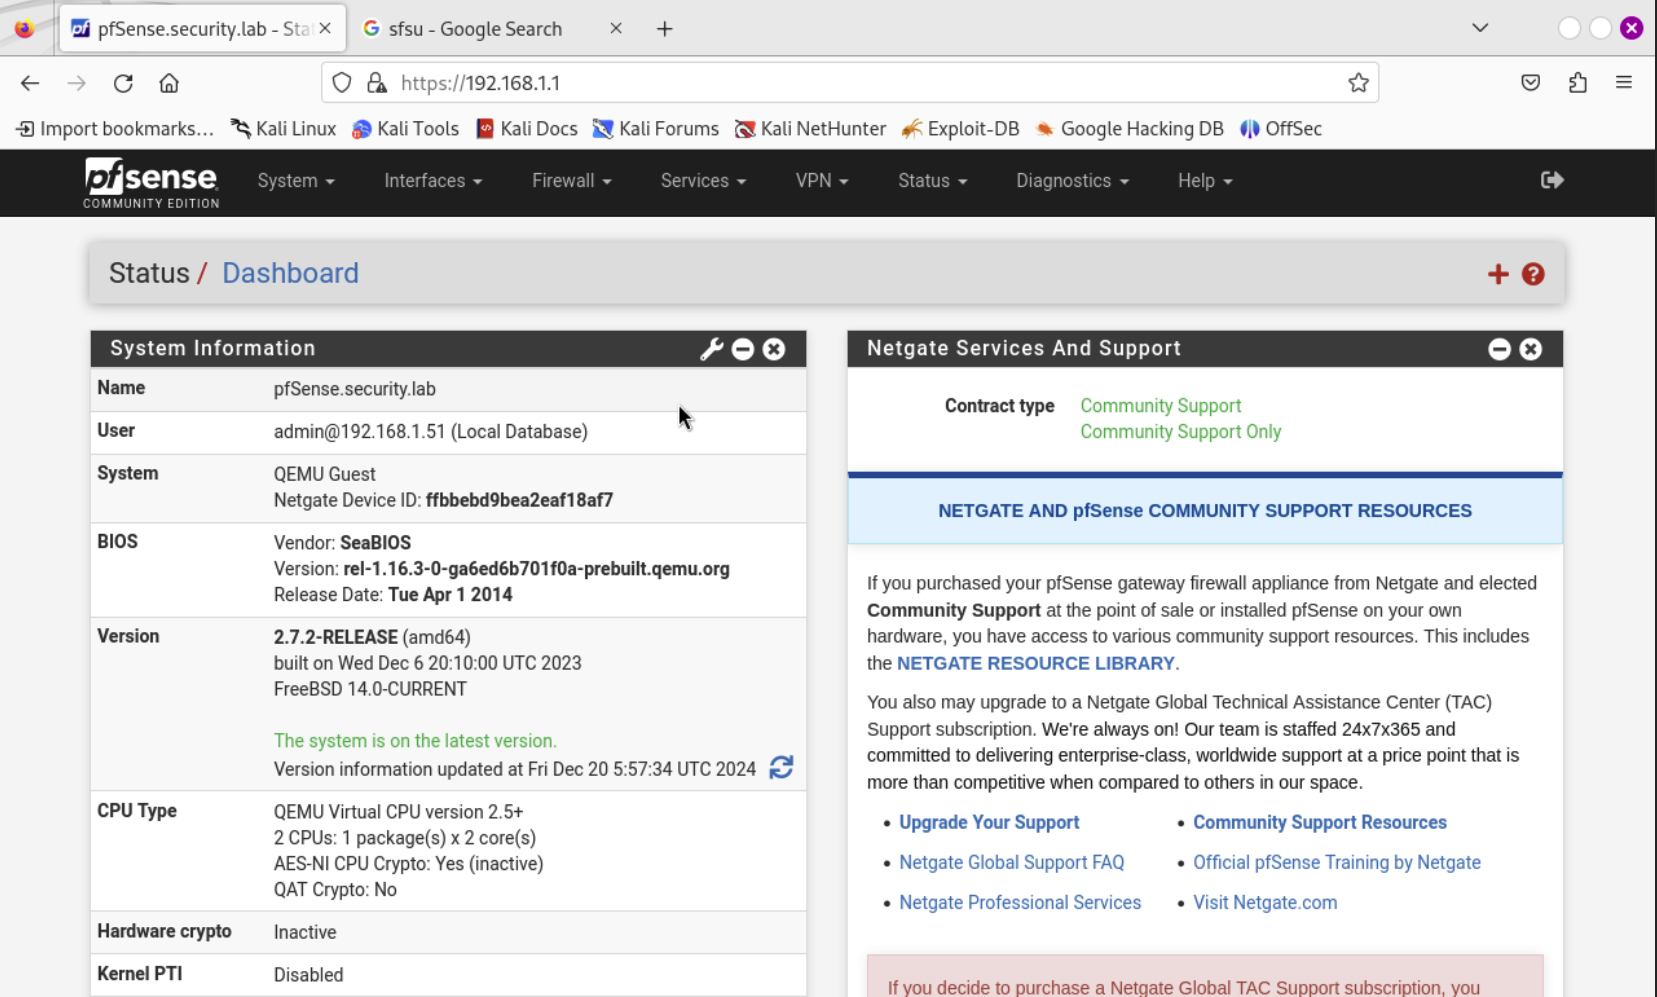
After the reboot and loggin in with your new password. You’ll be greeted with the pfsense Dashboard. Now we can move on to setting the up the interfaces and VLANs.
Interface and VLAN Configuration
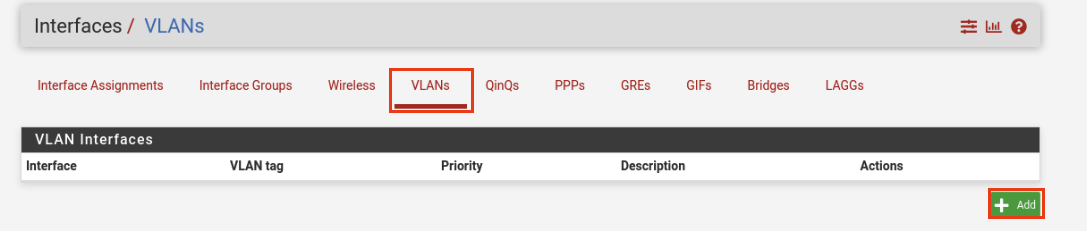
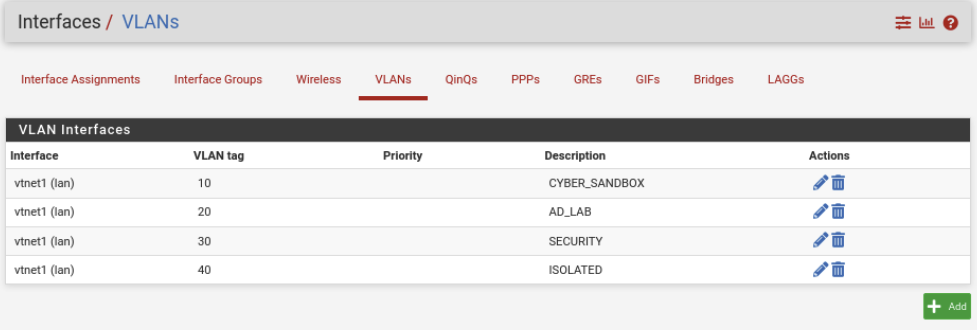
Navigate to Interface -> Assignments -> VLANs. Click Add on the bottom right.

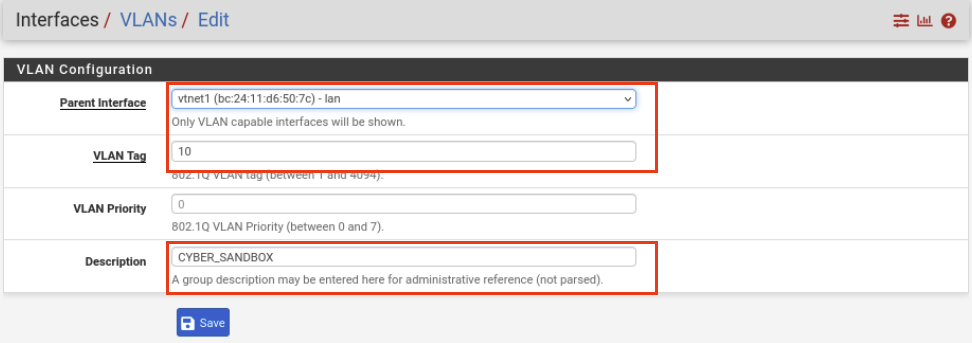
For this VLAN, we are entering the following settings:
Parent interface: vtnet1
VLAN Tag: 10
Description: CYBER_SANDBOX
Hit Save.
Just like we did for CYBER_SANDBOX above, we will do the same for the other VLANs. Refer to the network diagram on the first part for VLANs. If everything is done correctly it should look like mine below.
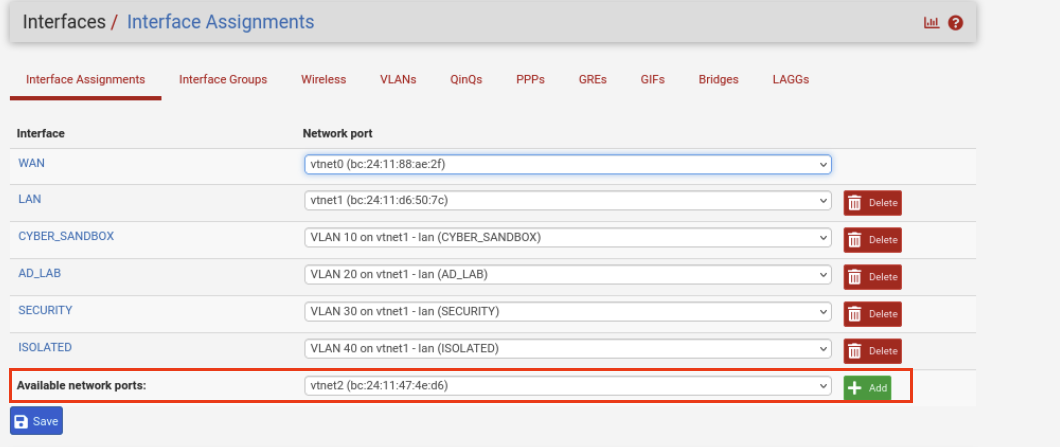
Navigate back to Interface Assignments. Yours will not show all the interfaces like mine does below. You will need to select the Available Network Ports: drop down and select each VLAN and Click add until you have all four selected.
Once you have all the VLANs added they will have a default names such as OPT1, OPT2 OPT3, OPT4.
Select OPT1 interface and enter the following:
Description: CYBER_SANDBOX
IPv4 Configuration: Static IPv4
IPv4 Address: 192.168.10.10
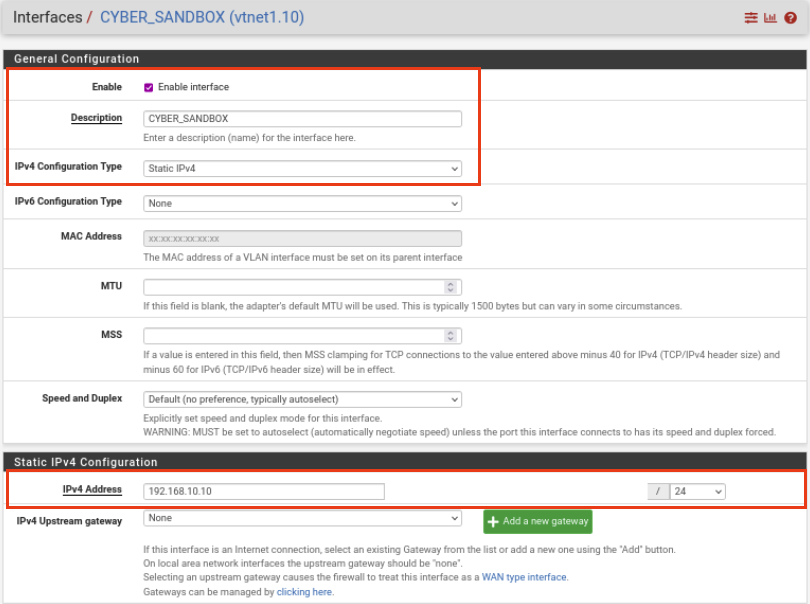
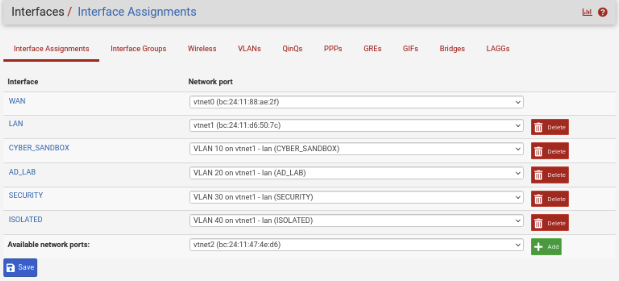
Repeat the same process for the other OPT interfaces. For reference I will provide the IPv4 Address for each VLAN:
CYBER_SANDBOX: 192.168.10.10
AD_LAB: 192.168.20.20
SECURITY: 192.168.30.30
ISOLATED: 192.168.40.40
Once all done, it should look like the image below.
DNS Resolver Configuration
Before moving onto the firewall rules we are going to modify DNS settings to better optimize our homelab.
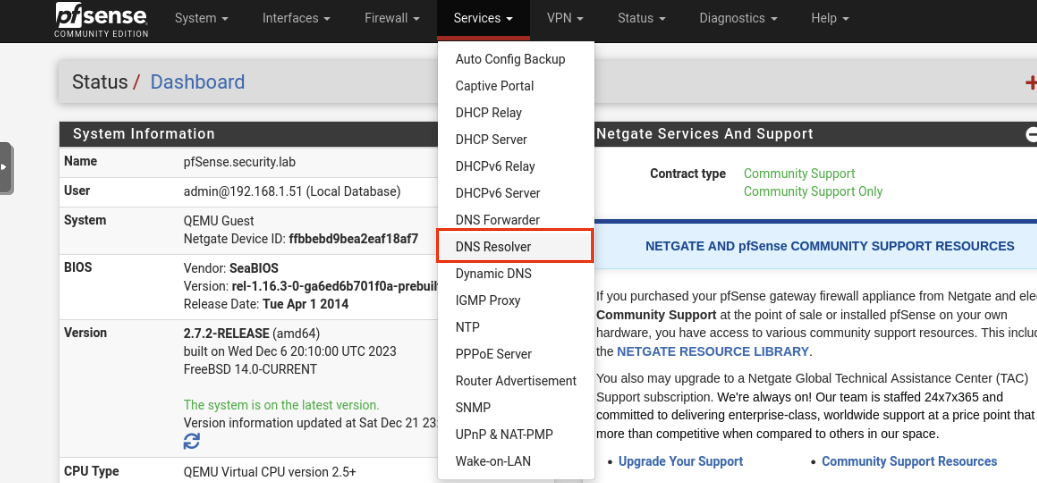
Navigate to Services -> DNS Resolver.
Scroll down until you find DHCP Registration and Static DHCP. Once you have found them, make sure they are checked.

Scroll back up until you find the Advanced Settings. Find the Prefetch Support and Prefetch DNS Key Support. Make sure to enable it. Once you have done this. Click Save near the bottom and Apply Changes at the top.

Network Configuration
Navigate to System -> Advanced. 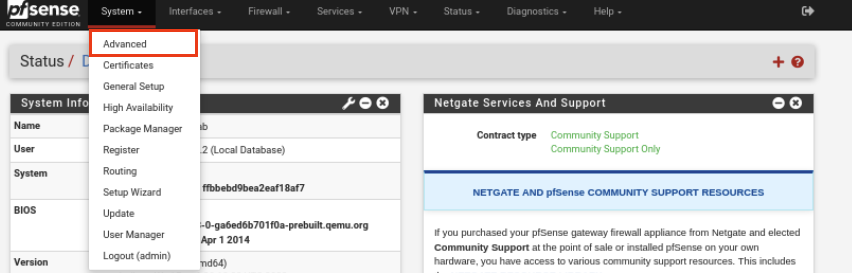
Click the Networking tab.

Scroll until you find Hardware Checksum Offloading and check the box. Then click Save. You will be prompted to reboot. Go ahead and click OK.

Assigning Static IP to Kali
Assigning a static IP to Kali will make it easier on us to apply firewall rules on the other interfaces that have access to the Kali VM.
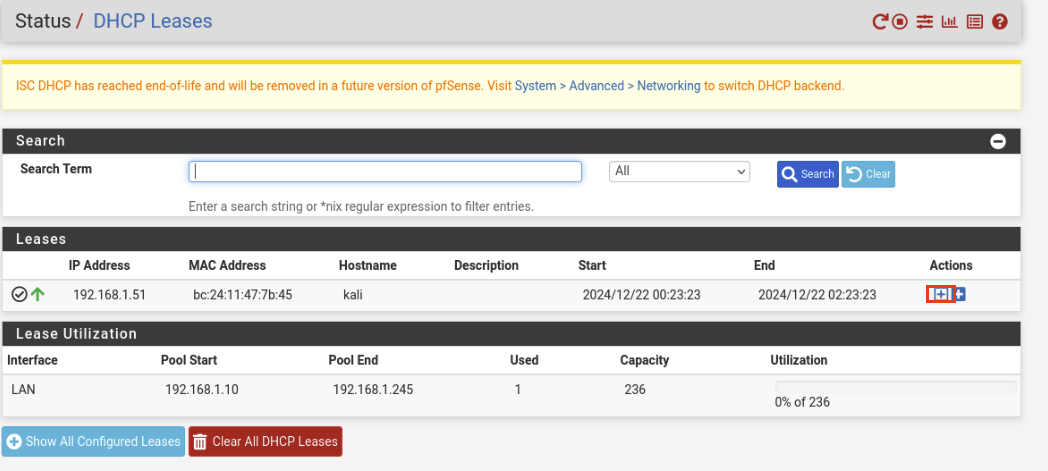
Navigate to Status -> DHCP Leases

Once here, you’ll see kali with its MAC address and its currently assigned IP from DHCP. To assign a static IP we will click the highlighted +.
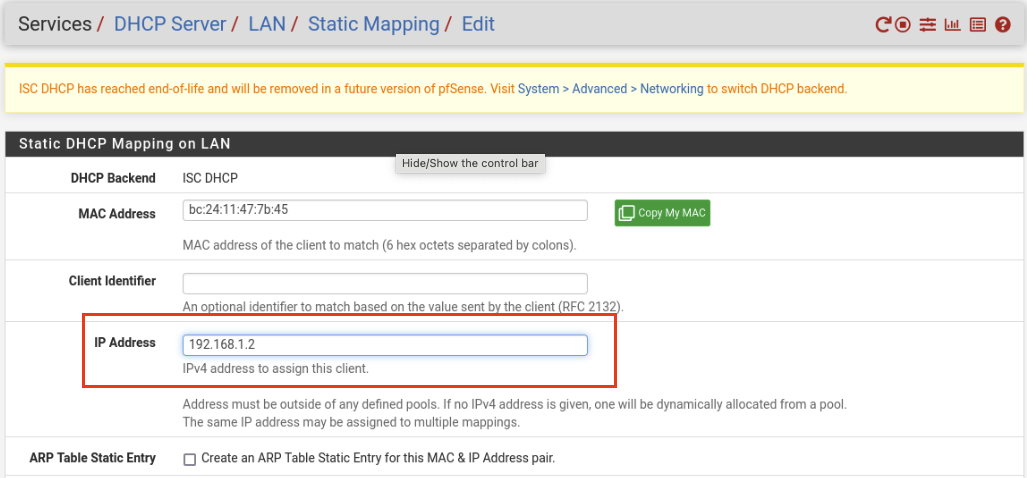
We can assign any IP outside of the DHCP pool. I chose 192.168.1.2. Click Save below and then Apply Changes above.
Setting Static IP to Kali
We have assigned a static IP to kali however it still is holding onto the IP assigned by DHCP. To release the IP and use the static IP we assigned we have to run a couple commands. Open up a terminal and run the following command. This will show our current interface and IP.
1
ip a l eth0
The actual command is just a simple power off and power on of our internet interface. This can be done by the following command:
1
sudo ip l set eth0 down && sudo ip l set eth0 up
After running the command, run the following command again to see if it picked up the static ip reservation.
1
ip a l eth0
pfSense Firewall Rules
Finally, we are at the meat of the module. Let’s get started!
Navigate to Firewall -> Rules

LAN Rules
Navigate to the LAN tab. You should see some rules already there. Click on the Add rule to bottom.
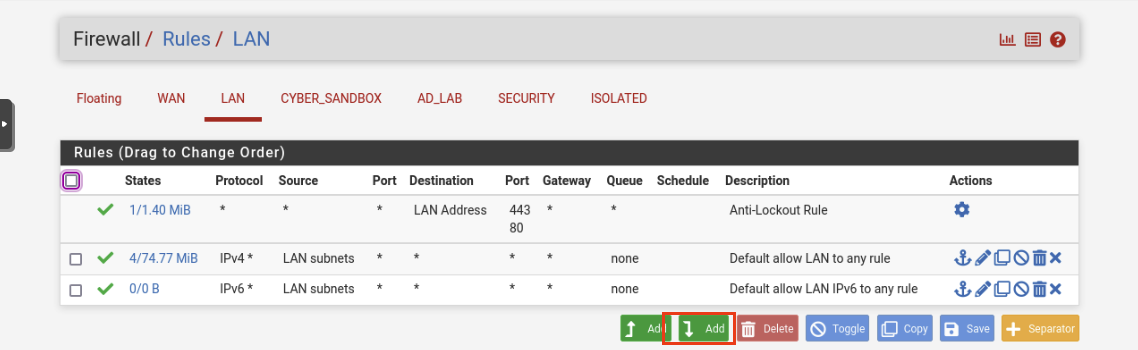
Enter the following options:
Action: Block
Address Family: IPv4+IPv6
Protocol: Any
Source: Lan Subnets
Destination: WAN Subnets
Description: Block Access to any services on WAN
Scroll to the bottom and hit Save.

At the top, hit Apply Changes.

Your LAN rules should like mine below.
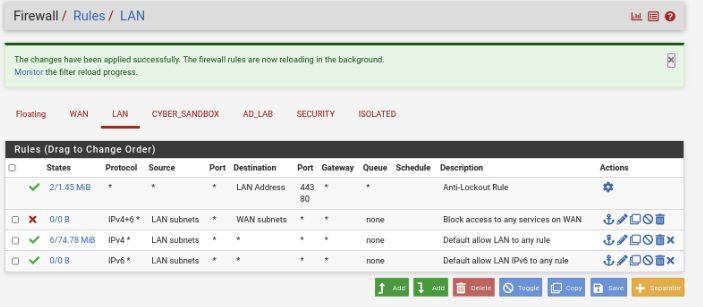
The order of rules matters. You can click and drag the rules around until it matches mine.
CYBER_RANGE Rules
Alias
Before creating the firewall rules for this interface, we need to create an Alias. Navigate to Firewall -> Aliases
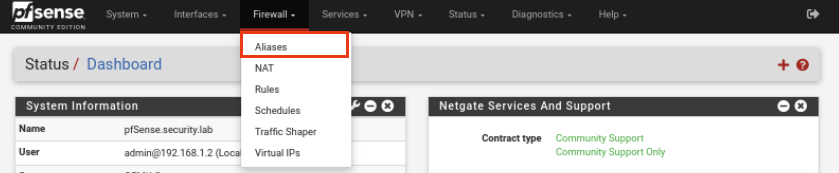
Click Add near the bottom.
Enter the following:
Name: RFC1918
Description: Private IPv4 Address Space
Type: RFC1918
Network or FQDN:
10.0.0.0/8
172.16.0.0/12
192.168.0.0/16
169.254.0.0/16
127.0.0.0/8
Hit Save towards the bottom.
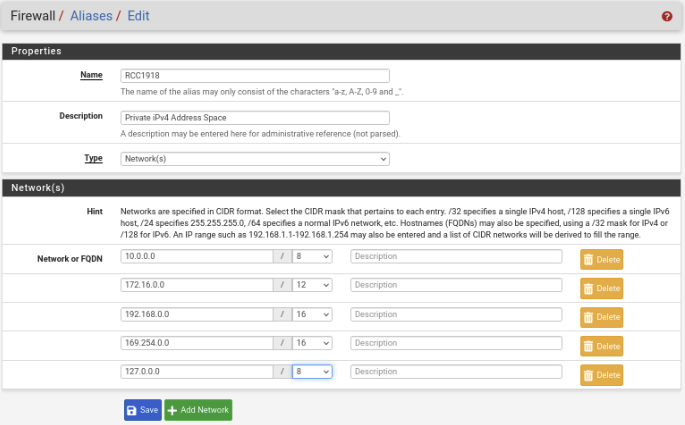
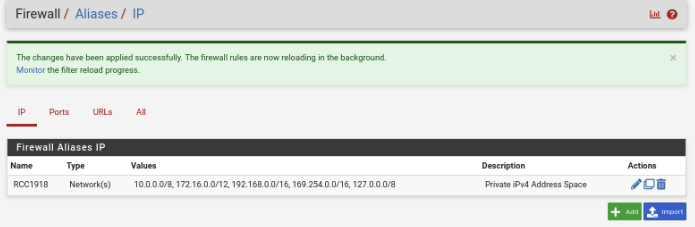
Hit Apply Changes
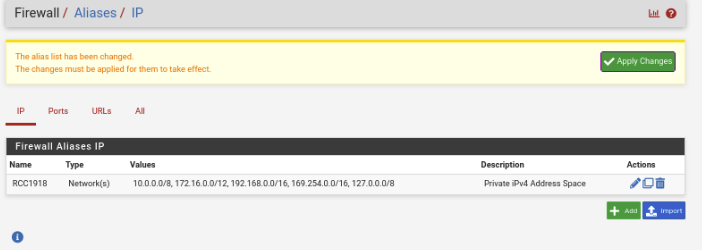
Double check you did everything right below.
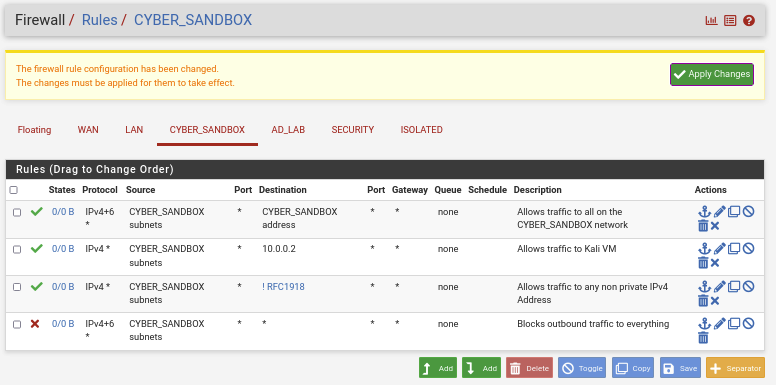
Firewall Rules
Now that we have that established we can move on to the firewall rules. Below are the configurations:
Action: Pass
Address Family: IPv4+IPv6
Protocol: Any
Source: CYBER_SANDBOX subnets
Destination: CYBER_SANDBOX address
Description: Allows traffic to all on CYBER_SANDBOX network
Action: Pass
Address Family: IPv4
Protocol: Any
Source: CYBER_SANDBOX subnets
Destination: Address or Alias 192.168.0.0
Description: Allows traffic to Kali
Action: Pass
Address Family: IPv4
Protocol: Any
Source: CYBER_SANDBOX subnets
Destination: Address or Alias RFC1918 (Check Invert Match box)
Description: Allows traffic to any non private IPv4 Addresses
Action: Block
Address Family: IPv4+IPv6
Protocol: Any
Source: CYBER_SANDBOX subnets
Destination: Any
Description: Block outbound traffic to everything
Ensure your ruleset matches the order below.
Click Apply changes.
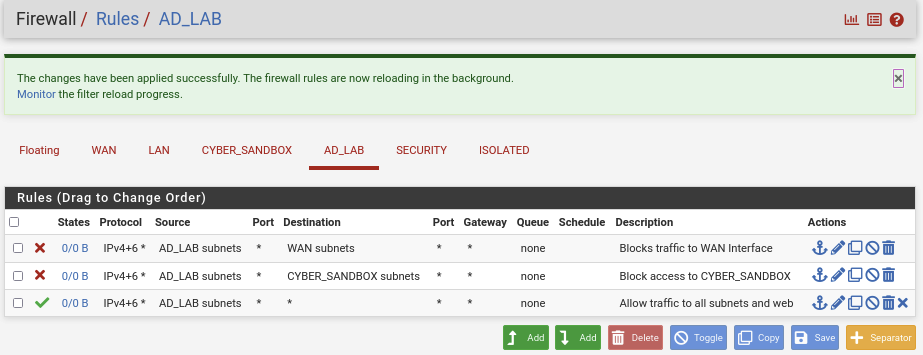
AD_LAB Rules
Moving onto AD_LAB, same thing as the last one. Below are the configurations:
Action: Block
Address Family: IPv4+IPv6
Protocol: Any
Source: AD_LAB subnets
Destination: WAN Subnets
Description: Block Traffic to WAN Interface
Action: Block
Address Family: IPv4+IPv6
Protocol: Any
Source: AD_LAB subnets
Destination: CYBER_SANDBOX subnets
Description: Block Traffic to CYBER_SANDBOX
Action: Pass
Address Family: IPv4+IPv6
Protocol: Any
Source: AD_LAB subnets
Destination: Any
Description: Allows traffic to all subnets and web
Ensure your ruleset matches the order below.
Click Apply changes.
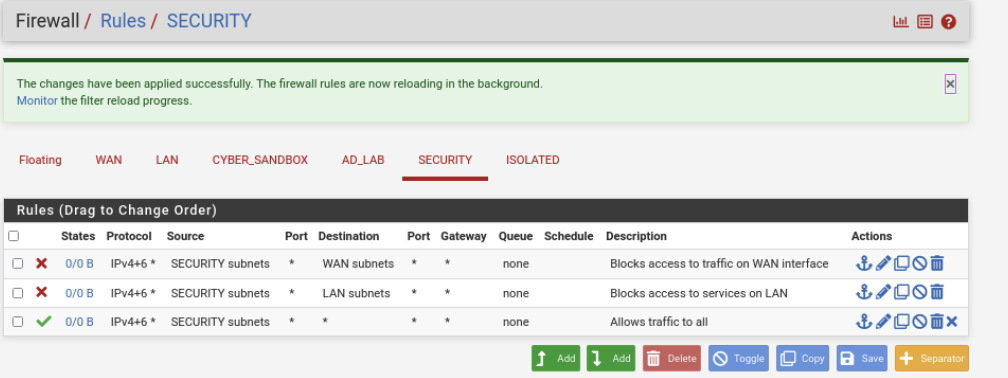
SECURITY Rules
Rinse and repeat. Here we go:
Action: Block
Address Family: IPv4+IPv6
Protocol: Any
Source: SECURITY subnets
Destination: WAN Subnets
Description: Blocks traffic to WAN Interface
Action: Block
Address Family: IPv4+IPv6
Protocol: Any
Source: SECURITY subnets
Destination: LAN Subnets
Description: Blocks traffic to LAN Interface
Action: Pass
Address Family: IPv4+IPv6
Protocol: Any
Source: SECURITY subnets
Destination: Any
Description: Allows traffic to all
Ensure your ruleset matches the order below.
Click Apply changes.
ISOLATED Rules
Last but not least!
Here are the configurations:
Action: Block
Address Family: IPv4+IPv6
Protocol: Any
Source: ISOLATED subnets
Destination: Any
Description: Blocks traffic to everything
For the ISOLATED interface, we have blocked off all traffic. This is for good reason, we don’t want the malware to travese the network and infect other networks. 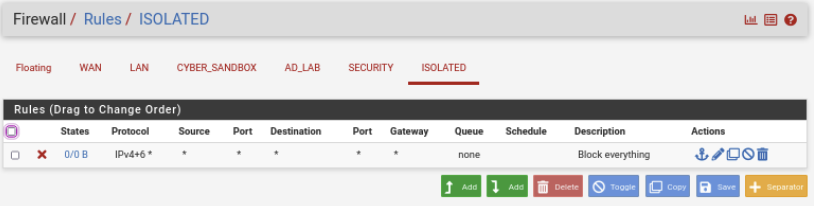
Reboot
Now that we have configured a large amount of rule, it is a good idea to reboot pfsense so the rules can be applied correctly.
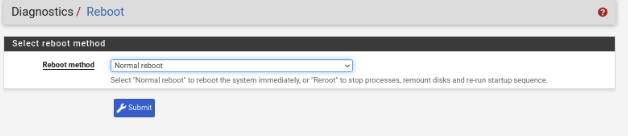
Navigate to Diagnostics -> Reboot.
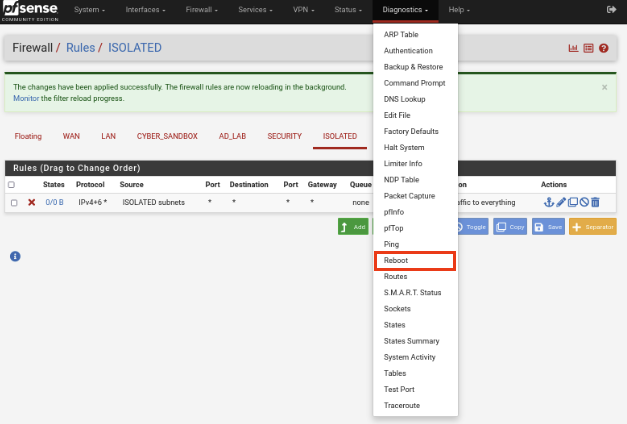
Click Submit.
Thank you for joining me on part 3! Stay tuned for the next module where we will add vulnerable VMs to our CYBER_RANGE Vlan! Until next time!