Building a CyberSecurity Home Lab with Proxmox: Part 6 - Active Directory Lab Setup - Part 2
A Guide on Building a Cybersecurity Home Lab using Proxmox
Banner Background by Andrea Charlesta
Welcome back! In the last part, we installed and configured Windows Server 2022, installed the AD domain, and configured DHCP on the DC. In this part, we will continue with the final configurations for our Windows Server and finally adding Windows machines to our environment.
Windows Server Configuration
Certificate Services Setup
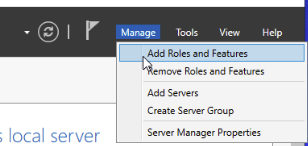
Let’s head over to our Server VM. In the Server manager, select Add Roles and Features.
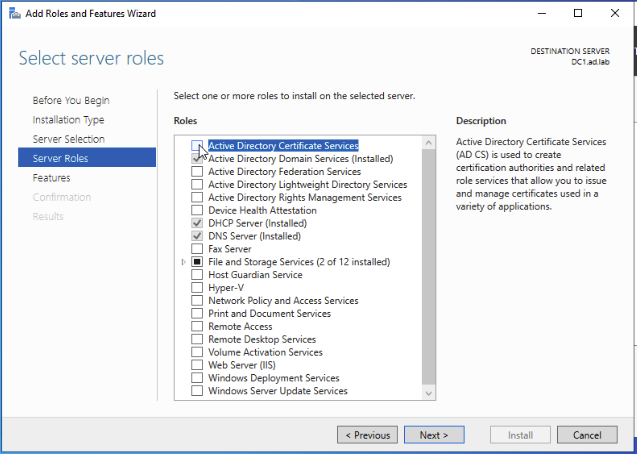
Keep clicking Next until you hit Select Server Roles. Select Active Directory Certificate Services then hit Next.
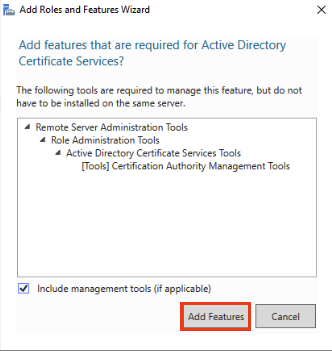
Click Add Features.
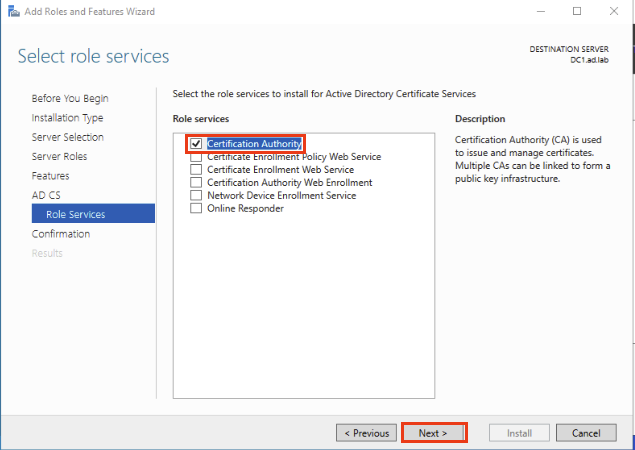
Hit Next until you reach Certification Authority and select it. Click Next at the bottom.
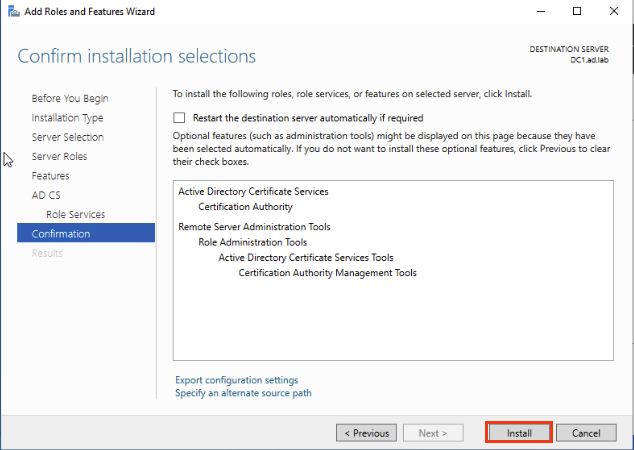
Click Next until you get the Confirmation page and click Install.
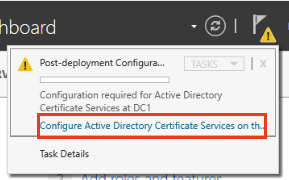
Restart your windows server. Once it’s back up head over to the sever manager and click the flag. Then Configure Active Directory Certifcate Services on the..
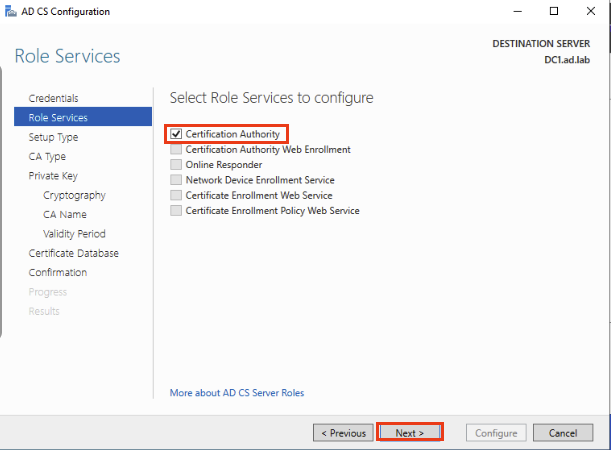
When you reach this page, select Certification Authority then hit Next.
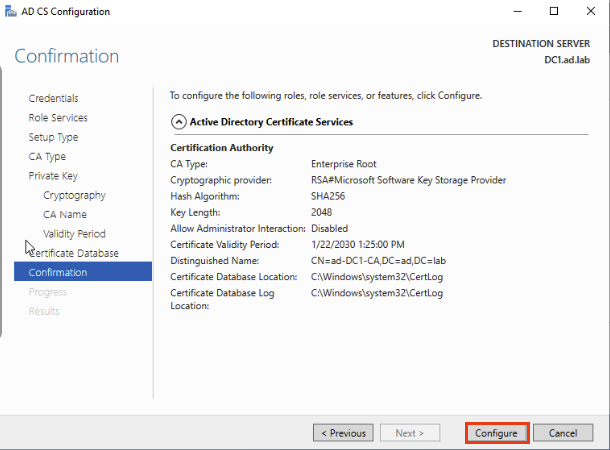
Keep clicking Next and leave everything default. Once you reach the Confirmation screen go ahead and click Configure. Let it do its thing.
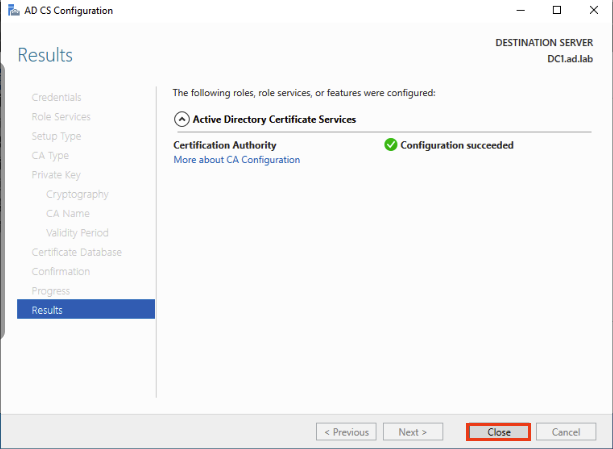
Click Close once its finshed. And Boom! We are doing configuring the Certificate Authority!
Active Directory User Configuration
Domain Users
Now, we move on to creating the AD users for our domain. Can’t have a house without any people right?
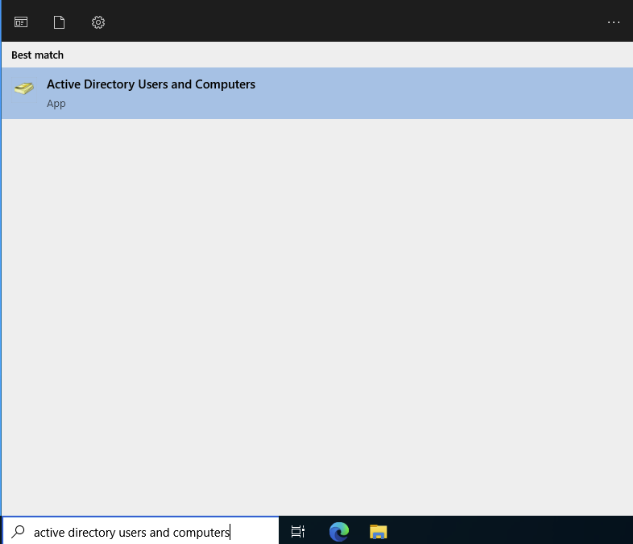
Click the Start Menu and type Active Directory Users and Computers.
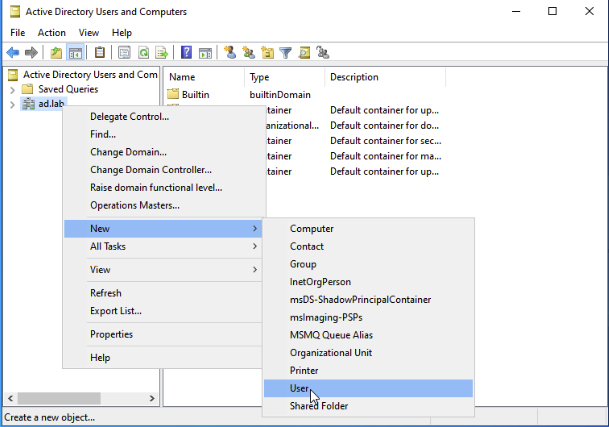
Right Click on ad.lab. Then New -> User.

Go ahead and enter the details. I just entered my Name and my username. Since I am the admin. Click Next.
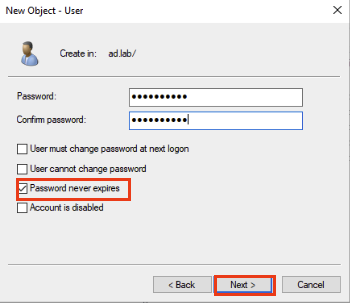
Create a super secure password. Select Password Never Expires. Click Next.
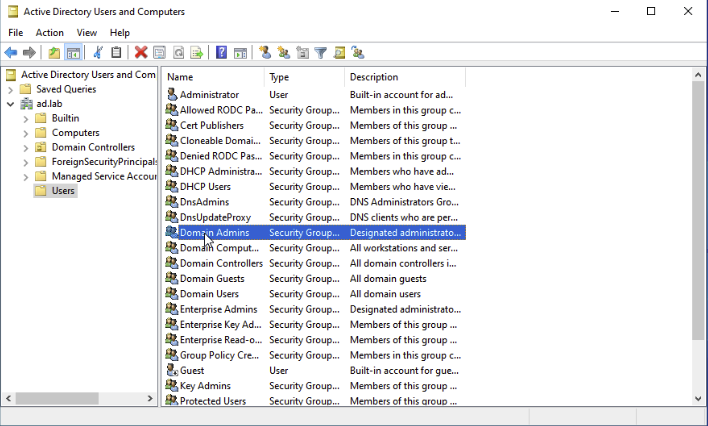
Double click Domain Admins.
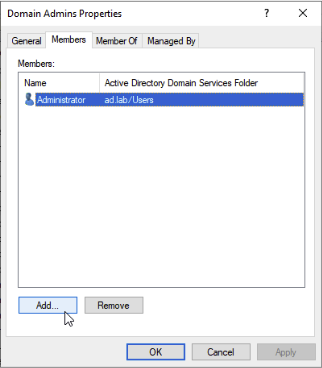
Navigate to Members tab. Click Add
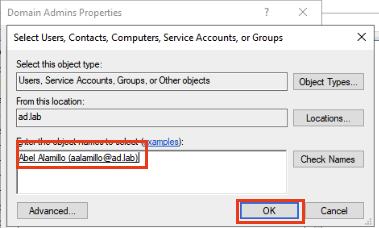
Enter the name of the user we just created earlier. Click Check Names and then Ok.
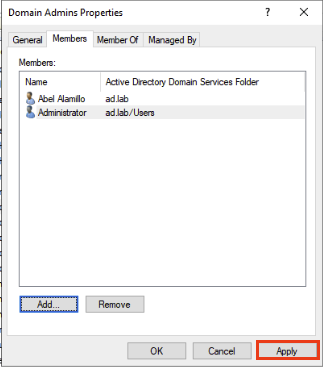
Click Apply.
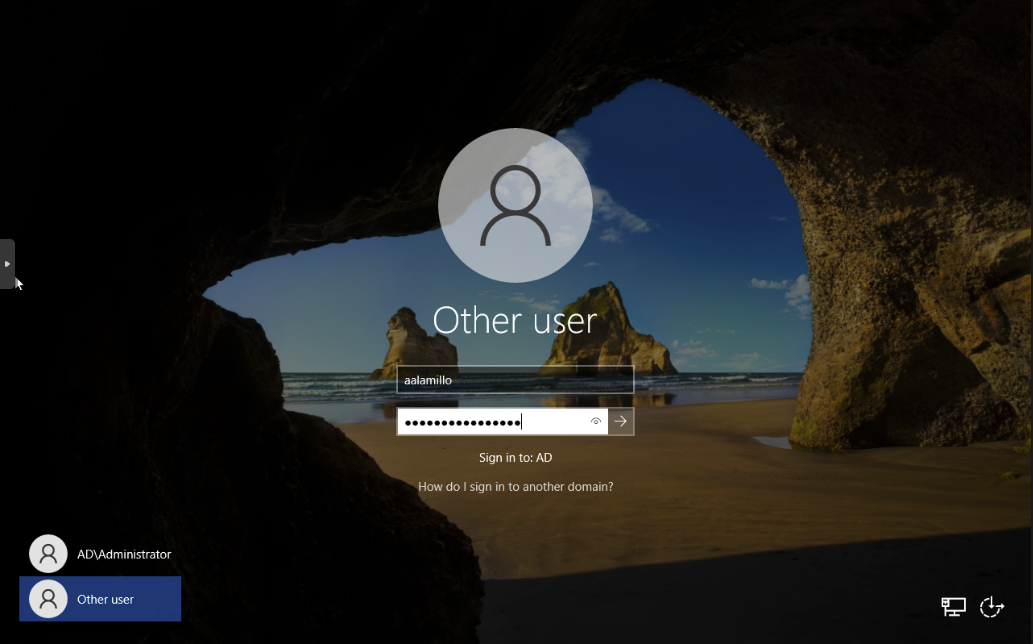
Sign out and Click Other User. Sign in with the username and password of the user we made earlier.
Domain User 1 Setup
Now, that we are signed in as a Domain Admin. We are going to create our first standard user and then afterwards will create a VM to sign in with that user.
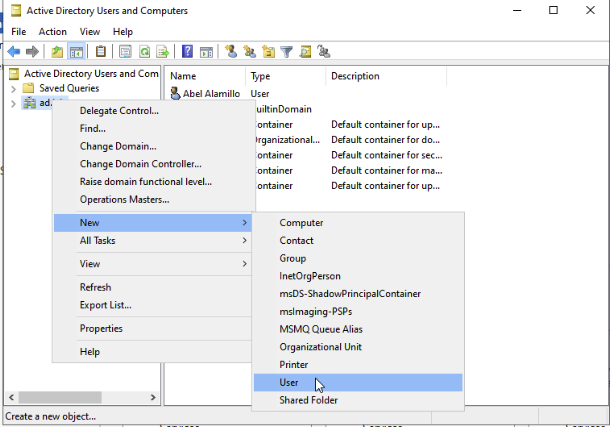
Navigate back to Active Directory Users and Computers. Right click ad.lab -> New -> User.
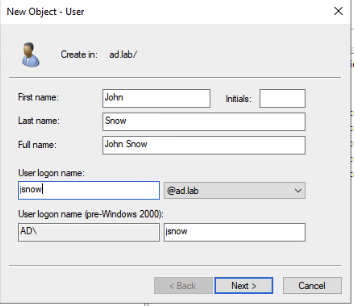
Create a user with any name you want. I chose John Snow.
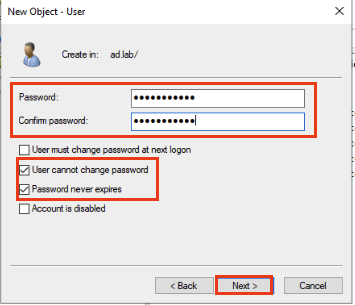
Give it a password. Select User cannot change password and Password Never Expires.. Click Next.

Completely optional but I went ahead and created a second user. I named the second user Jane Seymour because why not.
VM Snapshots
After doing all that work, it would be a shame if something went bad and you had to start all over again. Introducing Snapshots! This wonderful features allows us to save a snapshot of a VM and revert back to it if anything ever happens. This is especially useful if you decide to toggle between a vulnerable and a non-vulnerable AD Configuration. I will quickly show you how its set up.
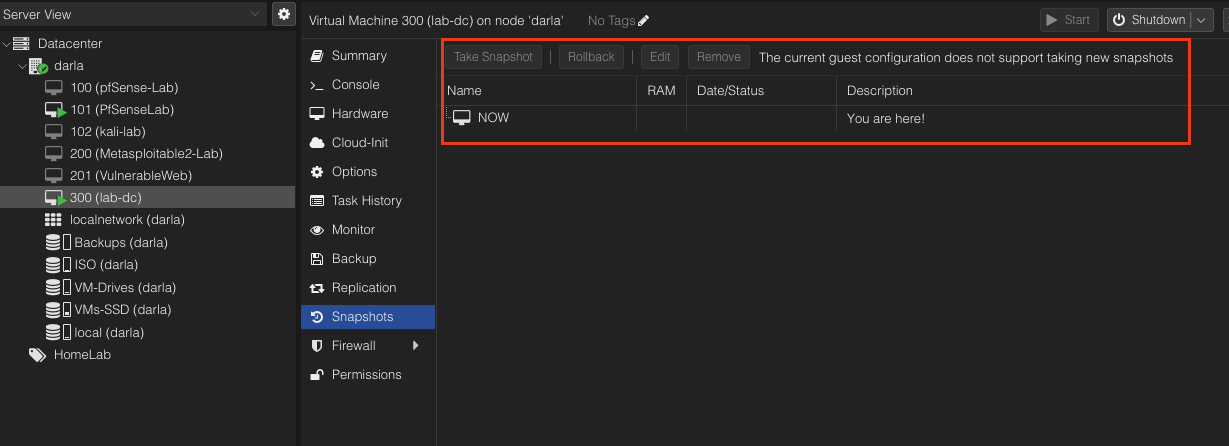
Navigate to your proxmox server and click on the Windows Server VM. Click Snapshots. Notice it says The current guest configuration dos not support taking new snapshots. Oh no! Its over we can never use it. Just joking!
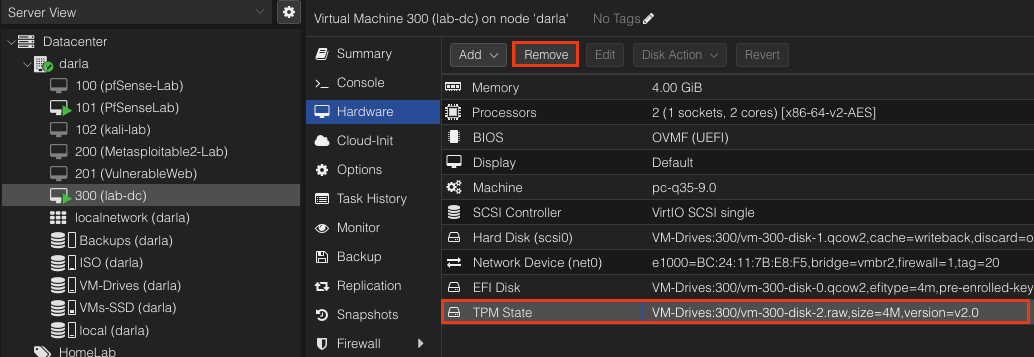
Navigate to Hardware tab. Notice how TPM State is in a .raw type. Proxmox only support .qcow2 for snapshots. So what we are going to do is simply select it and remove it. Boom! Done!
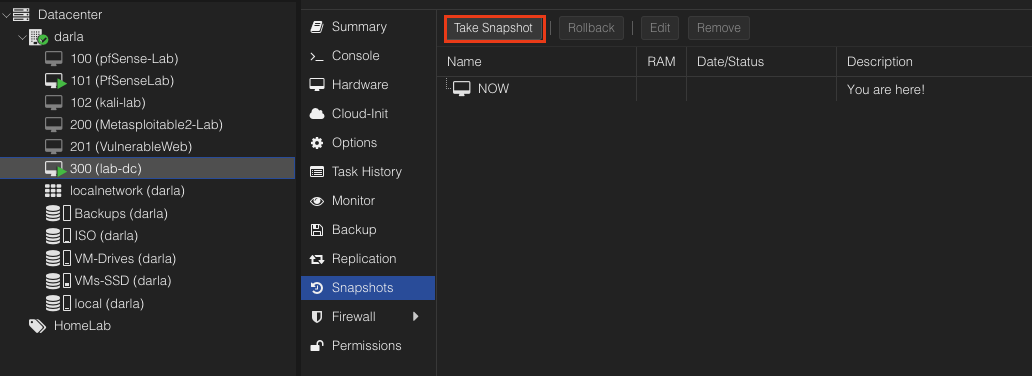
Now, you should have the option to Take Snapshot.

Give it a name. Since this Ad Lab is “Vanilla” and I haven’t made it vulnerable I am going to call it that and give it a quick description so I remember what the snapshot is. Click Take Snapshot
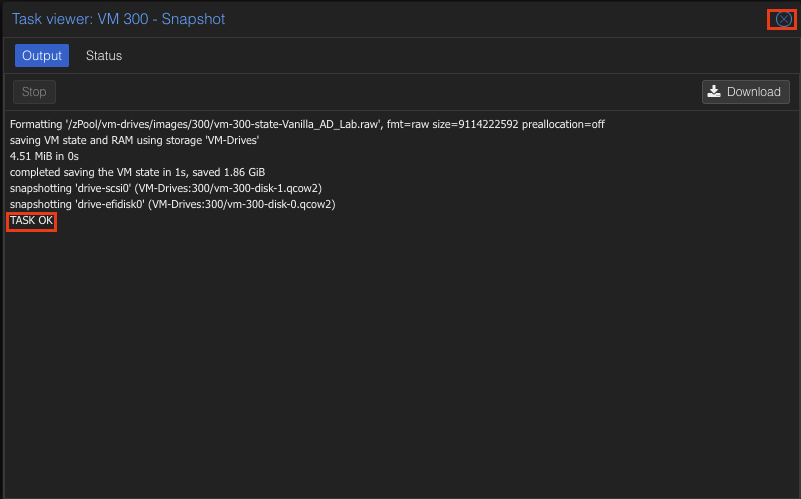
And… That’s it! Let it finish and click the X and you have a snapshot!
Making the AD Lab Vulnerable
So this section is completely option in making the AD Lab vulnerable and will require changing some settings. I will not be doing this but if you decide you want to. Check out David Varghese’s guide on his AD lab and he a section where he goes over the settings you need to disable to this. I will link it here. He does a great job guiding and I took inspiration from him! Shoutout to you David!
Windows 10 VM Setup
Now, we will setup the Windows VMs for the users we have created! It’ll be straightforward you probably won’t need help from me but in case you do here it is!
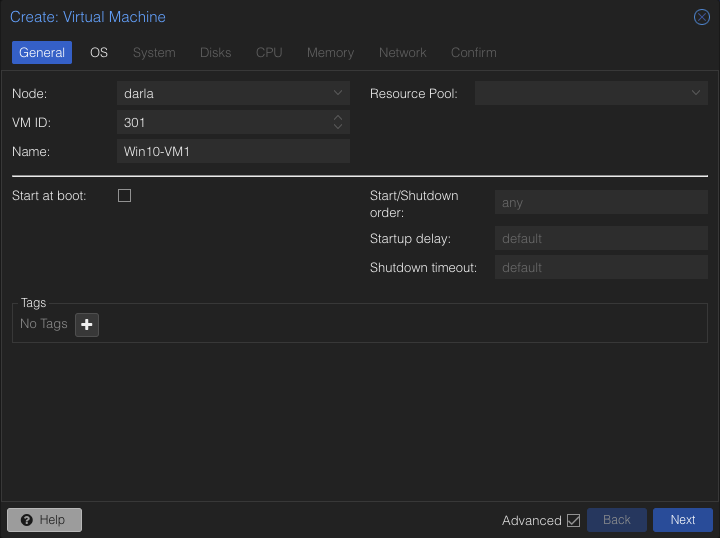
Let’s create a new VM. Fill it out with the neccessary details. Then hit Next.
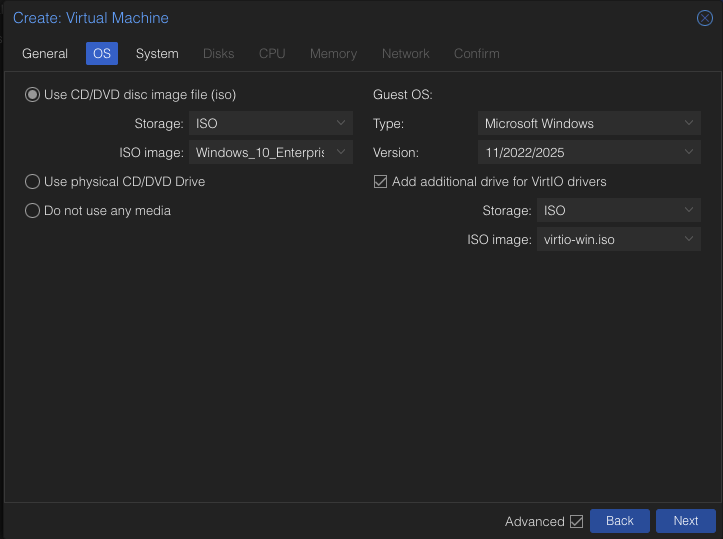
We will select our Windows 10 ISO and set the OS to Microsoft Windows. We will also add the VirtlO drivers. Hit Next.
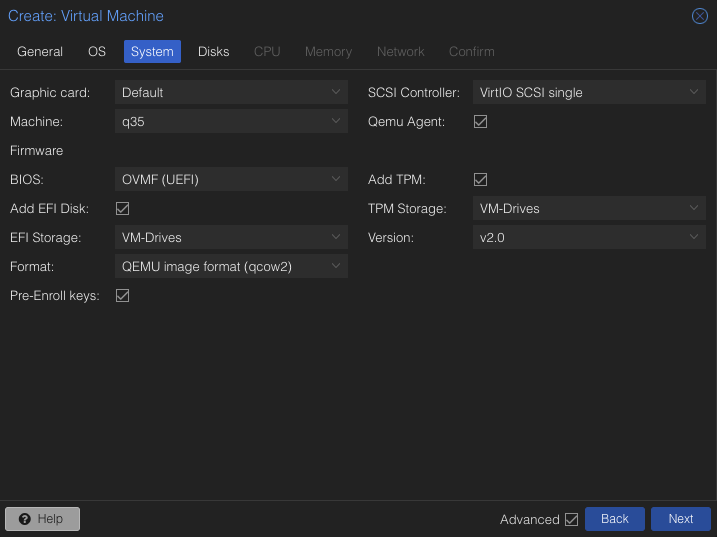
Make sure it matches my image above. Click Next.
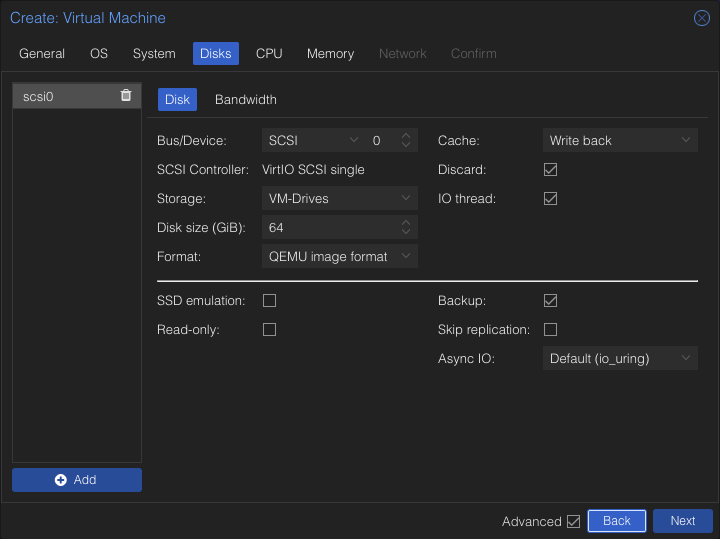
I gave it 64GB because I have space to spare. You can give it half and be alright. Make sure to select Write Back for Cache.

Give it 2 Cores and make sure Type is set to x86-64-v2-AES.

Give it 4096 MiB. It’ll be sufficient!
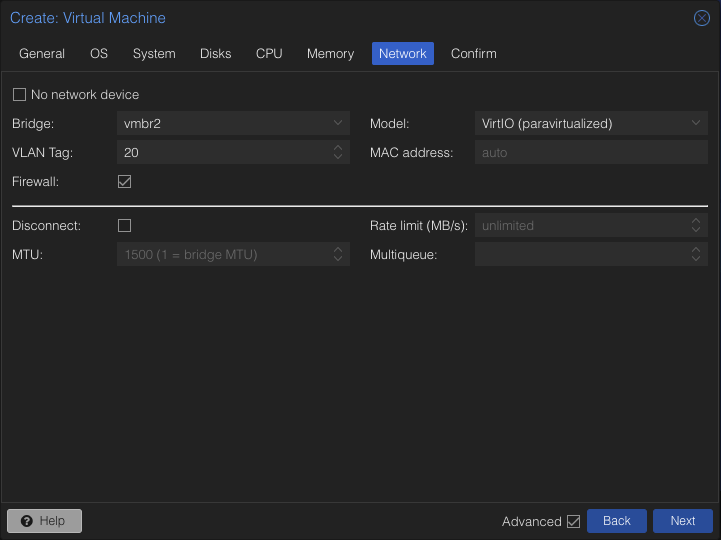
We will assign it vmbr2 and the 20 vlan tag.
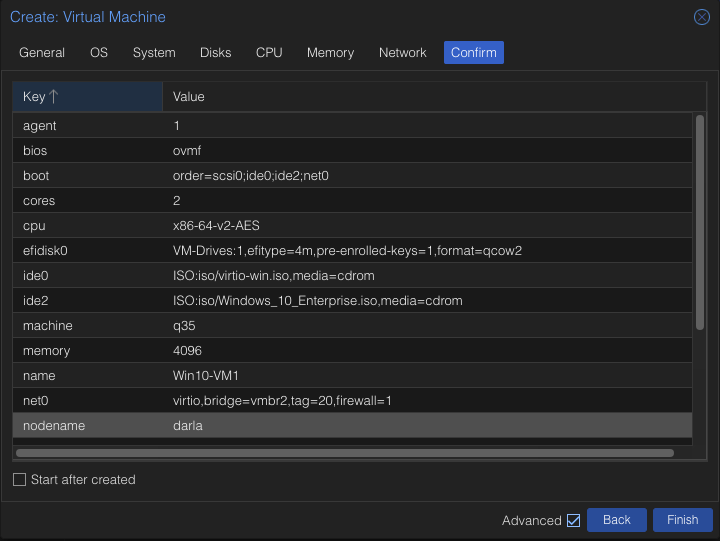
Make sure everything looks good on the screen and hit Confirm.
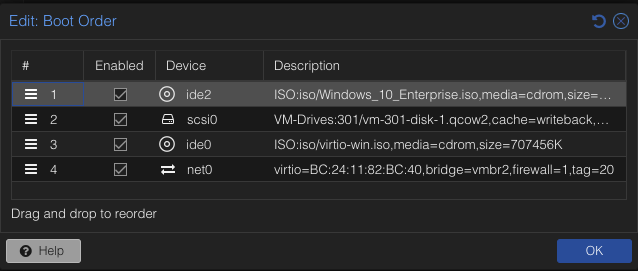
Head over to Hardware -> Boot Order. Ensure that the Windows ISO is on top so that we boot directly into Windows Environment.
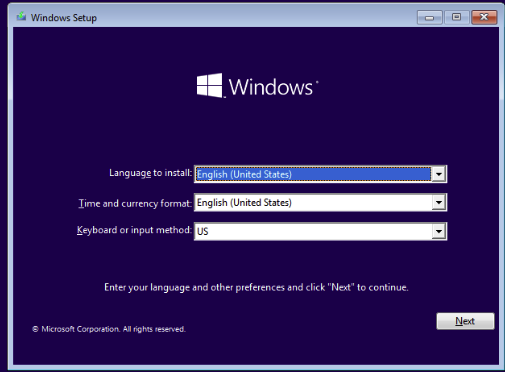
This Windows setup should look familiar! Go ahead and click Next.
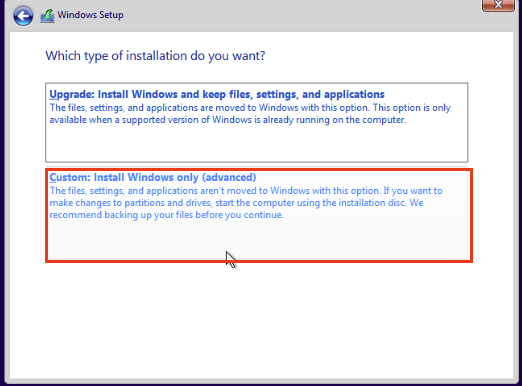
Click on Custom: Install Windows Only (advanced).
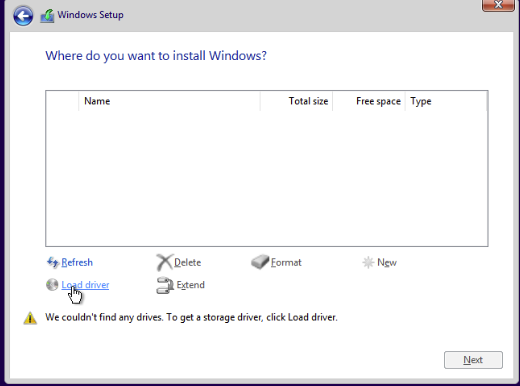
Pretty much the same process as the server. Click on Load Driver.
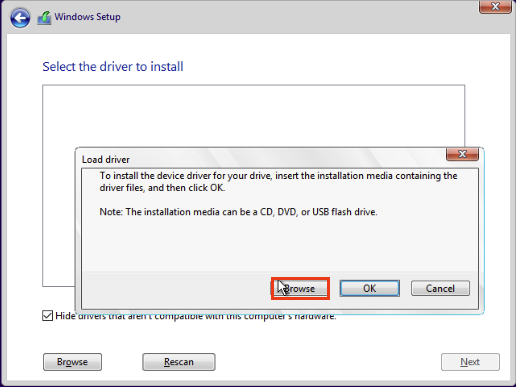
Click Browse.
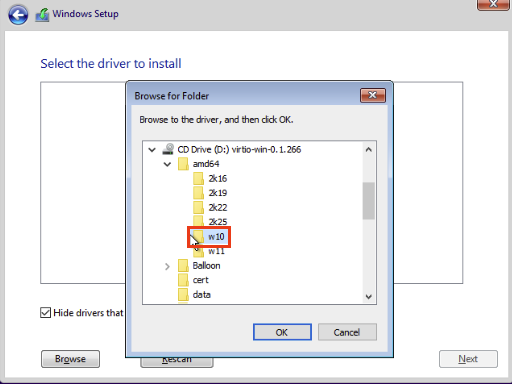
Select the w10 folder and click Ok.
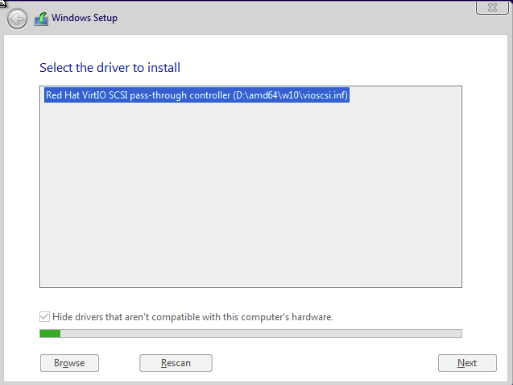
Hit Next once it’s finished loading.
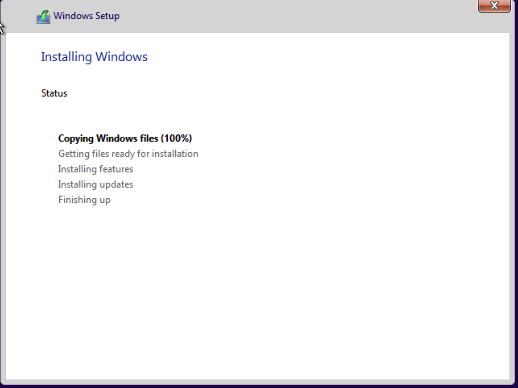
Let it do its thing. Once finished it will restart.
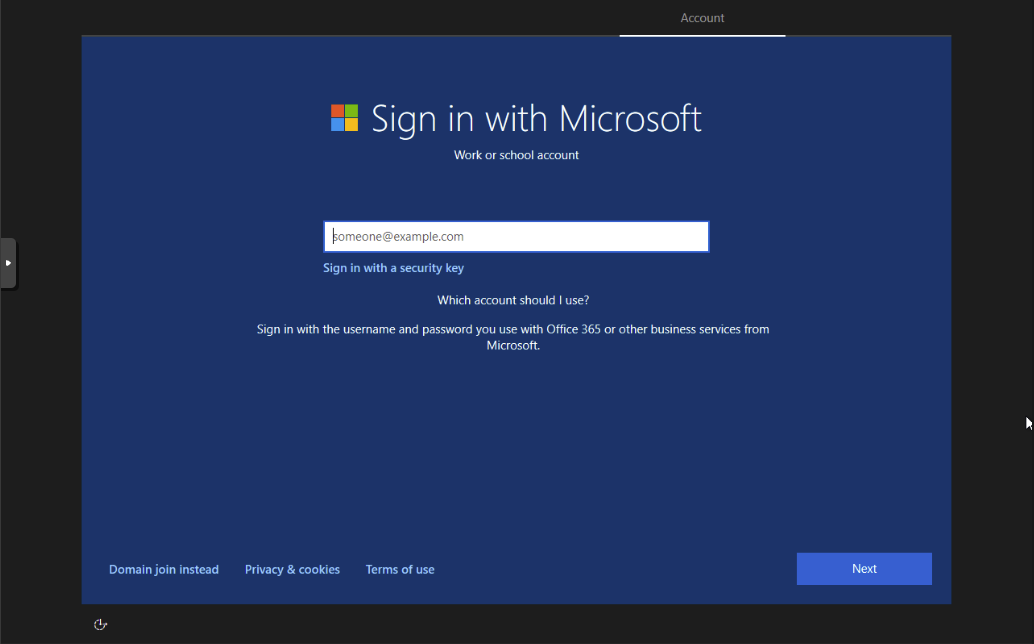
Click Domain Join Instead.
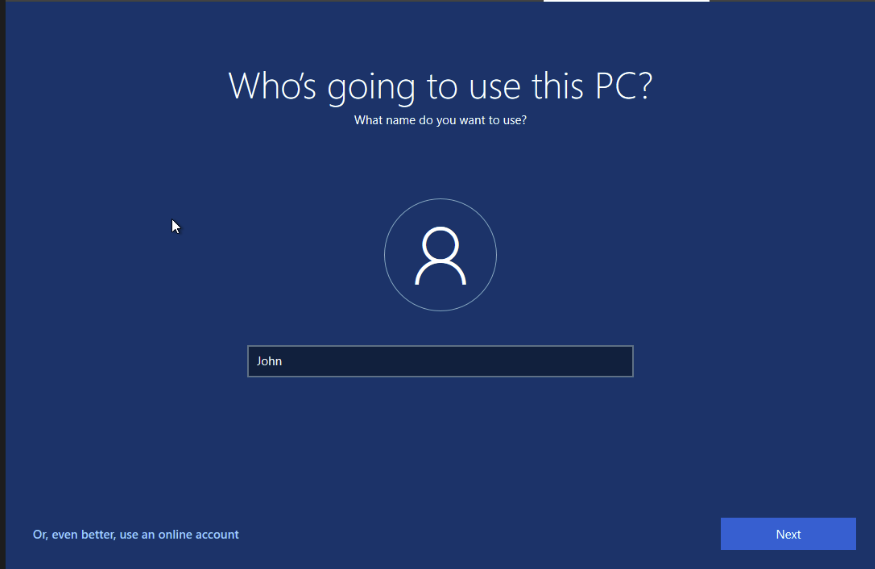
This windows 10 VM will belong to John Snow. So I will give it John.
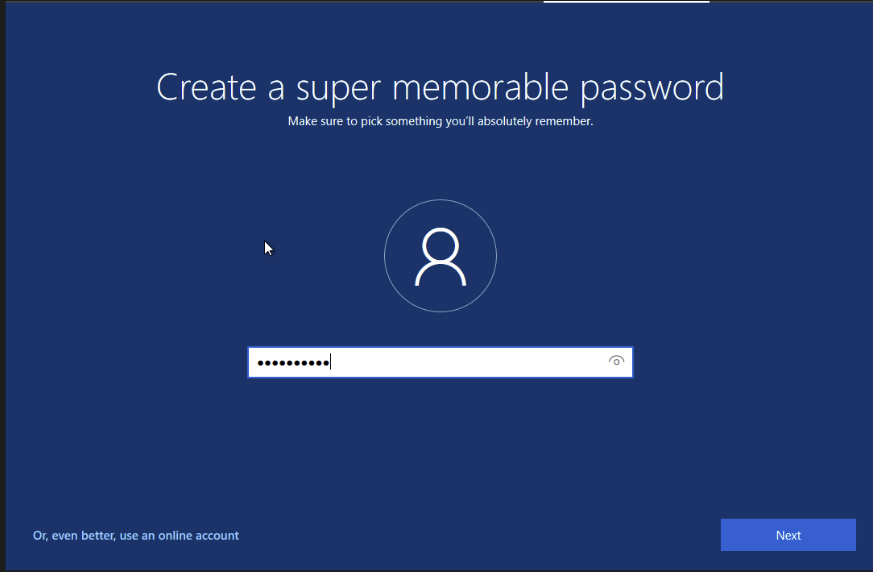
Give John a memorable password.
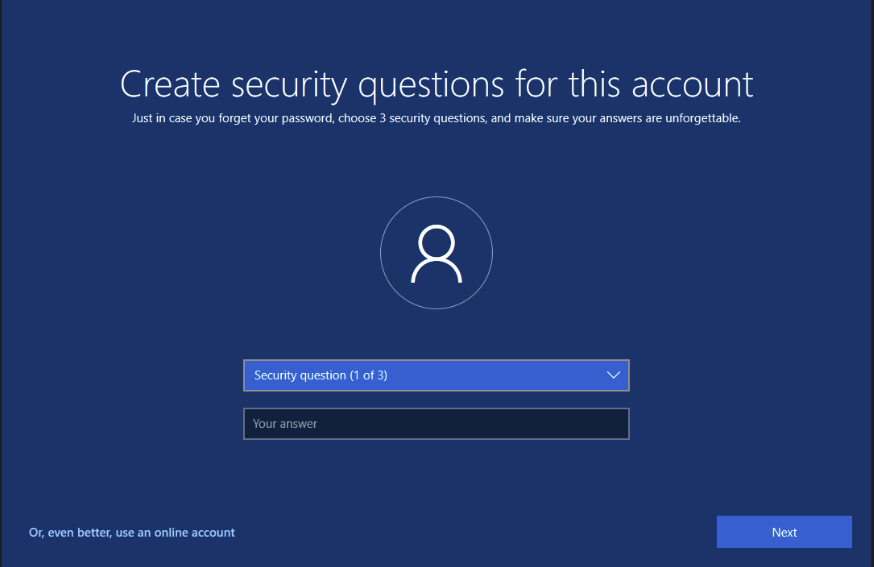
Annoying Security questions lol.
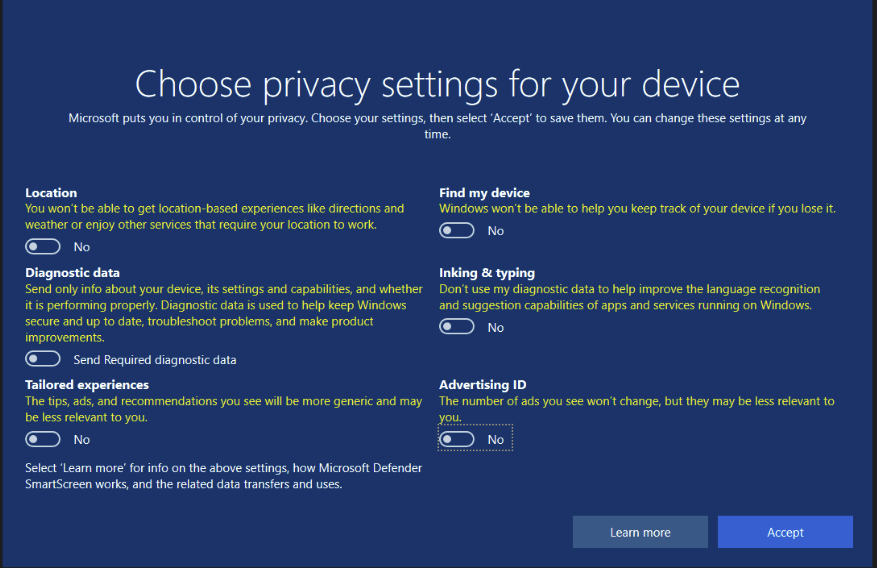
I don’t like being tracked so I disable all the settings.
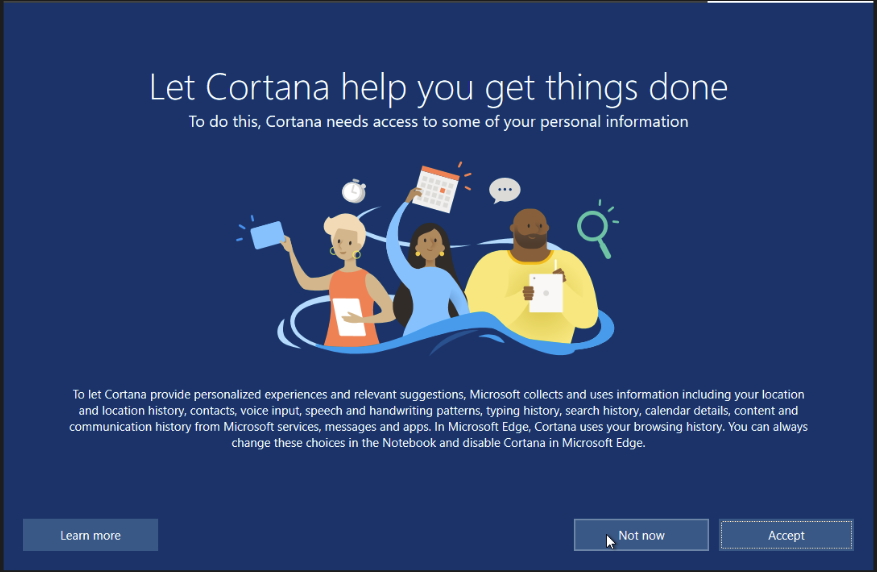
Unless you love cortana. Click Not Now.
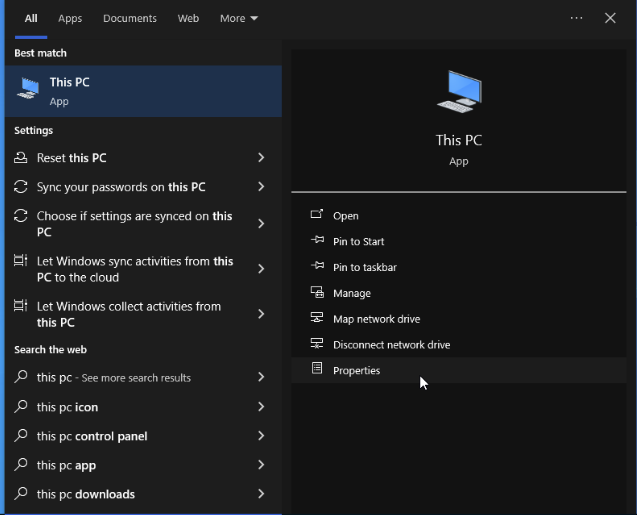
Once you have booted into the desktop. Navigate over to This PC -> Properties.
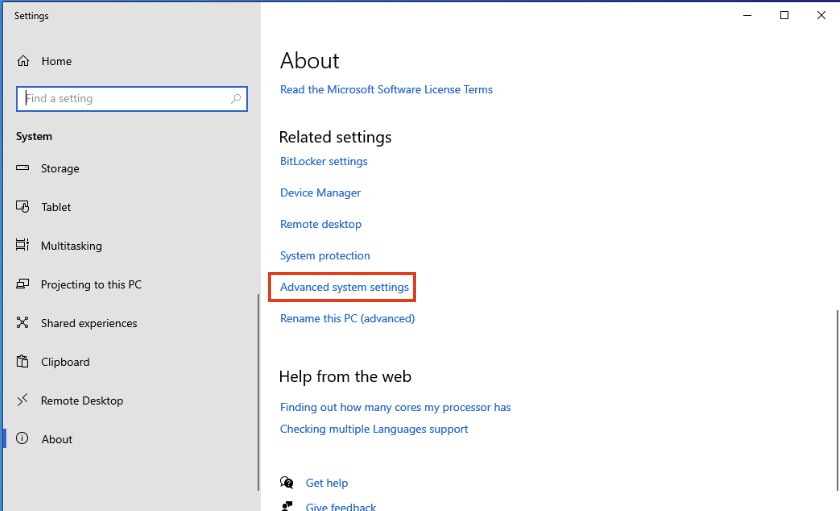
Click Advanced System Settings.
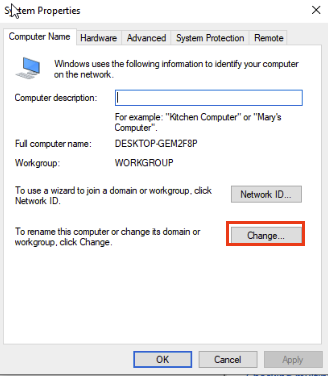
Click Change under Computer Name.
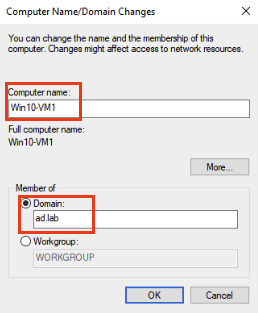
I will name the computer Win10-VM1. Let’s enter our domain ad.lab. Then Click OK.
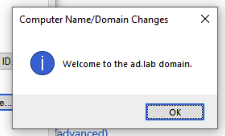
Click OK.
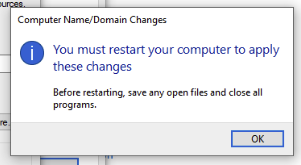
Go ahead and click OK to restart your PC.
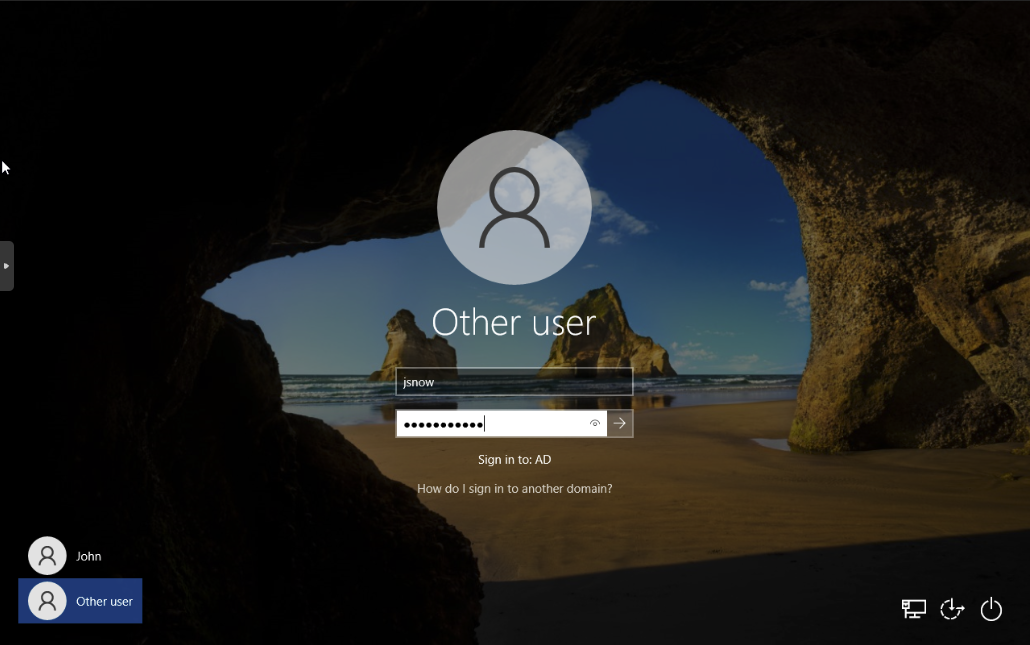
Login with the credentials of our AD User. In this case it is John so if you remember earlier his username is jsnow and the password is whatever we set.
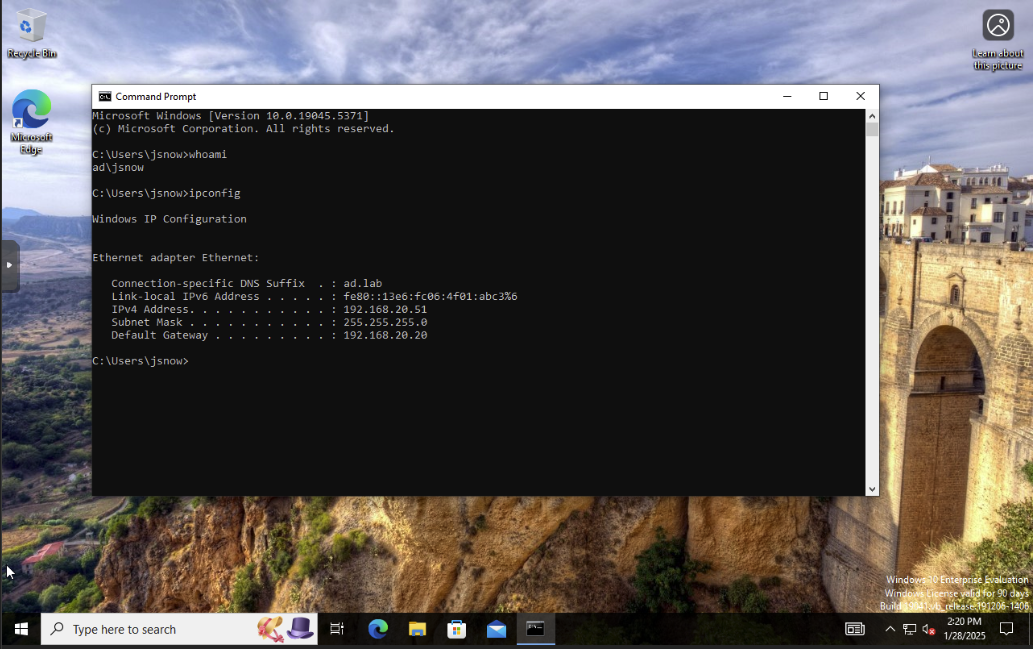
We can also verify that the user we have signed in as is part of the domain by doing whoami in a cmd window. We can also verify the IP we have by doing ipconfig then checking it to the Leases in the DC.
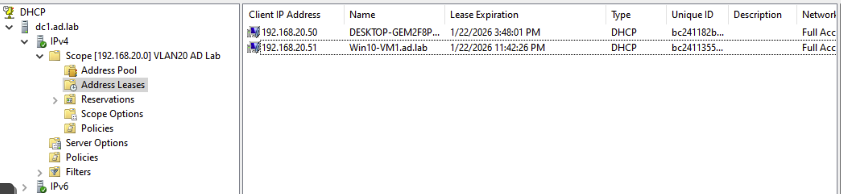
And BOOM! They match!
 If you would like, we can set our Windows Machine to have a static IP by Right click and selecting
 Add to Reservation
And… That’s all folks! You have successfully set up and added a Windows 10 system onto a domain! Repeat these exact same steps to setup another system. The only thing you need to change is the name when creating the user.
Conclusion
Well Done! You have now reached the true end of the AD Lab Module! We have set up a Domain Controller on Windows Server 2022 and set up a Windows 10 Machine configured under the same domain. On the DC we set up DHCP, AD Certficate Services, and configured the domain.
Additional AD Setups
There are so many more things you can do with the Active Directory Lab. Below are links to videos that go more in-depth into Active Directory and it’s features!
Attacking your AD Lab
Below are some links to resources on the types of attacks/hacking you can perform againist your AD environment. Remember to take snapshots so you can revert back to a previous state!
In our next module we will cover setting up our Security Lab that involves Security Onion and Splunk! Stay tuned!